
DMC Detailed Write up - BMW 525d M-Sport, Ceramic Coating, Wheel Refurb, Stone chip repair
Posted on
The new owner of this 525D asked me to give it some TLC prior to him returning from Holiday and officially taking ownership of the car.
Firstly please check out our other detailed write-ups, for a full list of cars please go here:
My plan of action was as follows
- Full wheel refurb and powdercoat in a darker metallic grey
- Paintless dent removal where needed
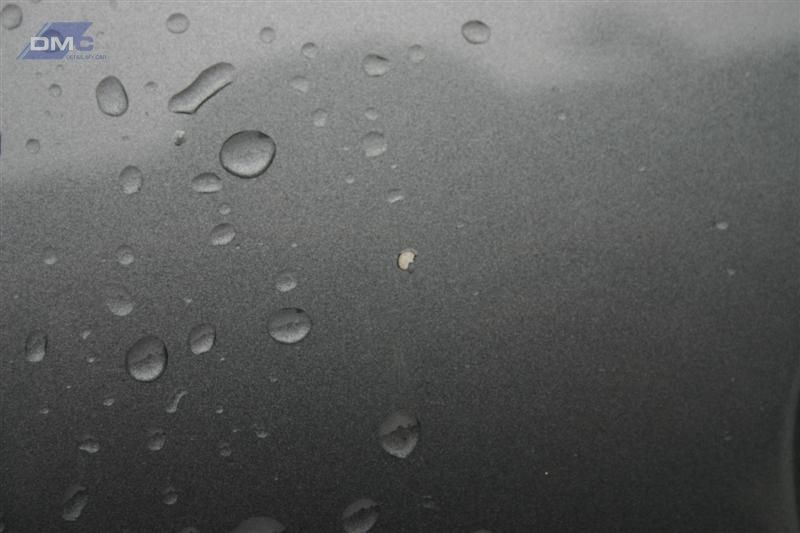
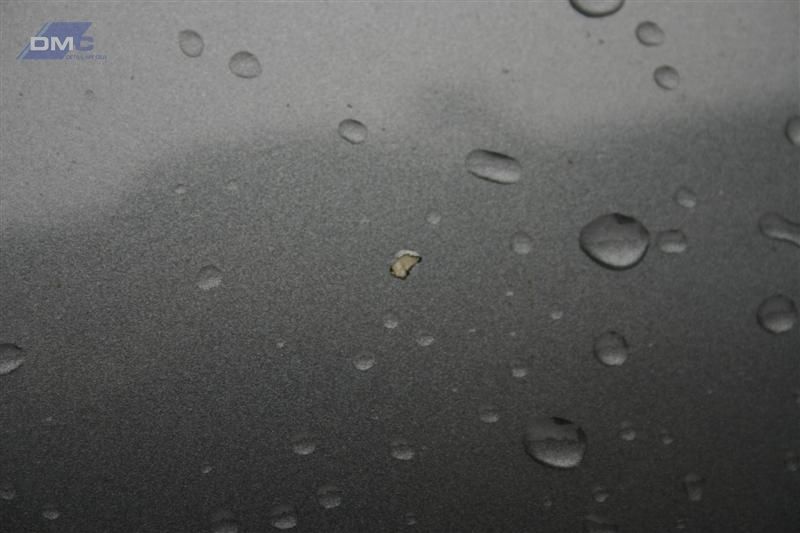
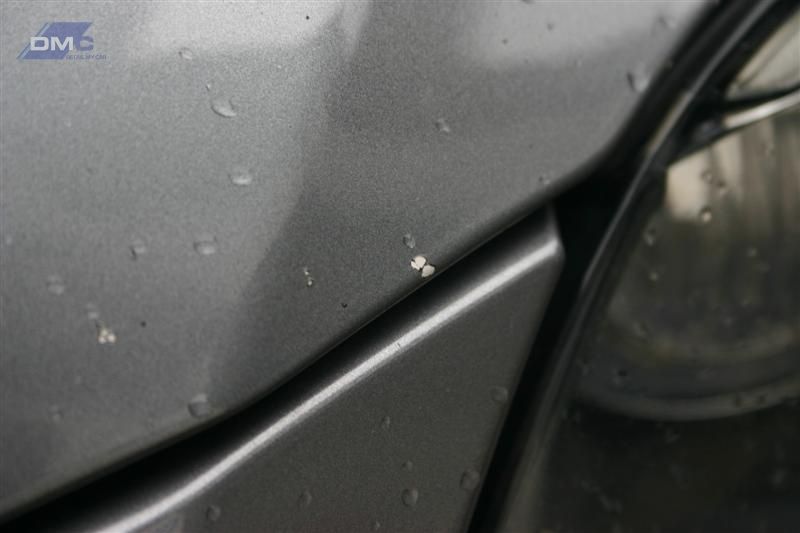
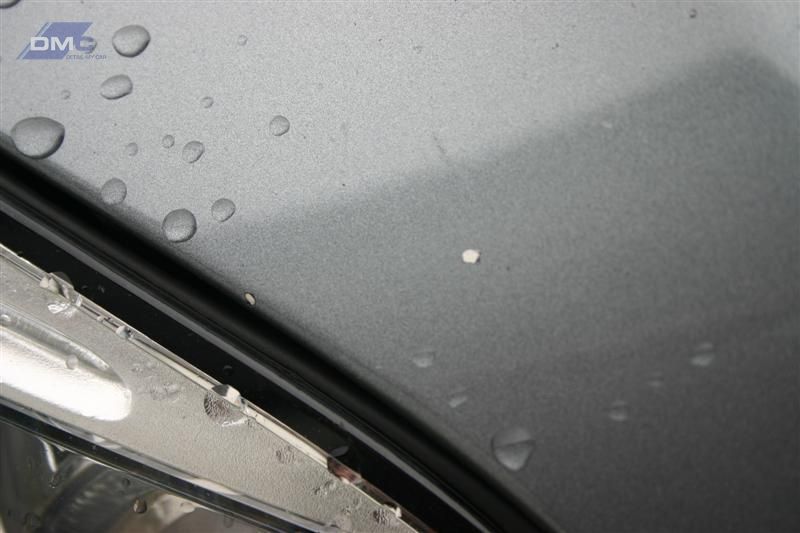
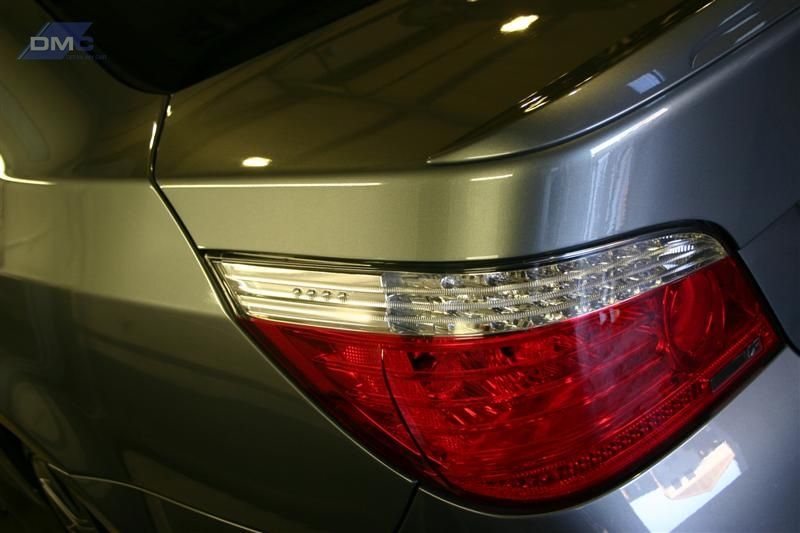
- Stone chip repair and lacquer
- Correction detail to remove swirls and scratches
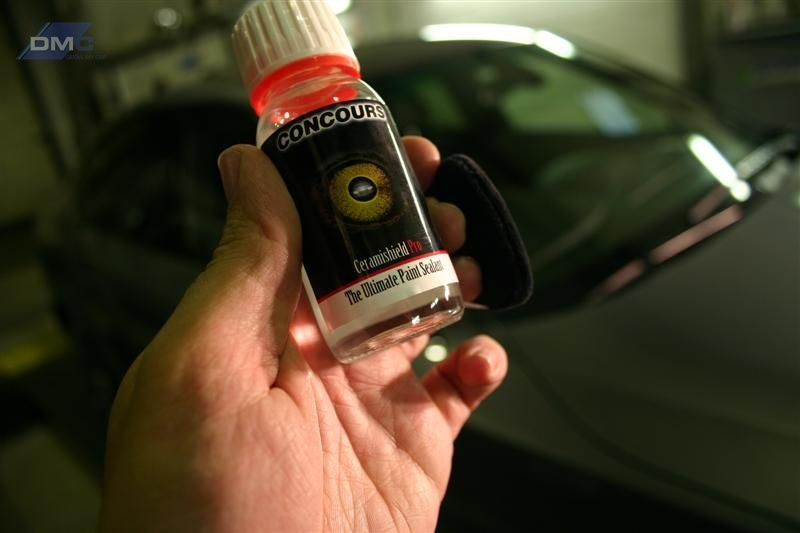
- Apply Ceramishield PRO Sealant
- Full interior detail
- Fit new reg plates
The Wheels were bad so that was the first step, these were properly repaired & powdercoated at a bodyshop local to me that I use for all this type of work. Whilst there it also had a couple of small dents taken out by their Paintless dent removal guy.
Here's the before shot of the wheels
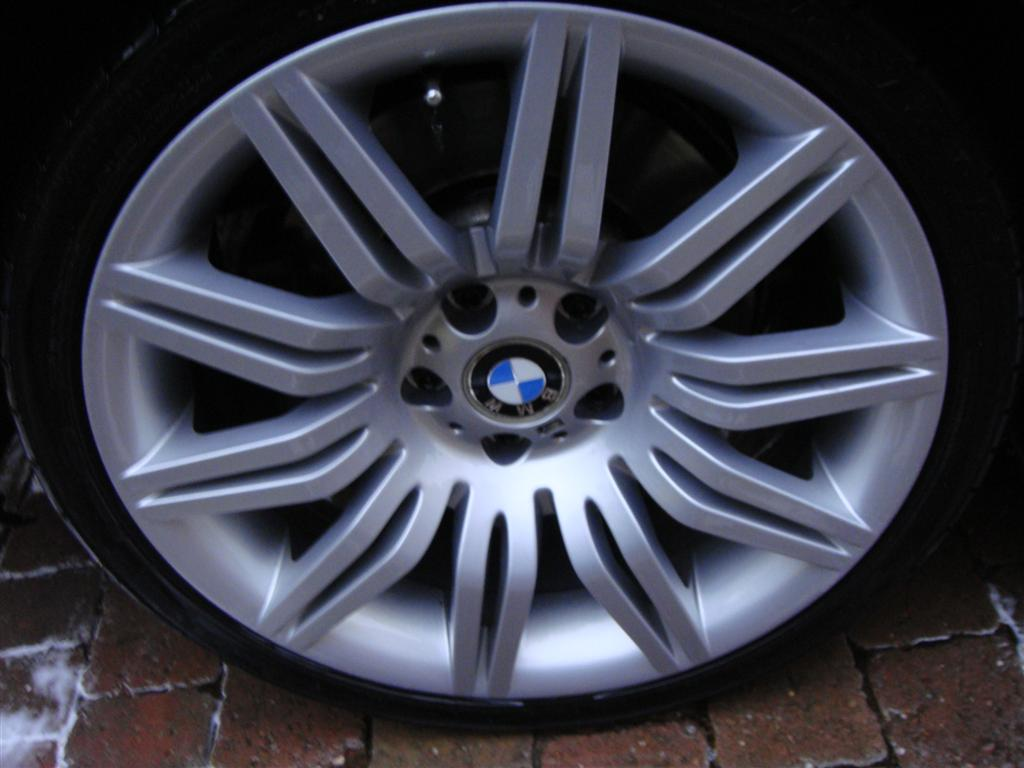
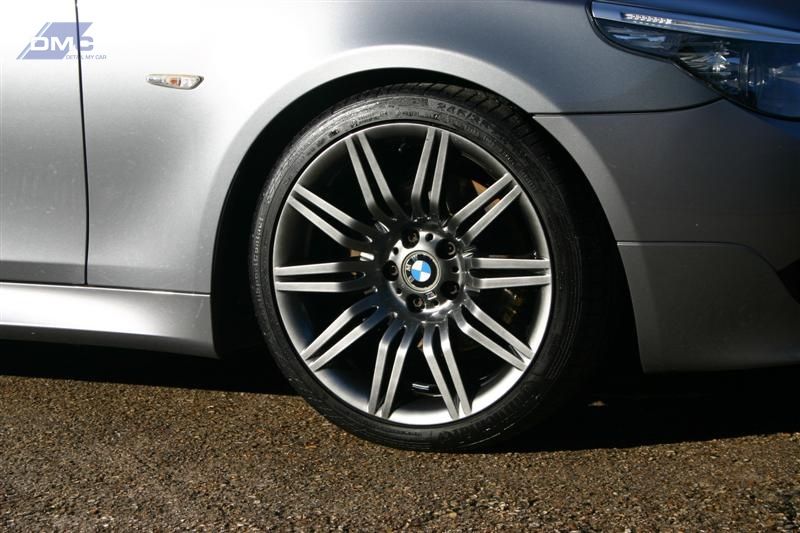
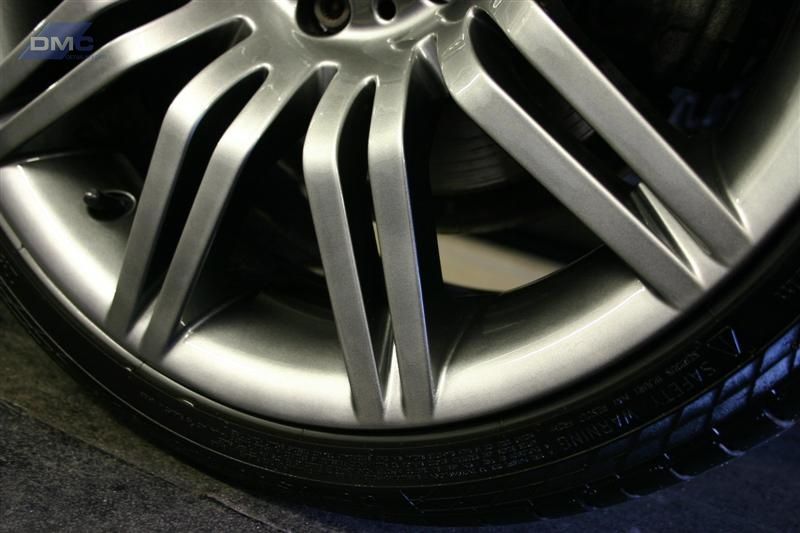
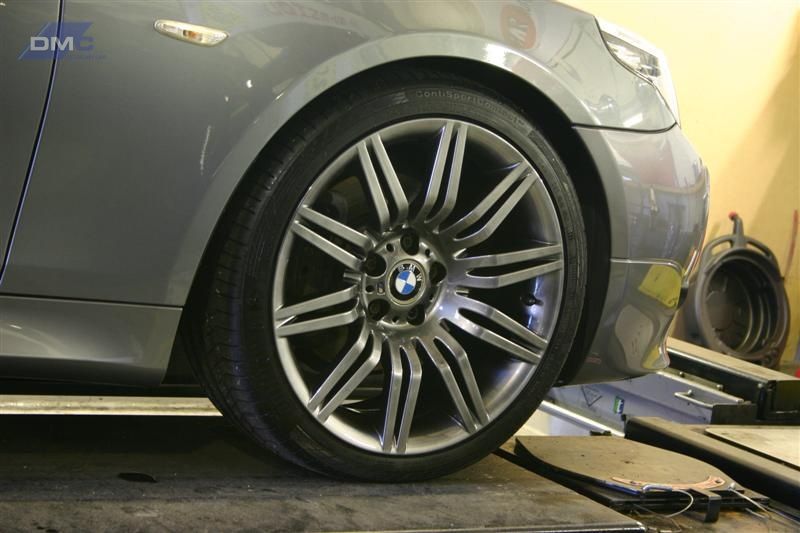
After full refurb and powdercoat
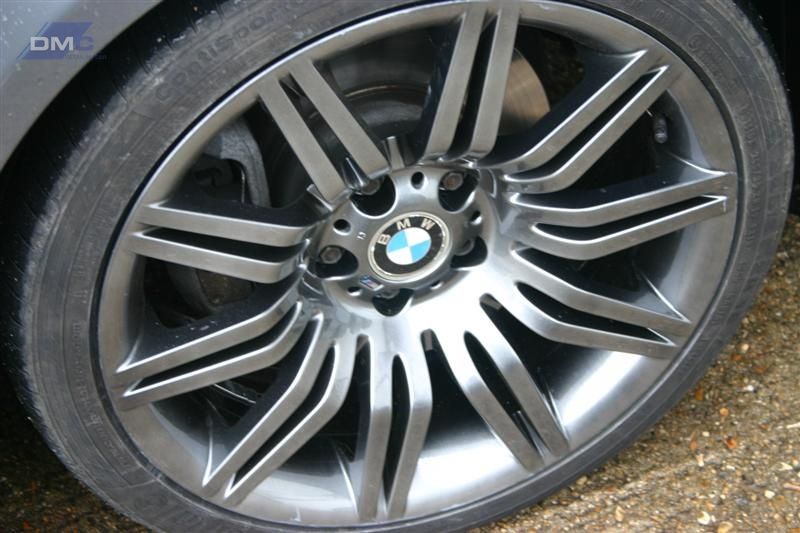
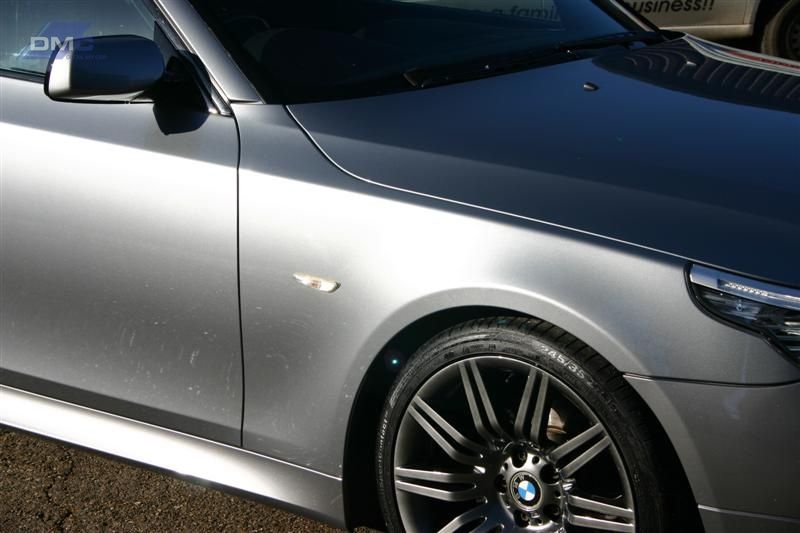
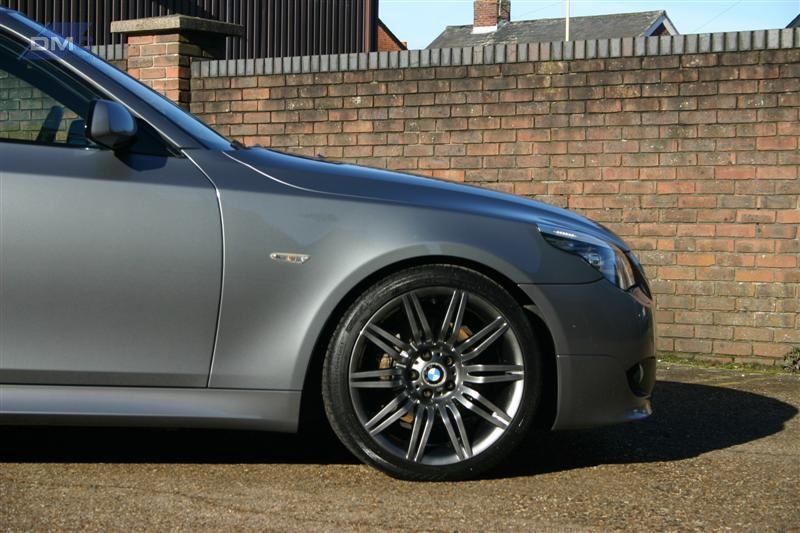
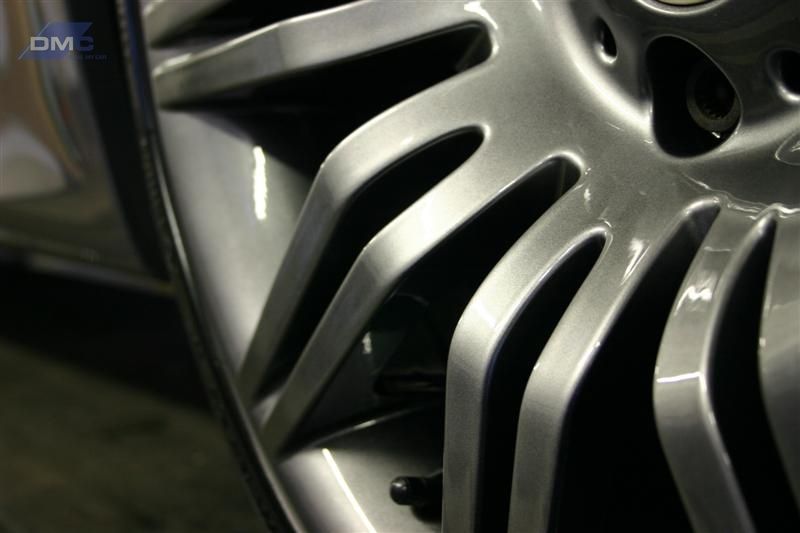
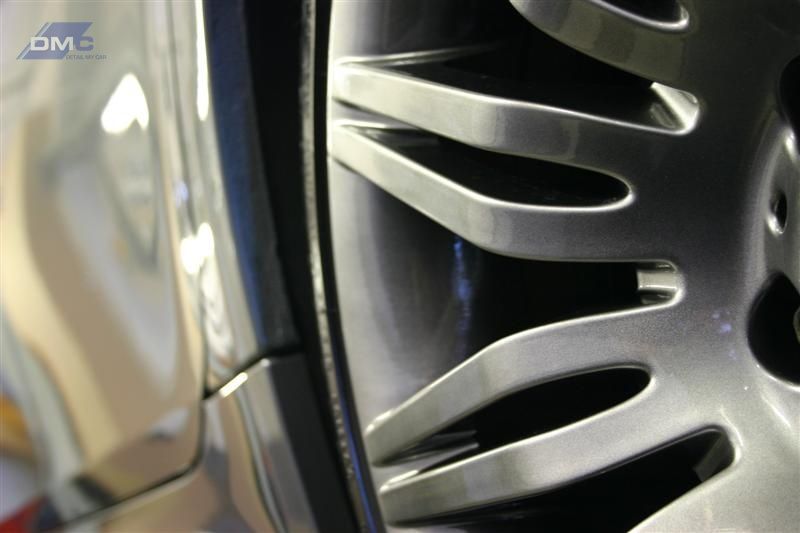
Really happy with the wheels, and you'll see some much better close ups further down once they're all cleaned and tyres dressed etc.
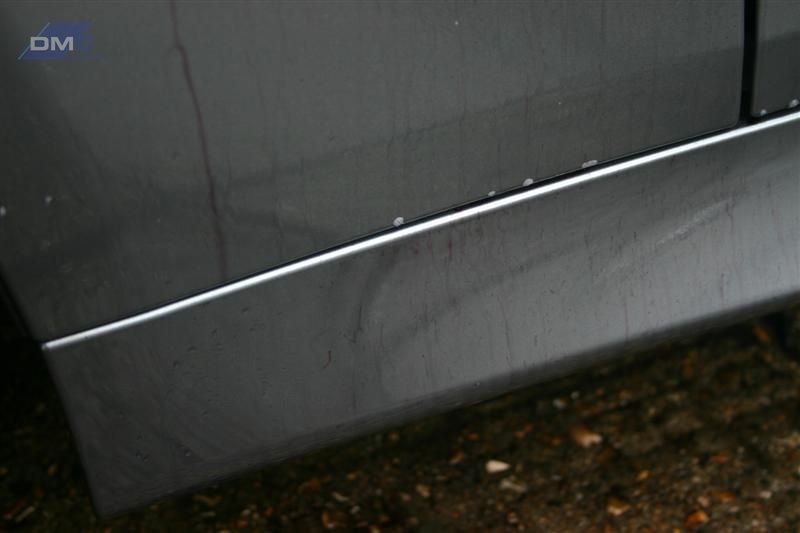
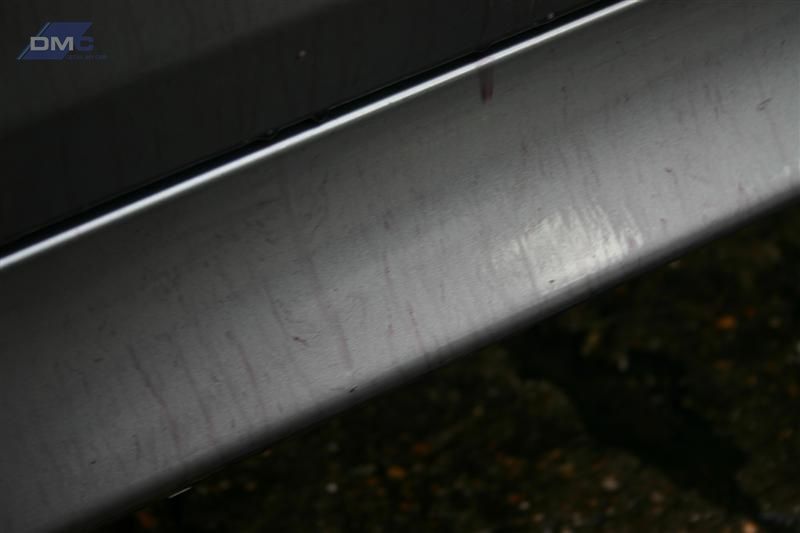
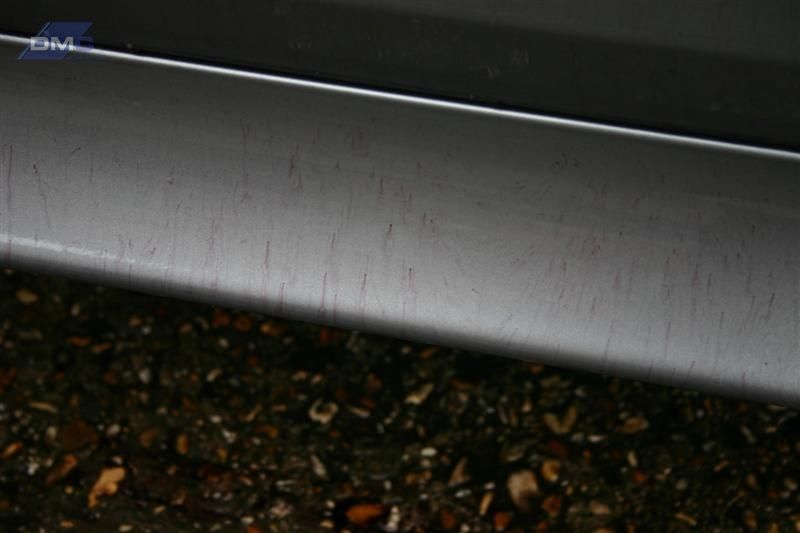
Here's how the rest of the car was looking, a few of the stone chips that would be touched in
First step was to pre-rinse & snow foam the car. While this was left to dwell I tended to the window runners, badges, grills, vents with Meguiars APC and a detailing brush (Valet pro). The car was then fully hot water rinsed before hand washing with Gliptone Wash N Glo shampoo with 2 buckets, grit guards and a Lambswool mitt.
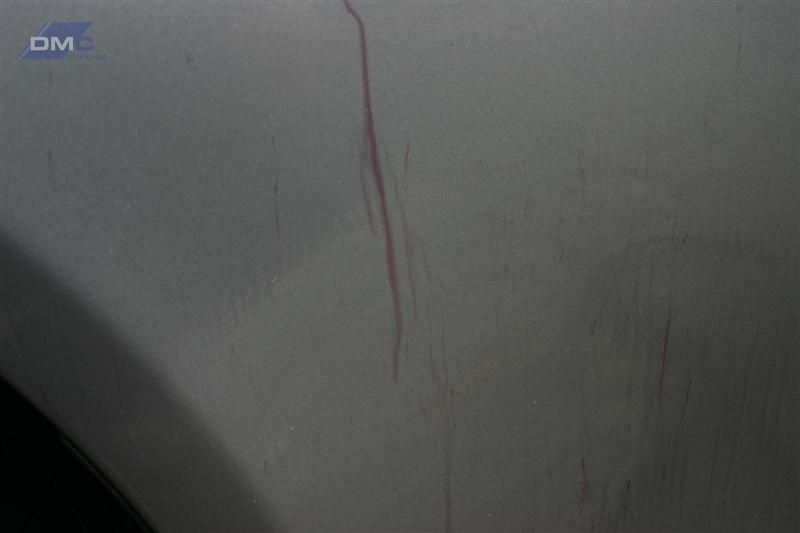
After hand washing I used Tardis to remove tar spots that were quite prominent around the lower halves and rear of the car. After Tardis it was again rinsed off with hot water and after leaving for a few mins to dry I applied IronX all over it to remove any last bits of fallout before claying.
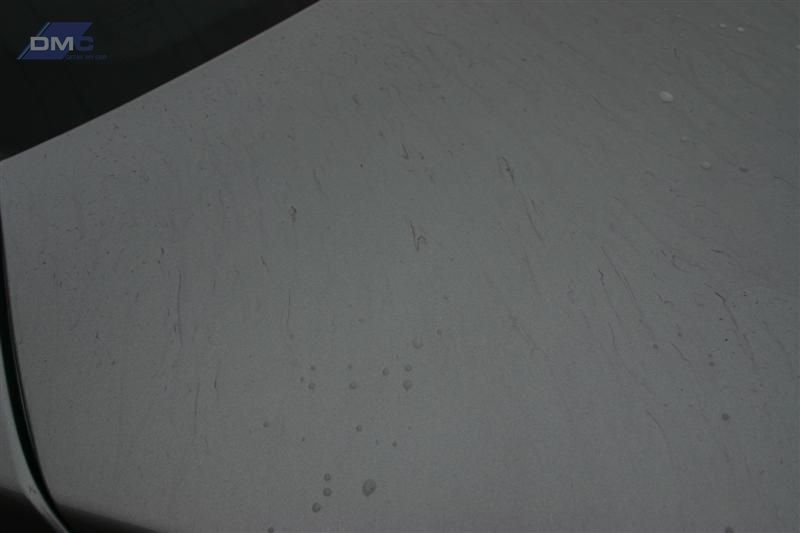
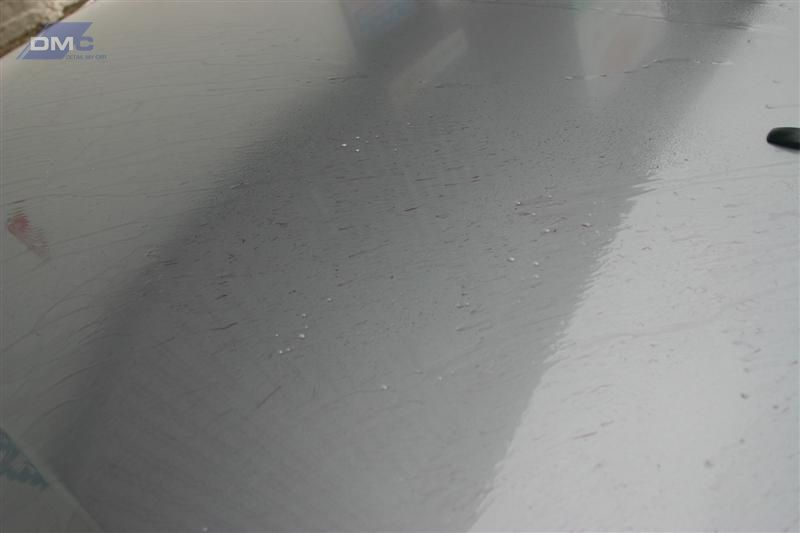
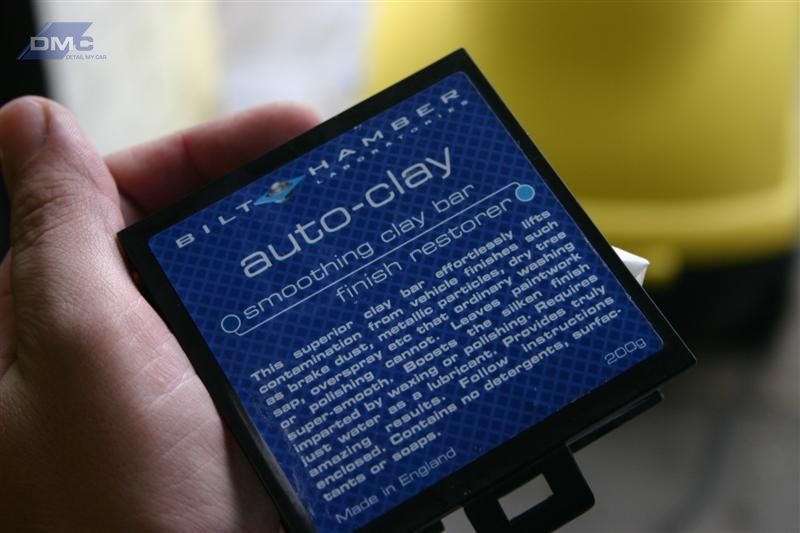
The car was then clayed with brand new BH clay
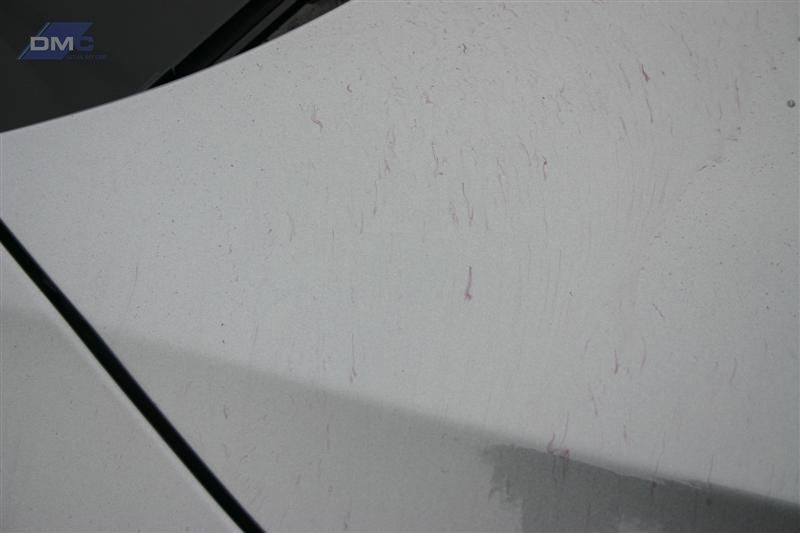
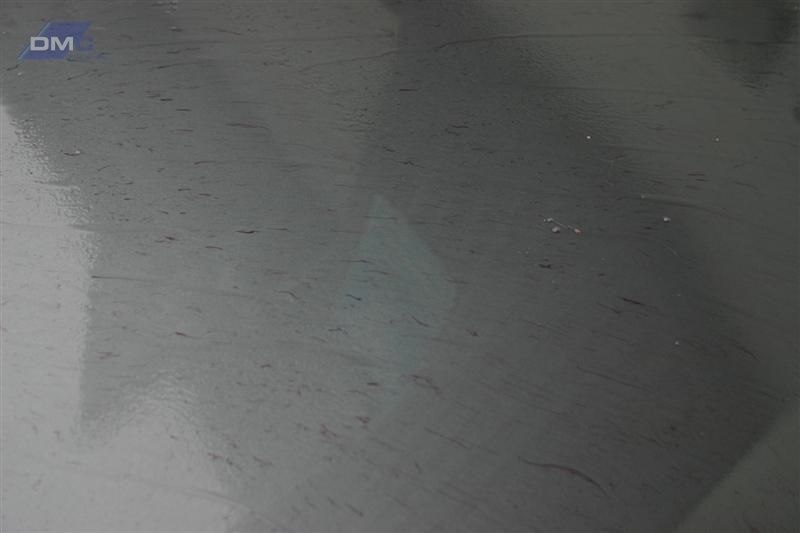
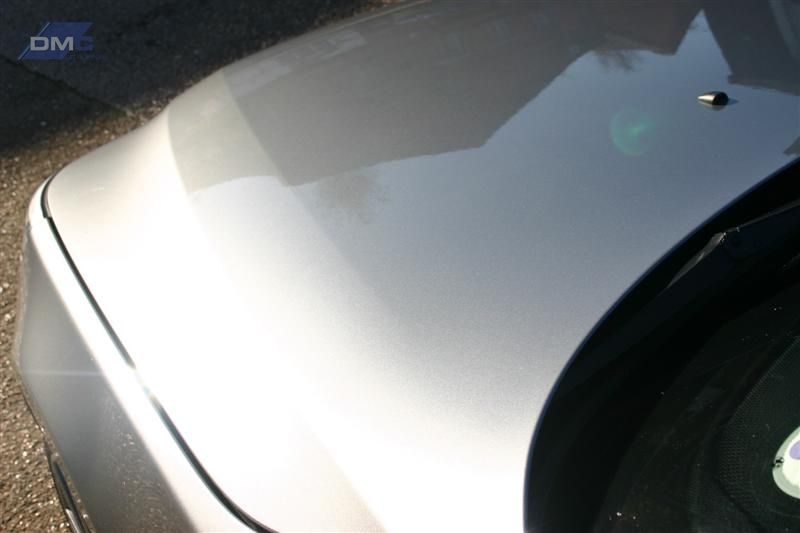
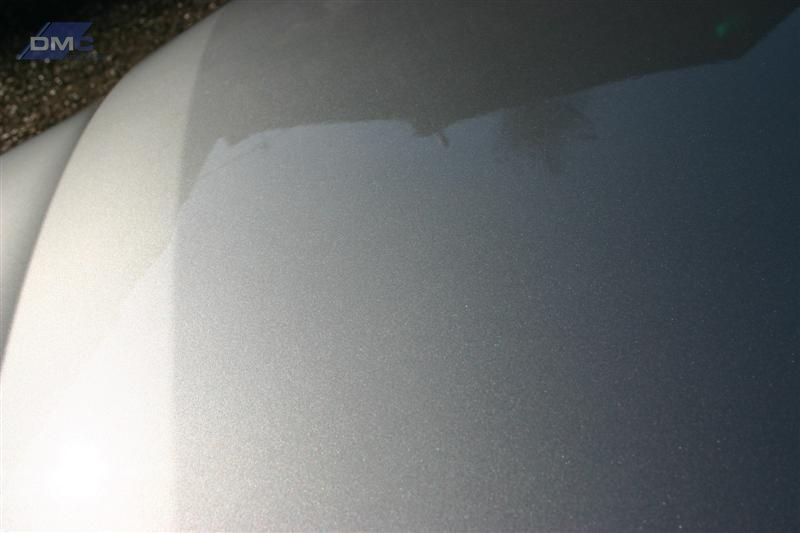
Below is the reason I still prefer to clay a car despite using a good shampoo, tar remover and IronX you can never (IMO) fully remove all the bonded on stuff! This is after 1/4 of the bonnet
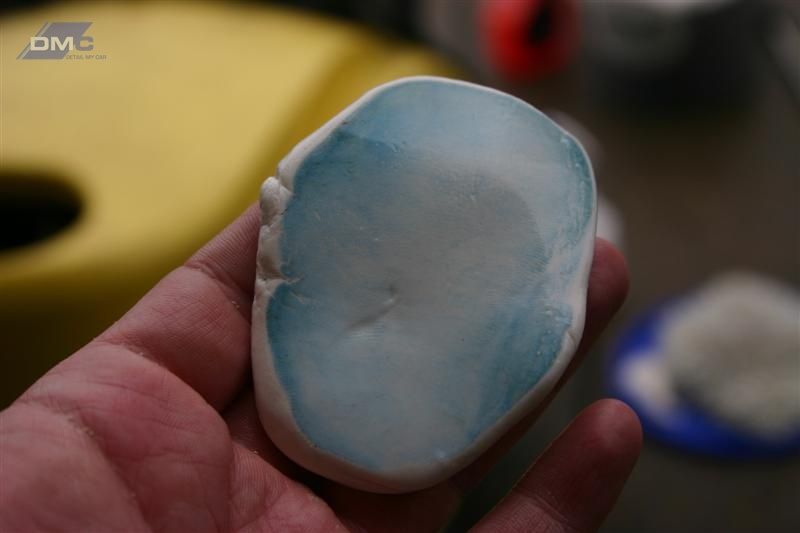
This blue residue was only really prominent on the bonnet but the rest of the car was clayed to be on the safe side and leave a nice glass like surface prior to polishing.
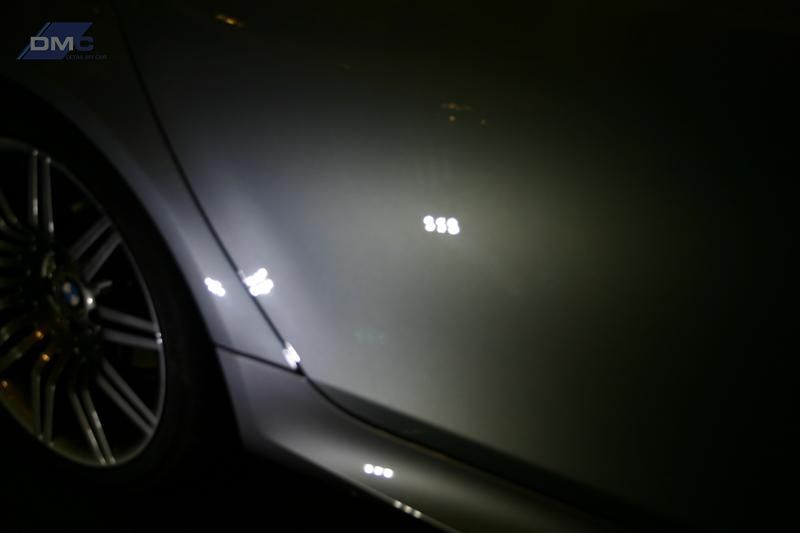
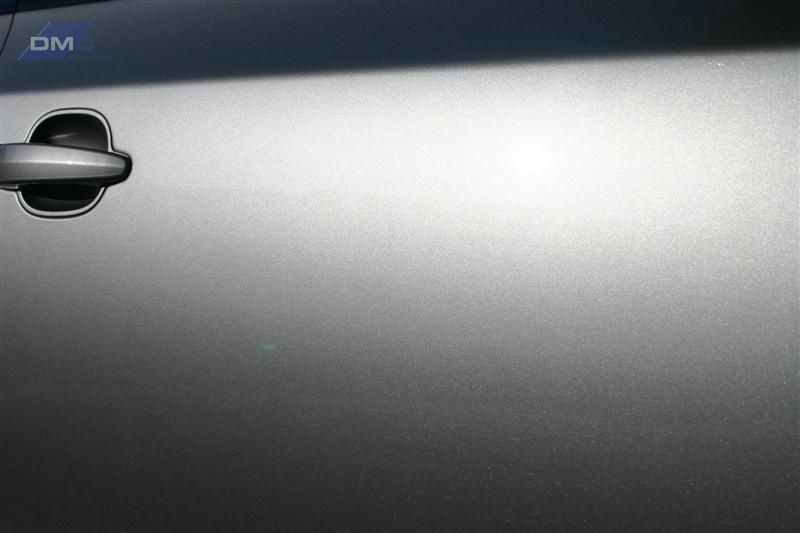
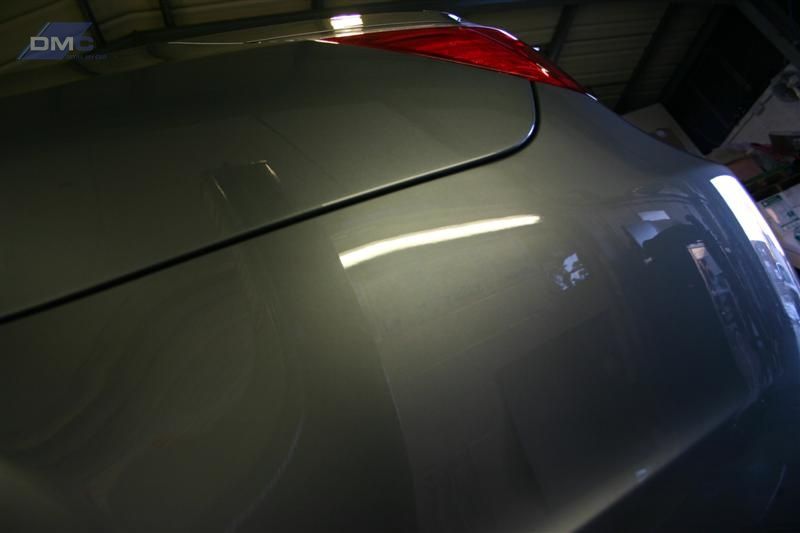
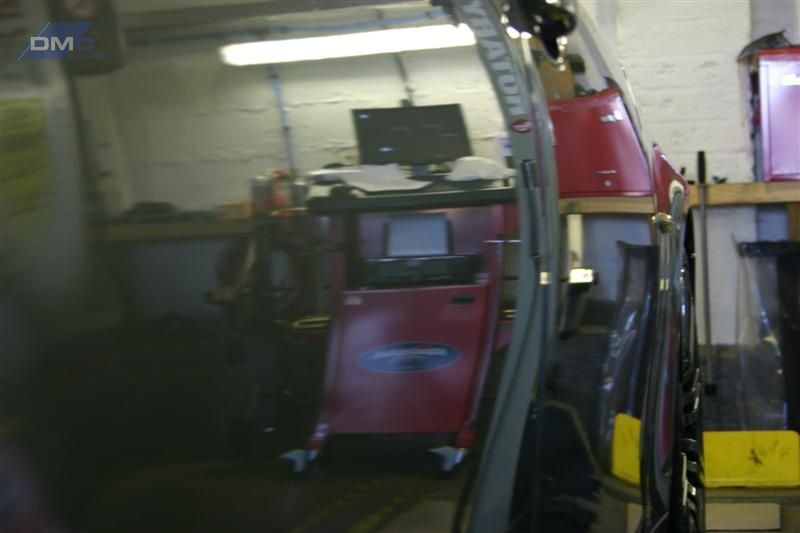
The BMW was taken indoors for drying and all masked off ready for polishing. Polishing wise the car was polished with Scholl S3 Gold as it was pretty hard, S17+ wasn't having the desired effect so S3 was used and gave great correction. I took my time and ensured no major holograms were left to help make refining a nice quick stage so after polishing with S3 I used Meg's PO85RE5 on a Green Hex Logic pad. I tried Scholl S40 but for some reason it wasn't reacting well and was leaving almost sticky residue on the panel.
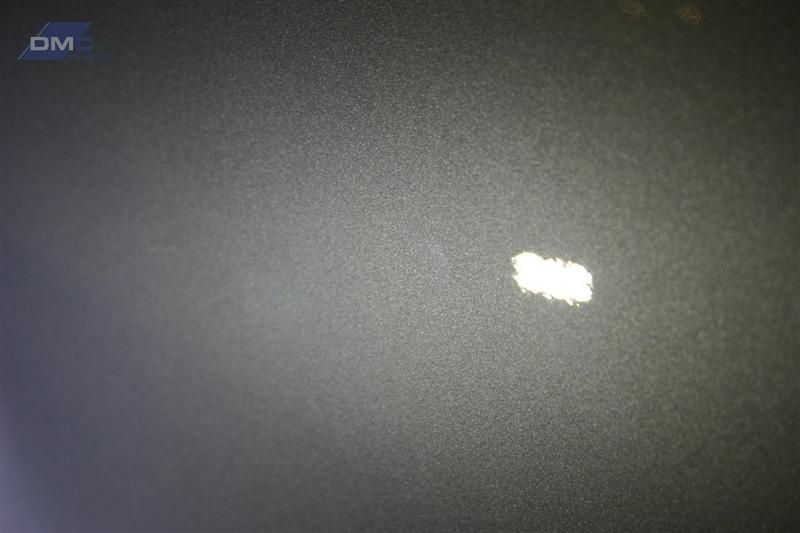
Stone chips had all been touched in and dried before any polishing was carried out, these were then flattened with Meg's Unigrit 2000 followed by 3000 before polishing up.
The whole car was given an IPA wipdown

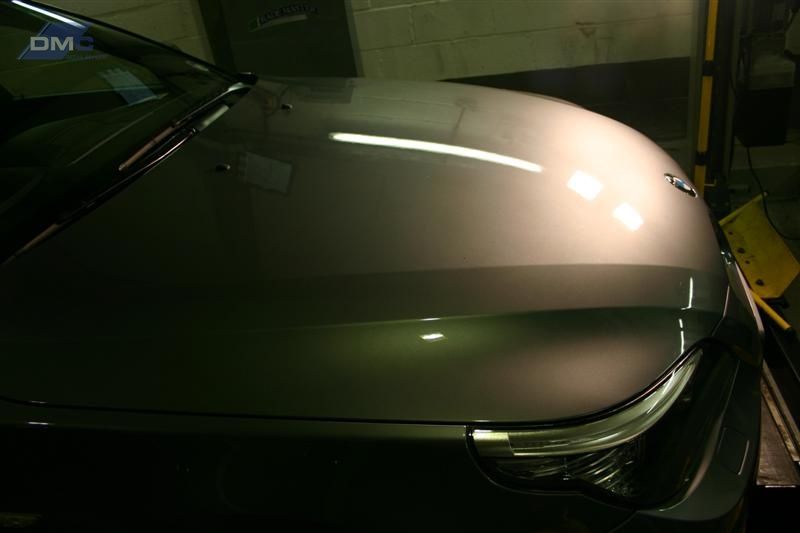

Ceramishield Pro Sealant was then applied, luckily I have a colleague that helps me on these as there's an optimum time to buff off Ceramishield Pro and it takes a lot longer if you're doing it on your own as you have to keep putting the bottle and applicator down before buffing off so having someone to help is great as a far more careful eye can be kept on it flashing off
All done for one day (13 hours later)
Next day I was back down around 8:30am to do the final touches and interior.
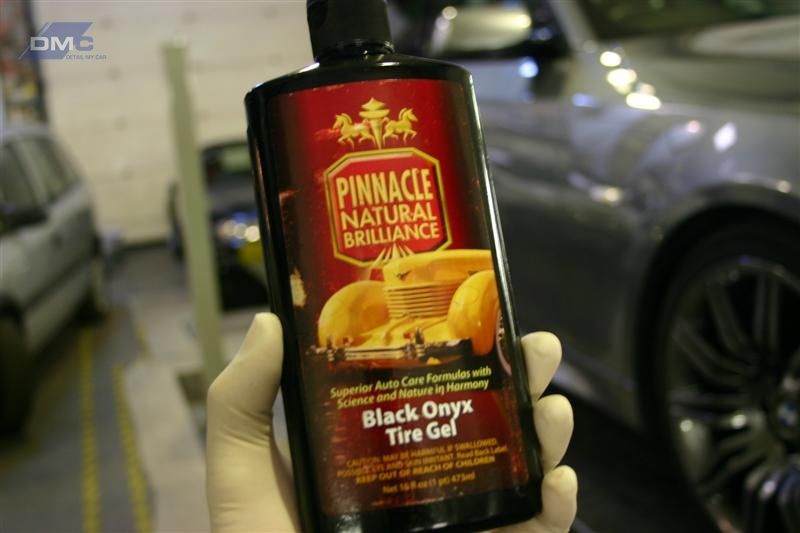
First up was the Tyres, dressed with Pinnacle
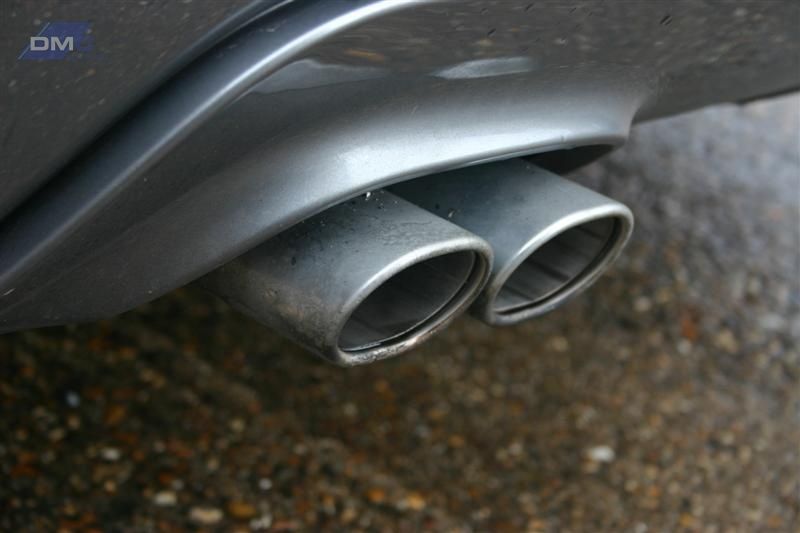
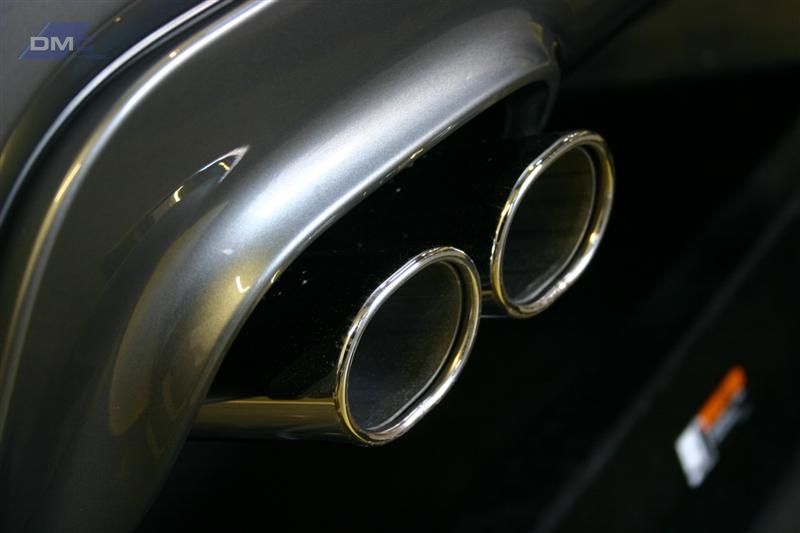
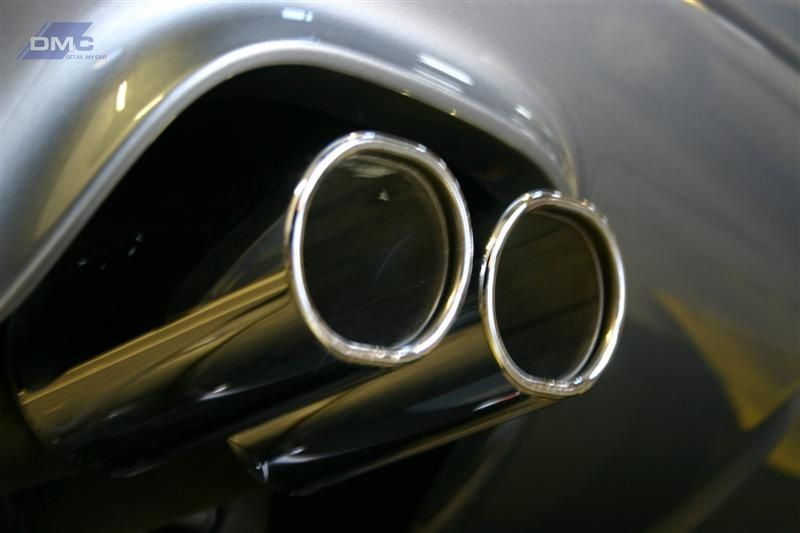
Exhaust then polished with Autosol, wirewool and a MF cloth
Exhaust before
After
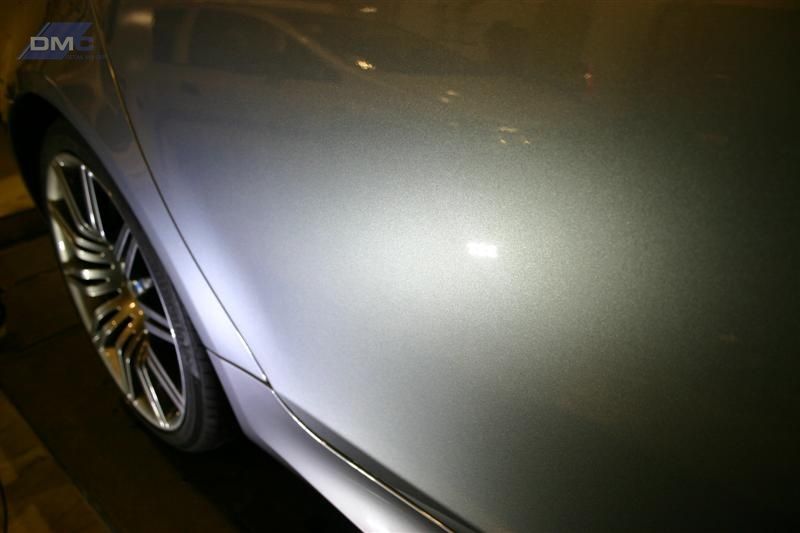
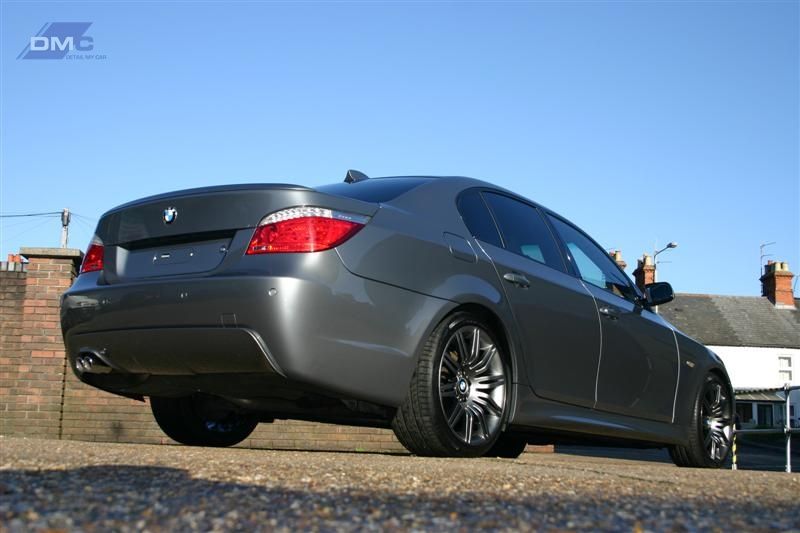
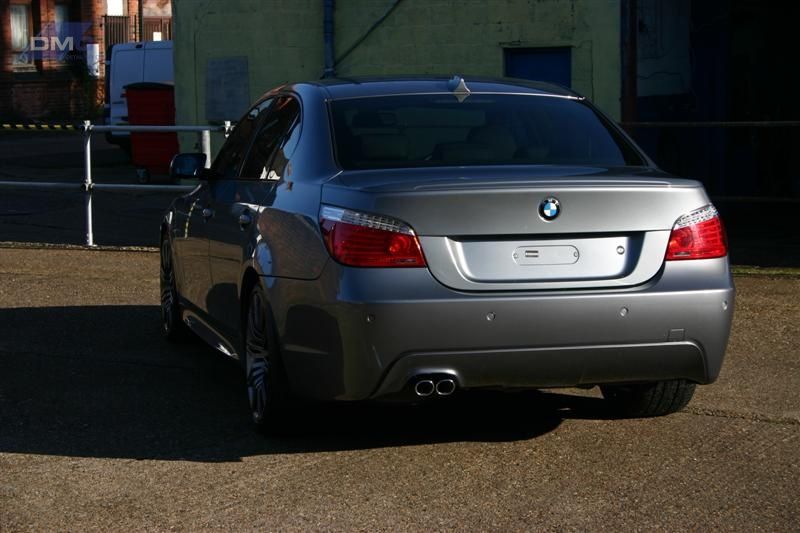
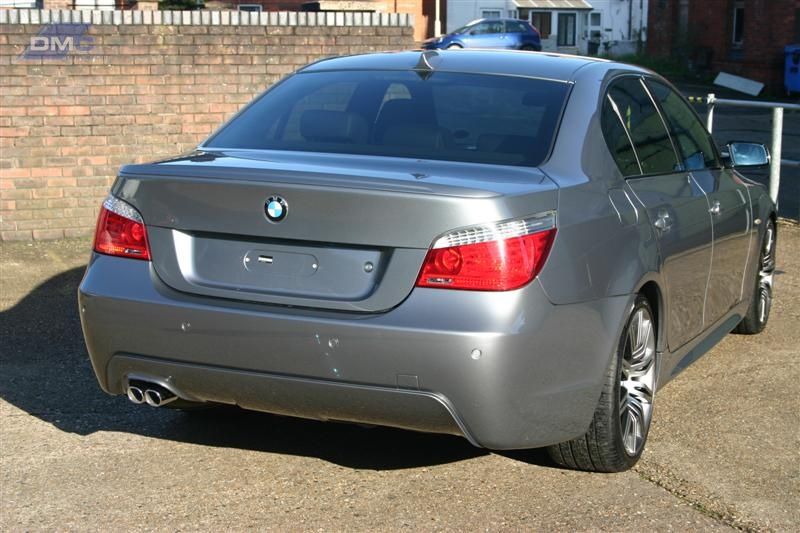
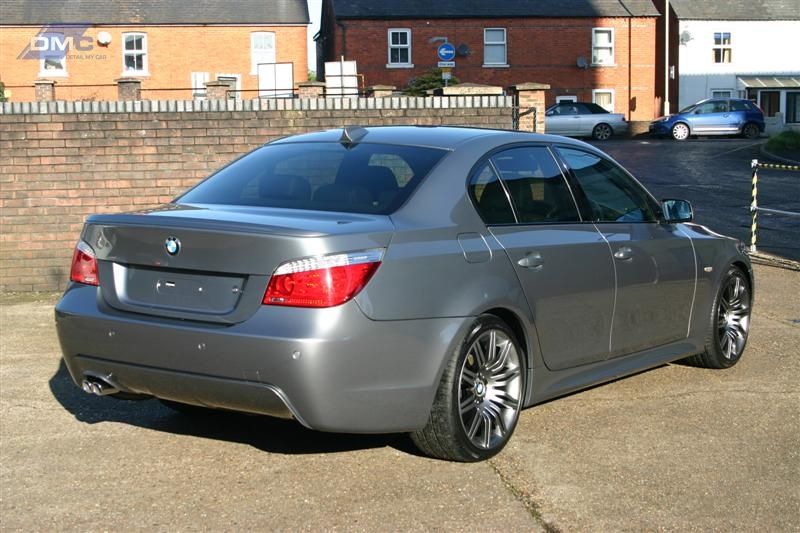
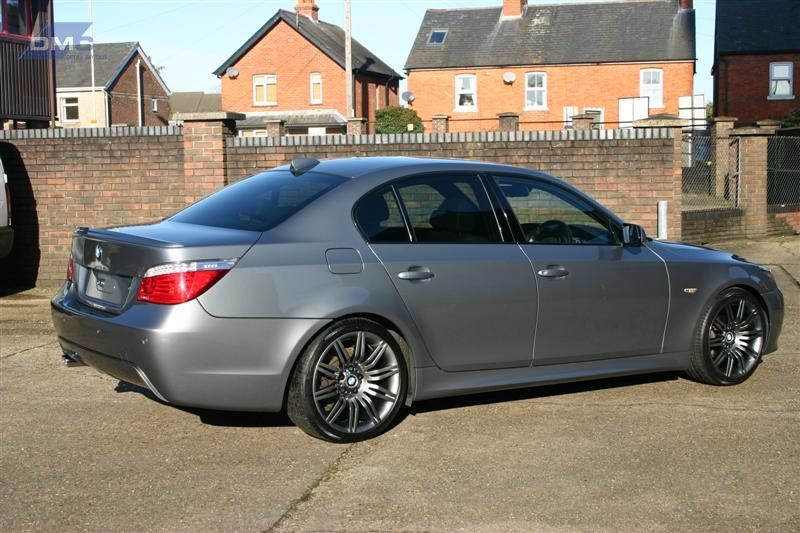
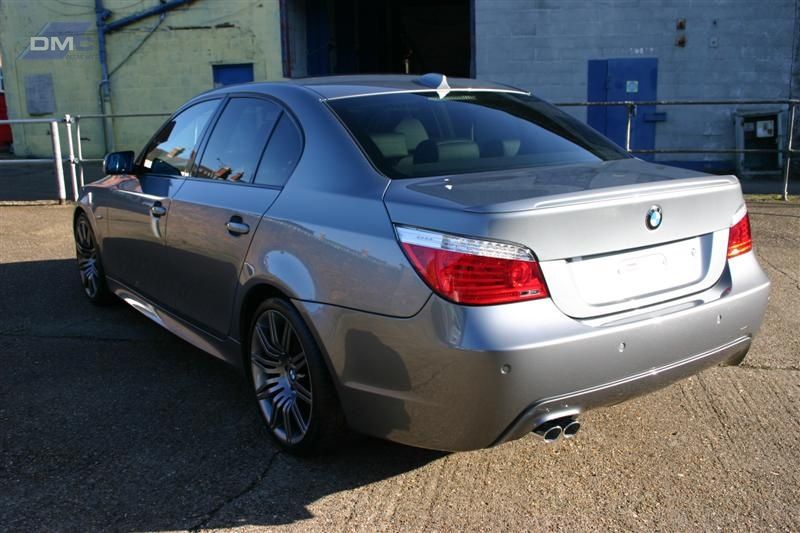
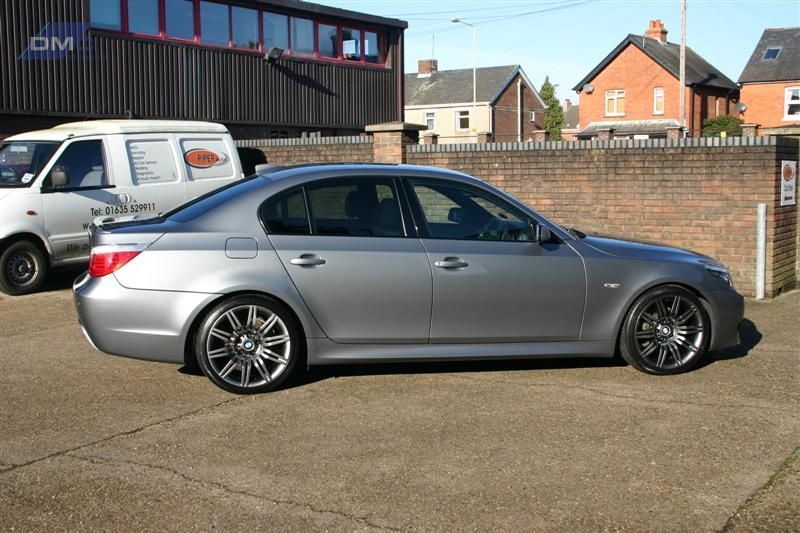
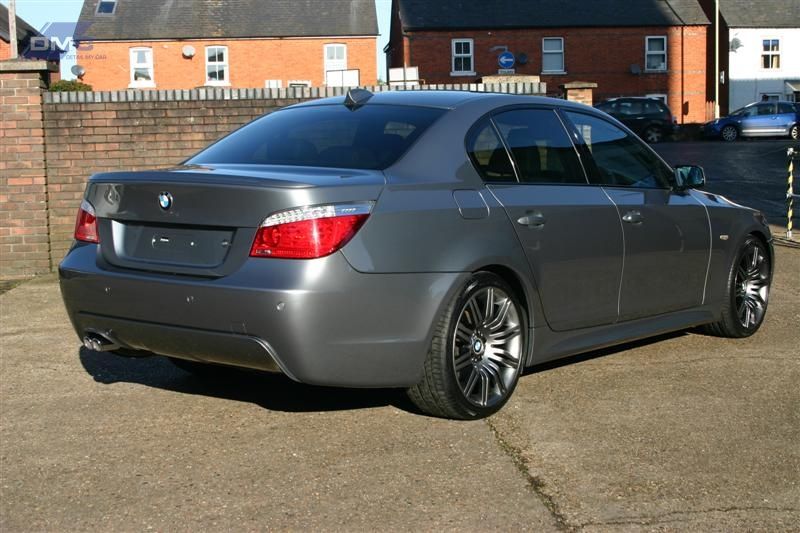
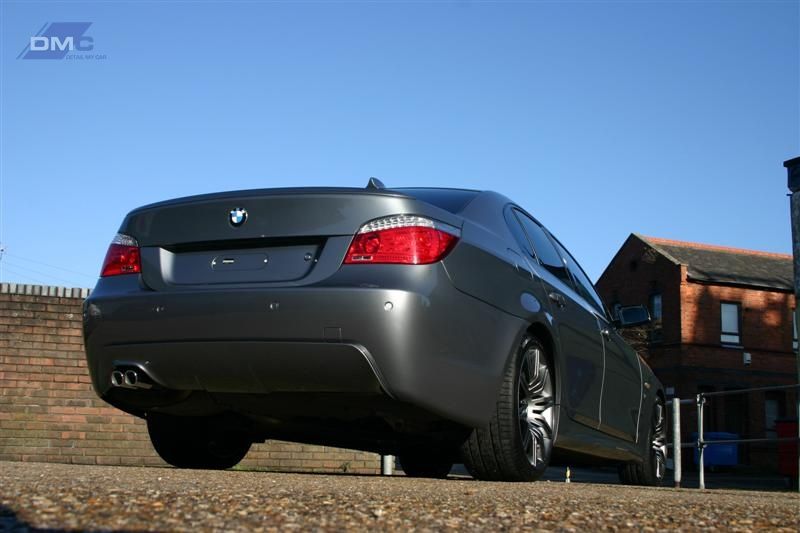
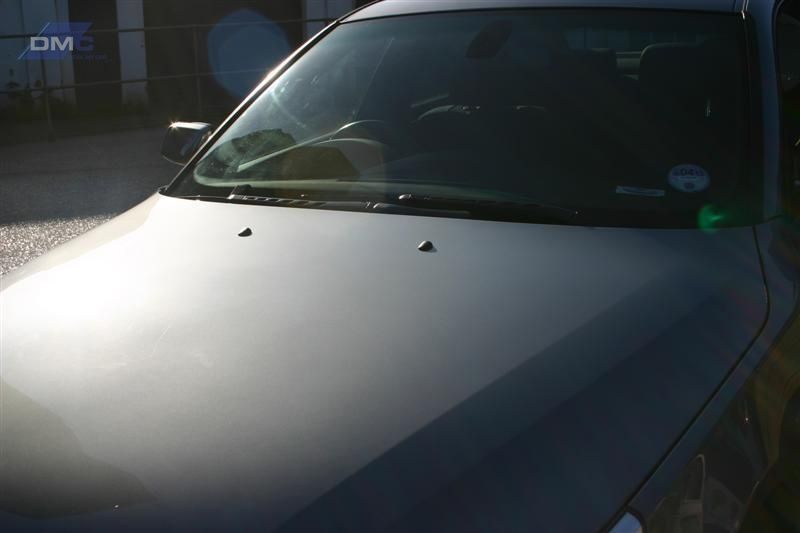
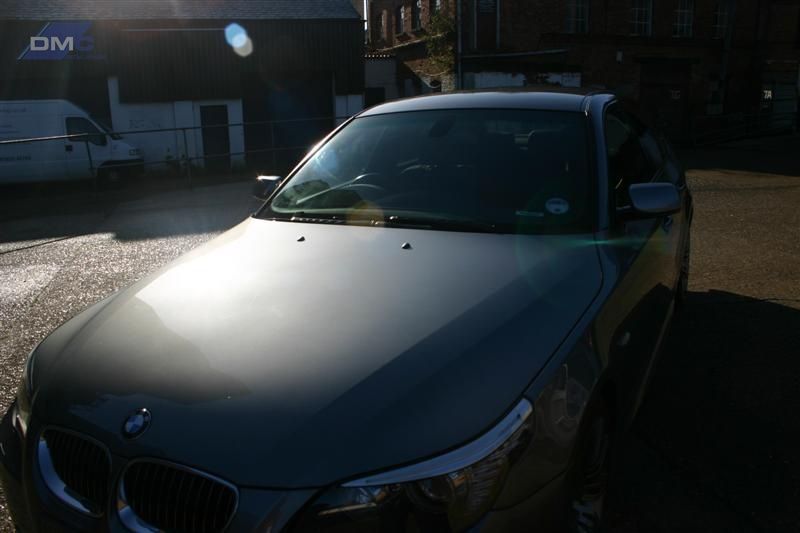
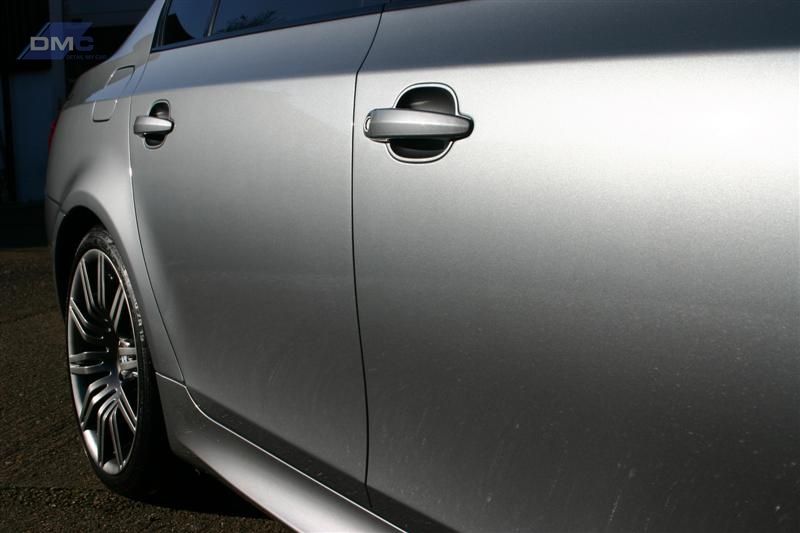
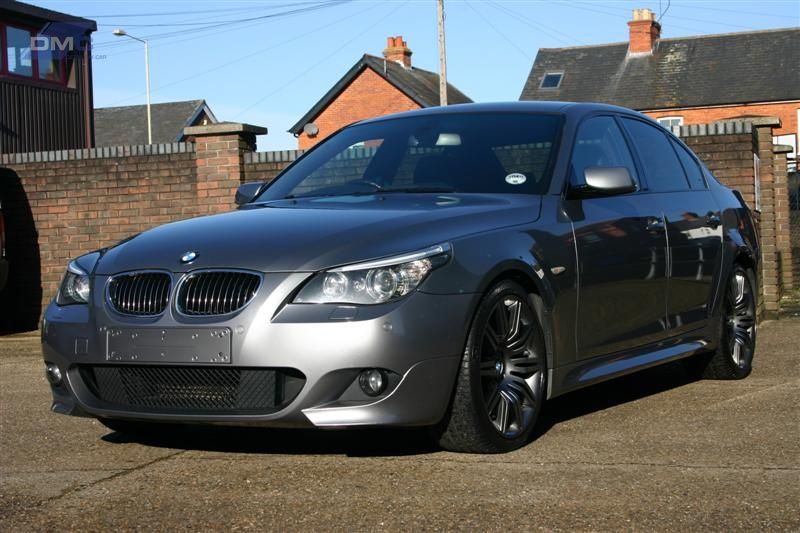
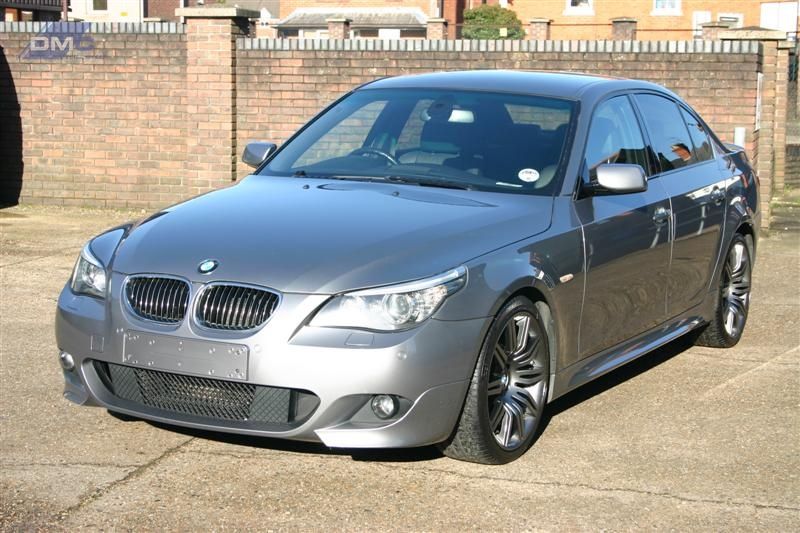
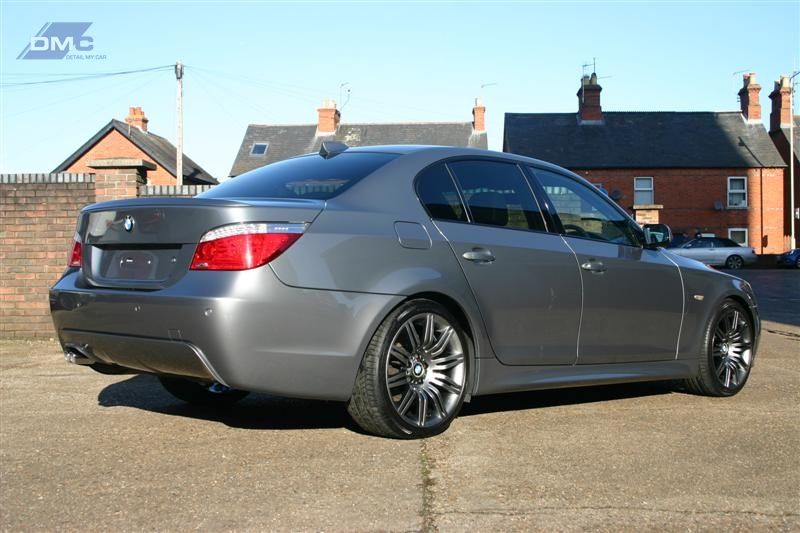
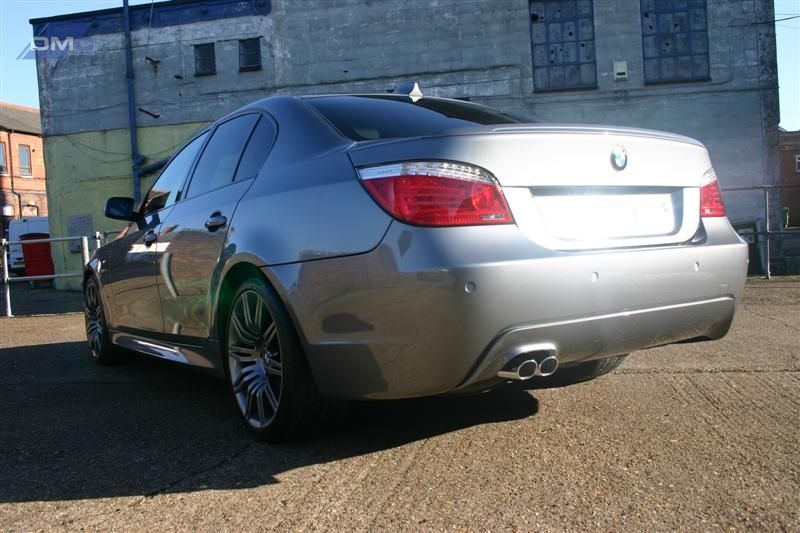
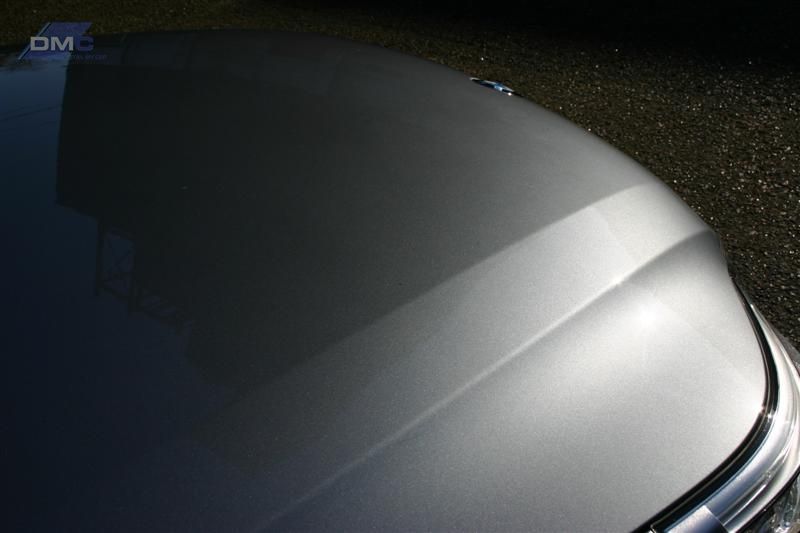
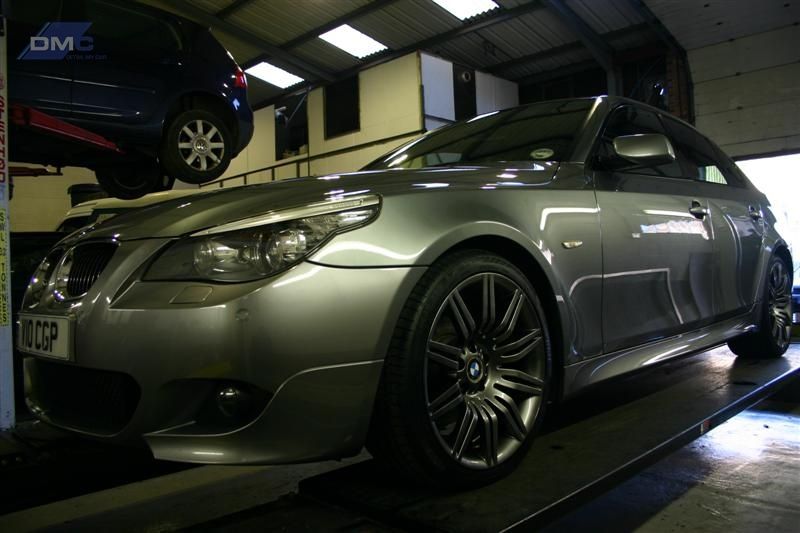
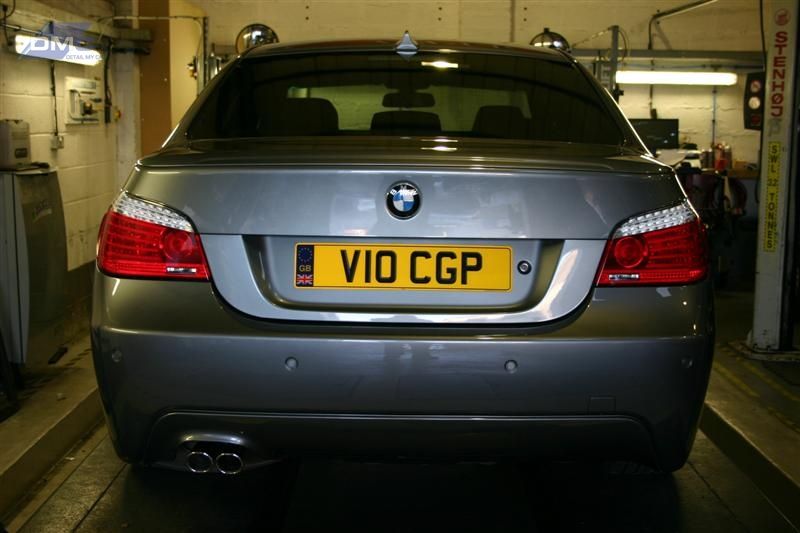
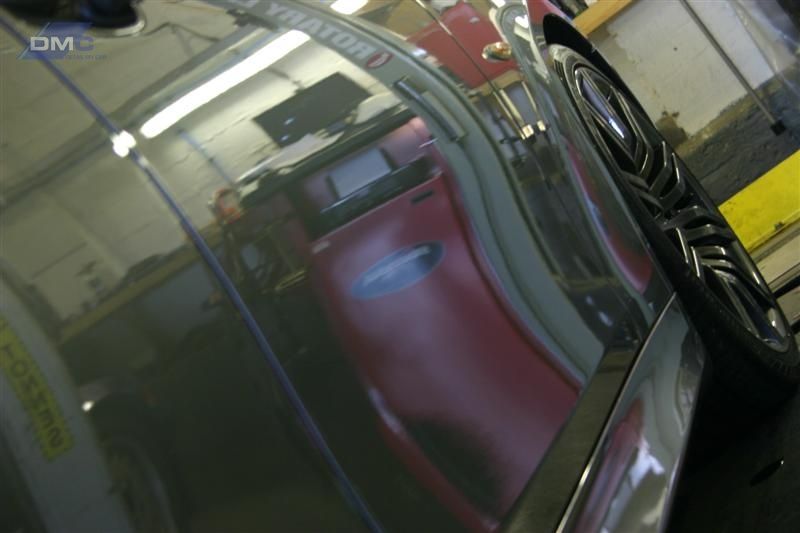
Before cleaning Glass the car was then taken outside to get some good pics in the Sun as it was out at just the right time


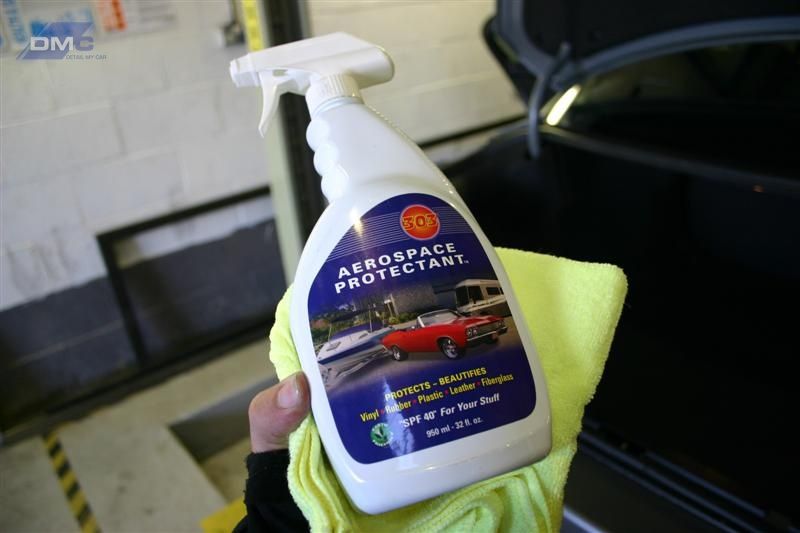
Taken back inside I full cleaned the interior (no pics) but it was Vac'd, dusted and all plastics treated with Aerospace 303, leather cleaned with Gliptone and carpets all with AS Brisk foam.
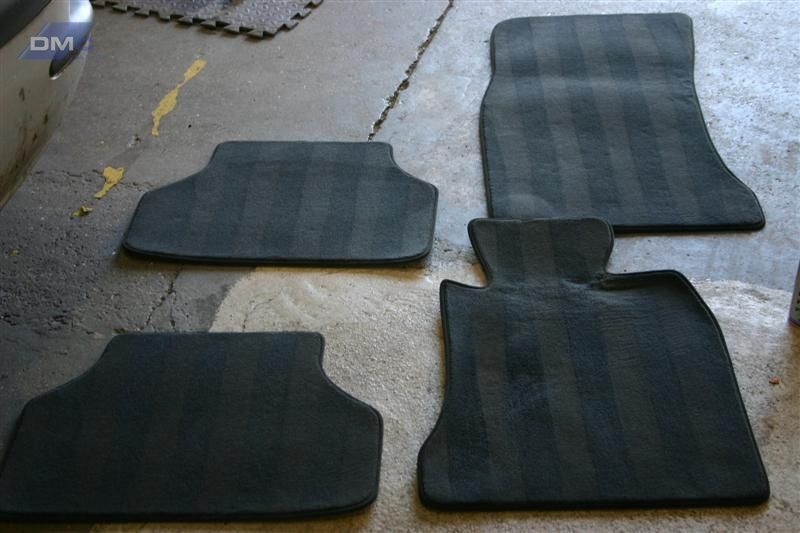
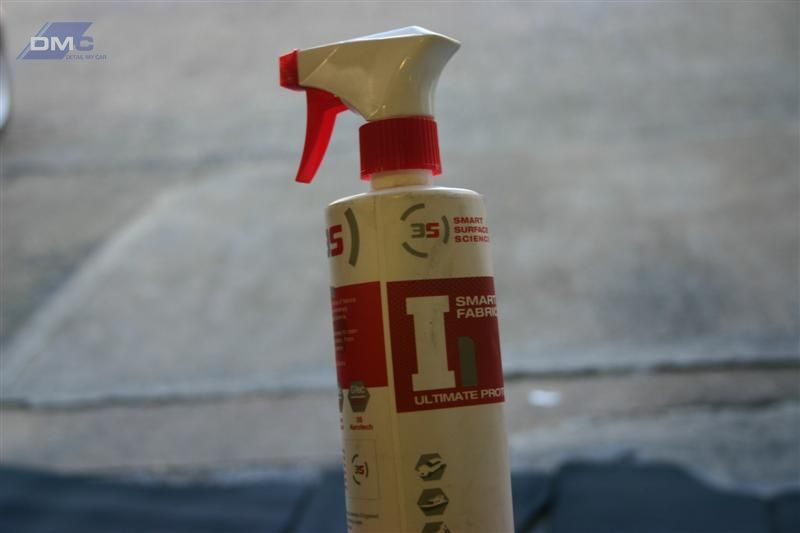
Mats were taken out, vac'd and cleaned with Brisk foam before sealing with Gtechniq I1 to add some fabric protection.
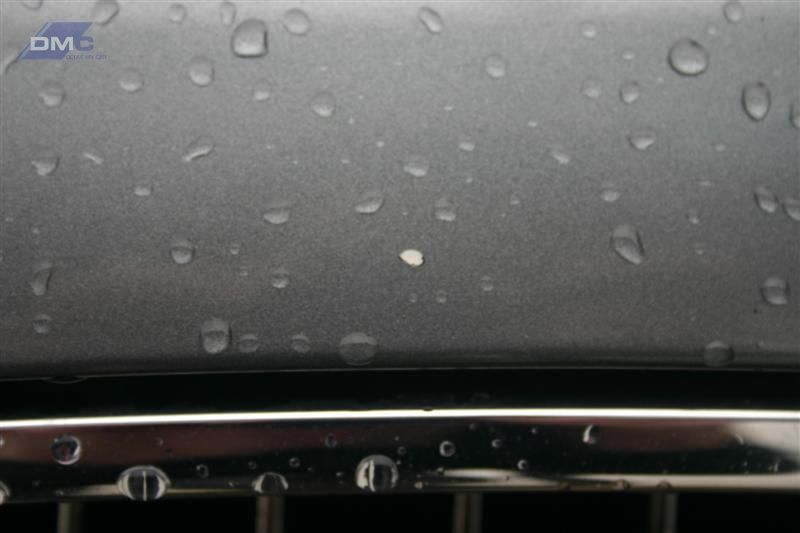
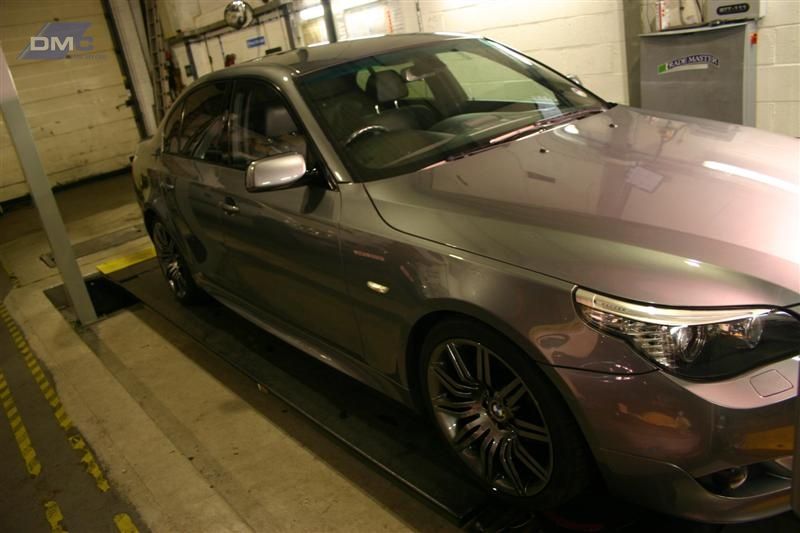
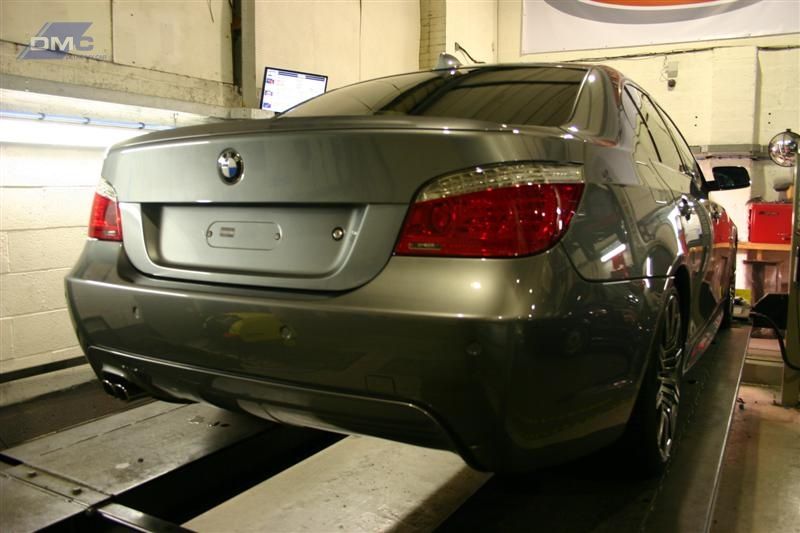
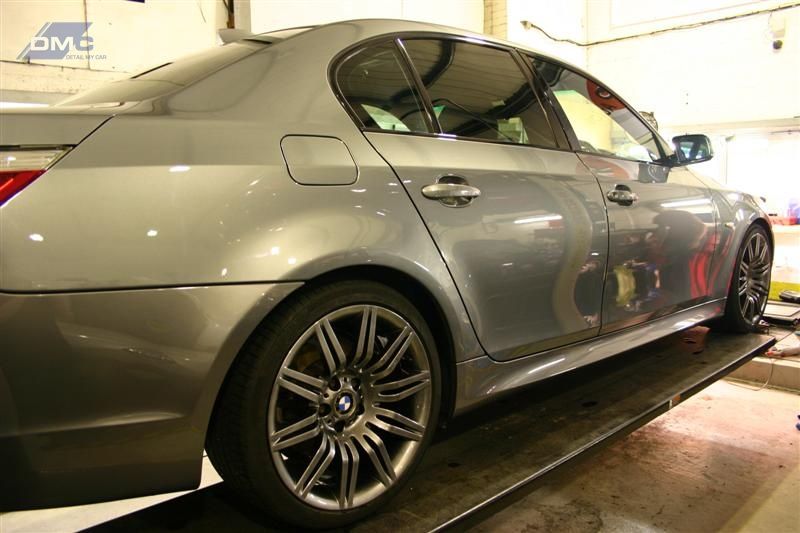
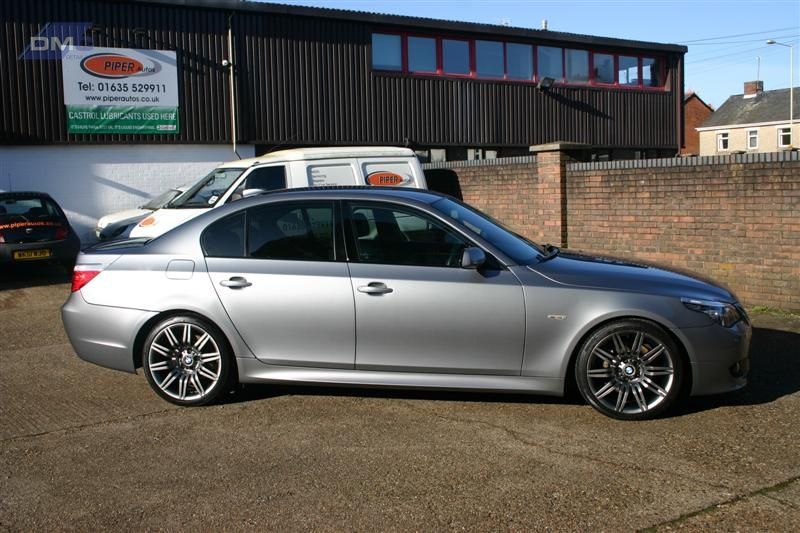
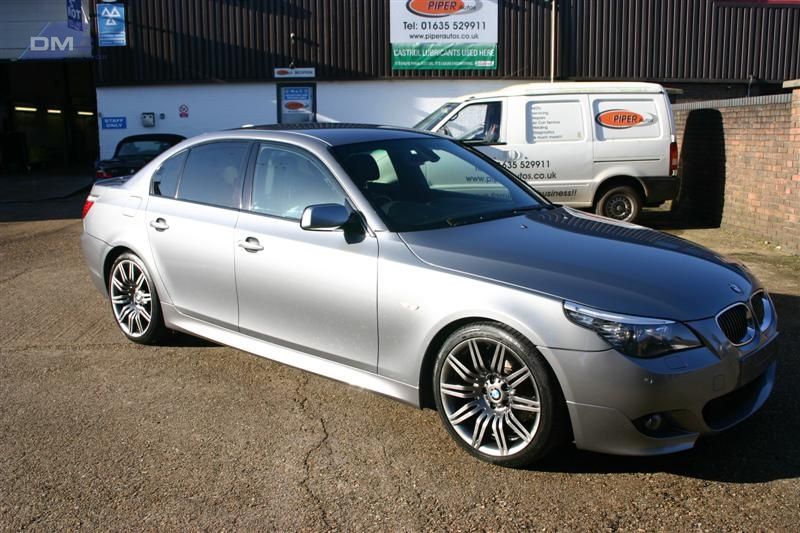
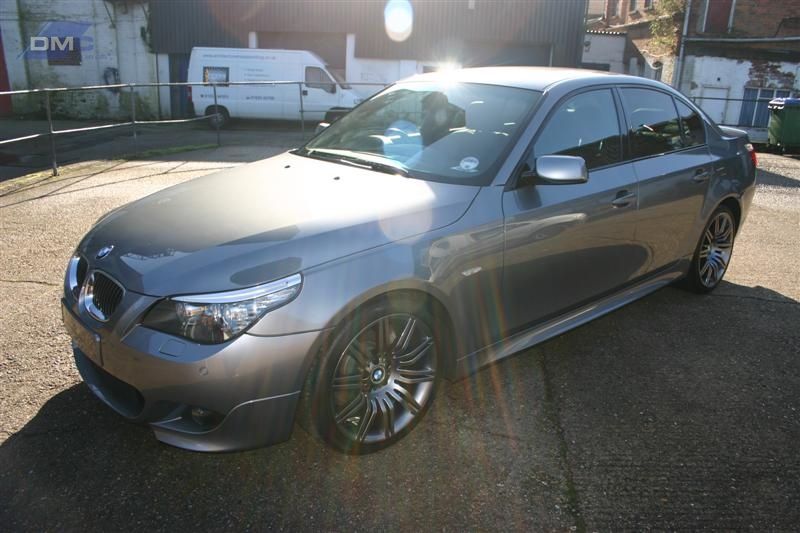
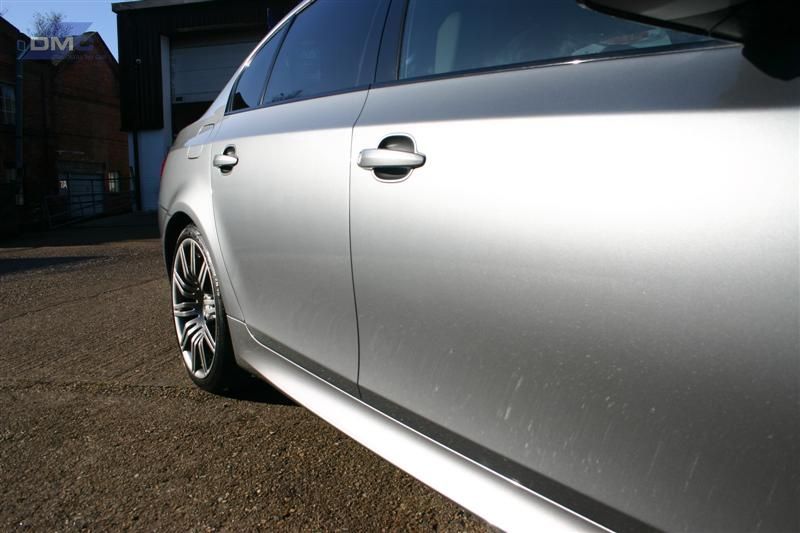
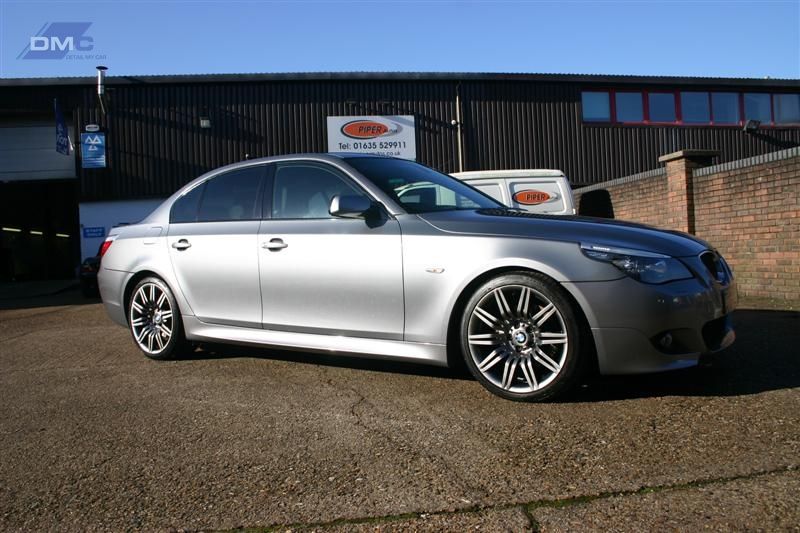
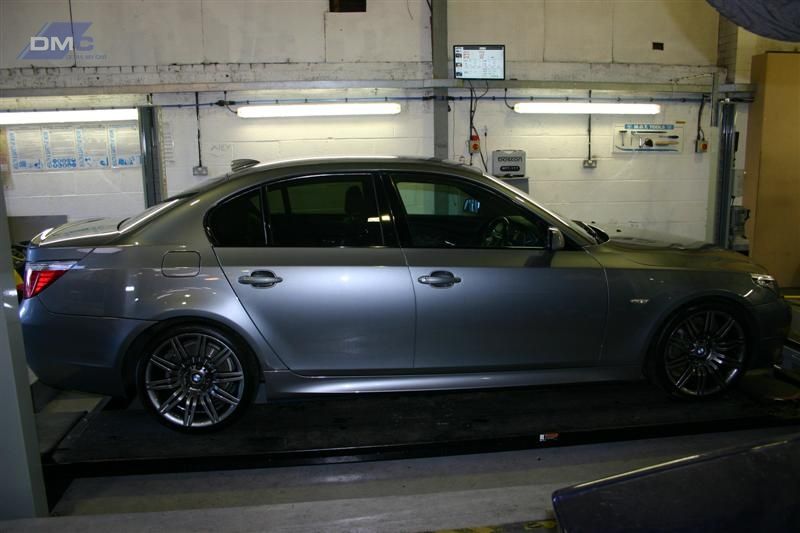
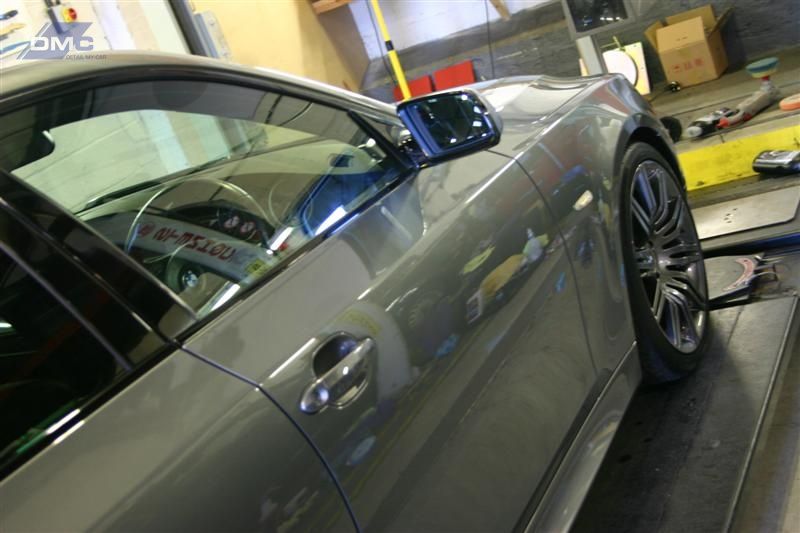
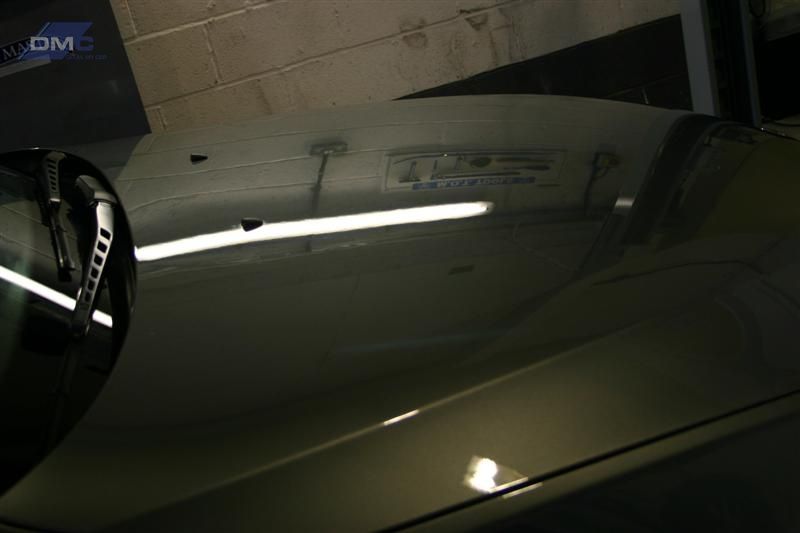
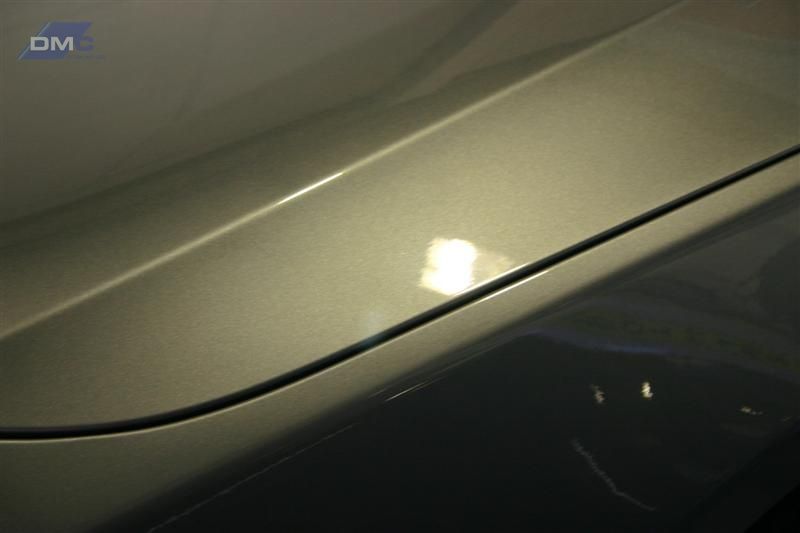
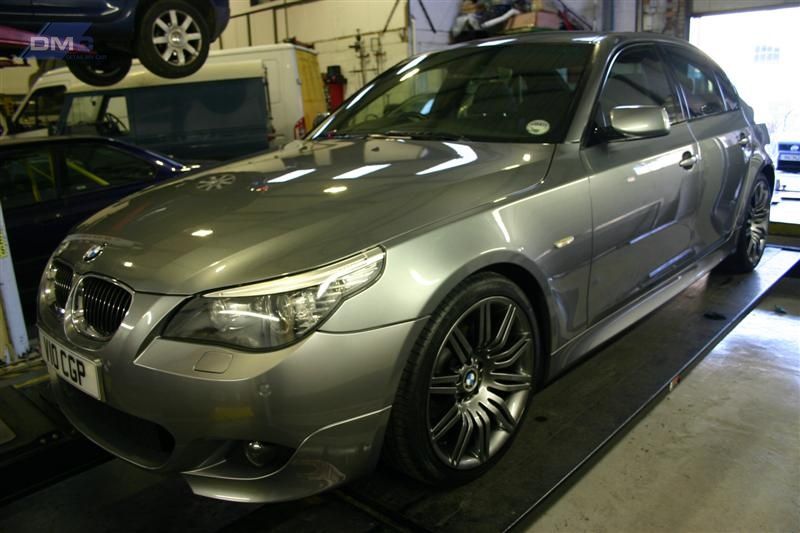
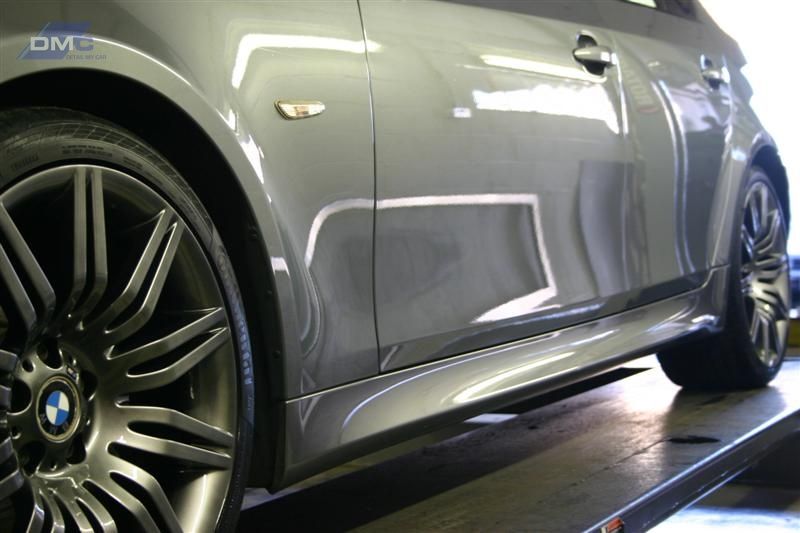
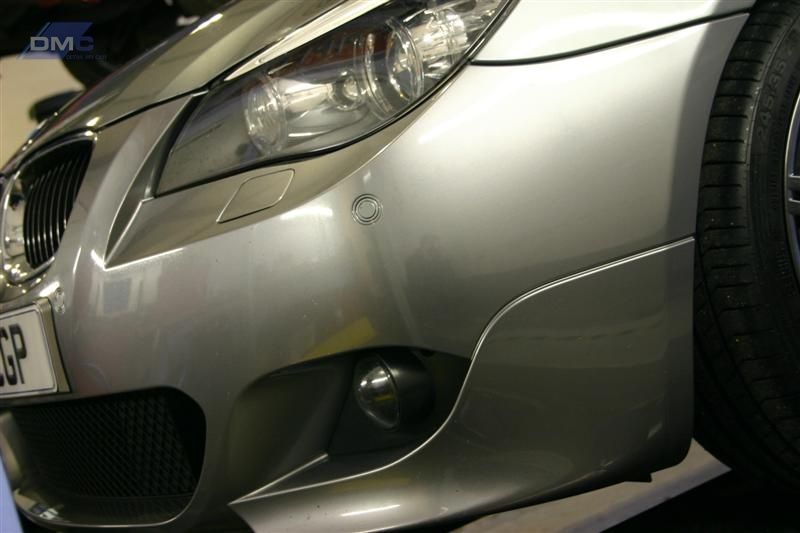
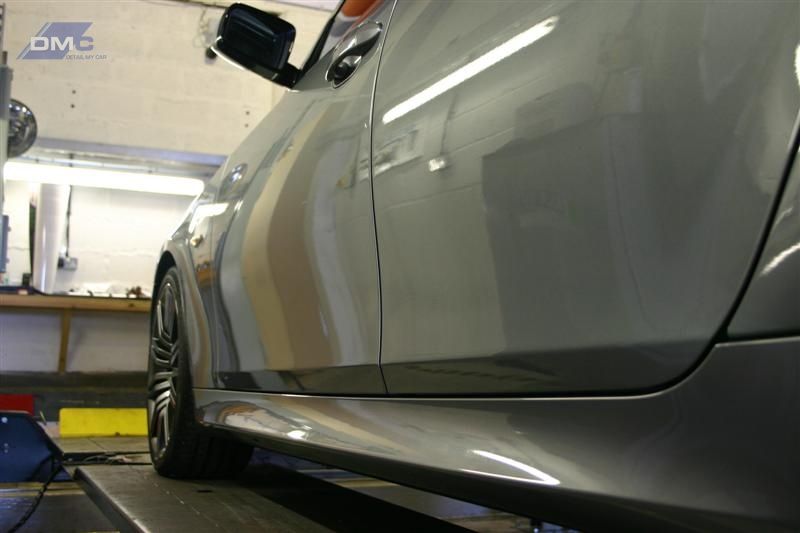
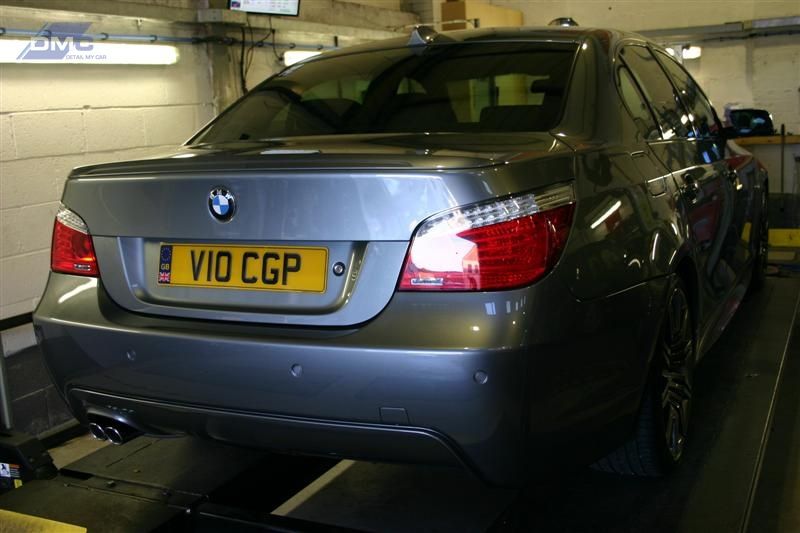
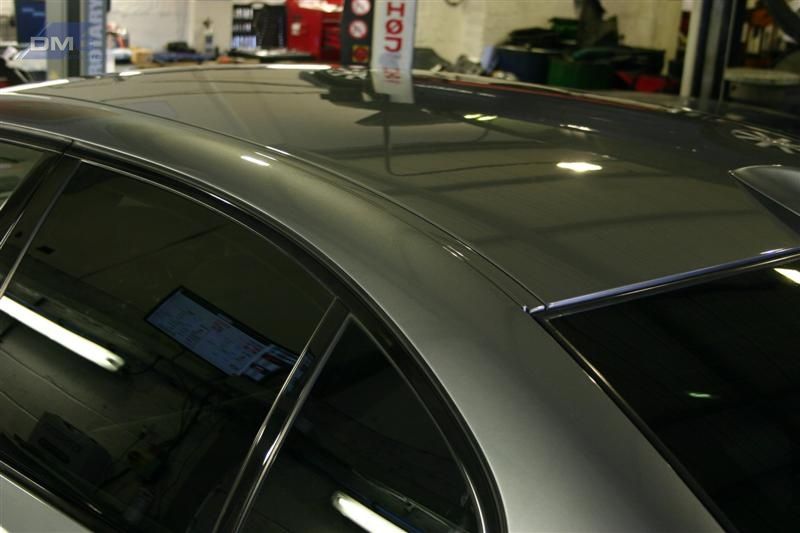
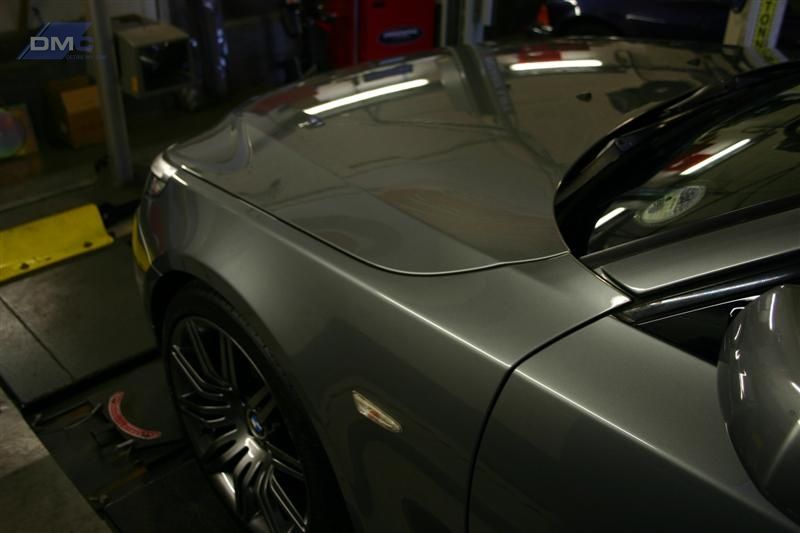
Here's the final pics


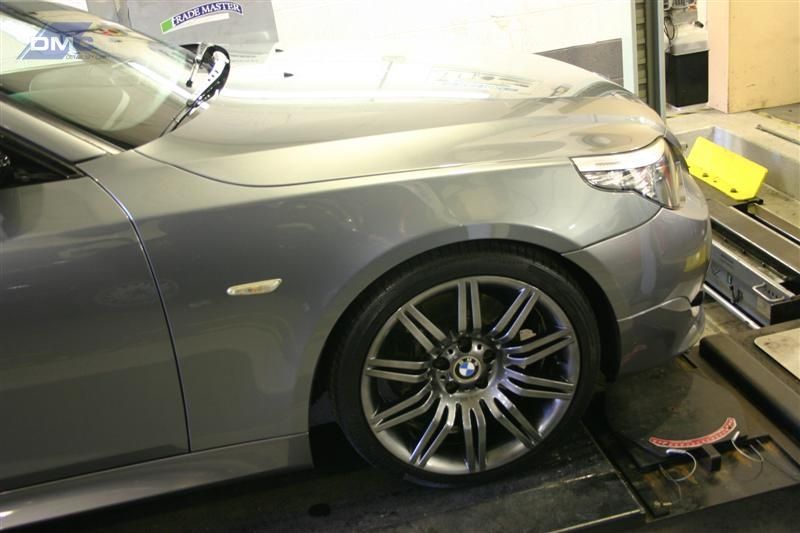
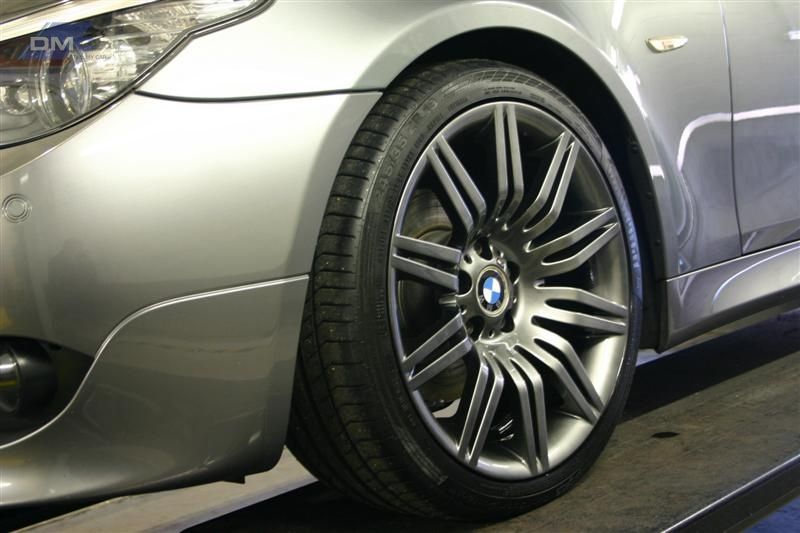
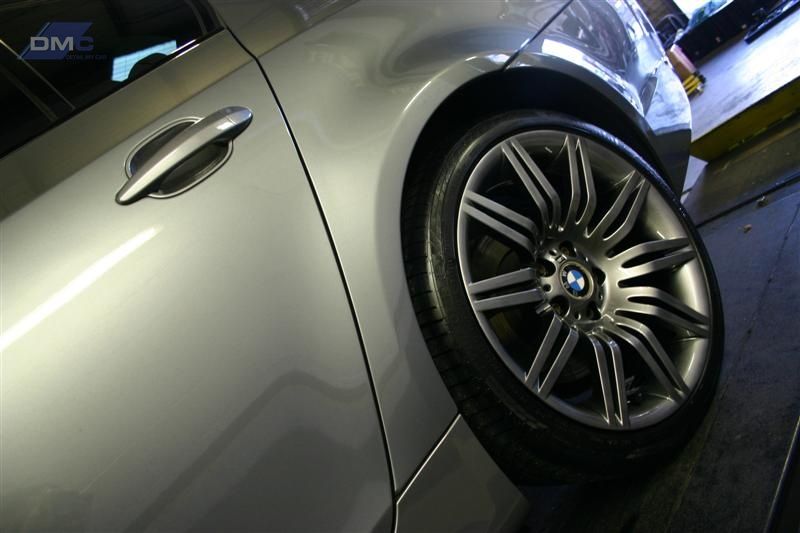
Wheel close ups
More on the car
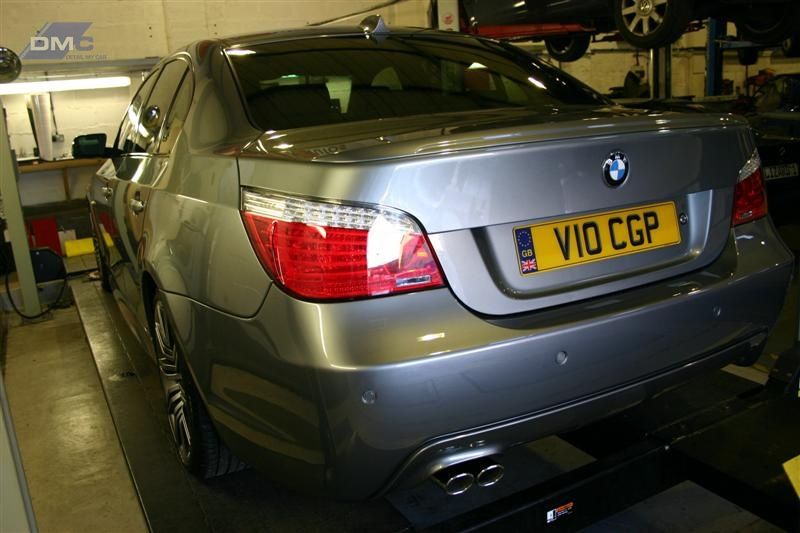
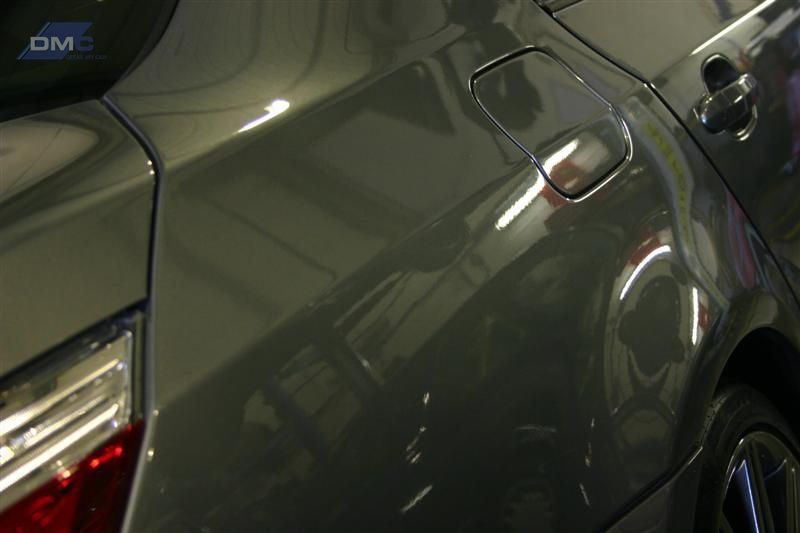
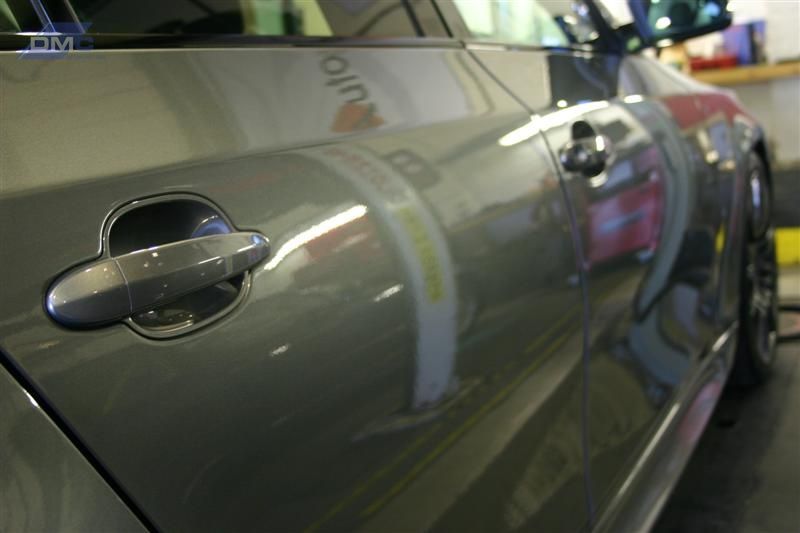
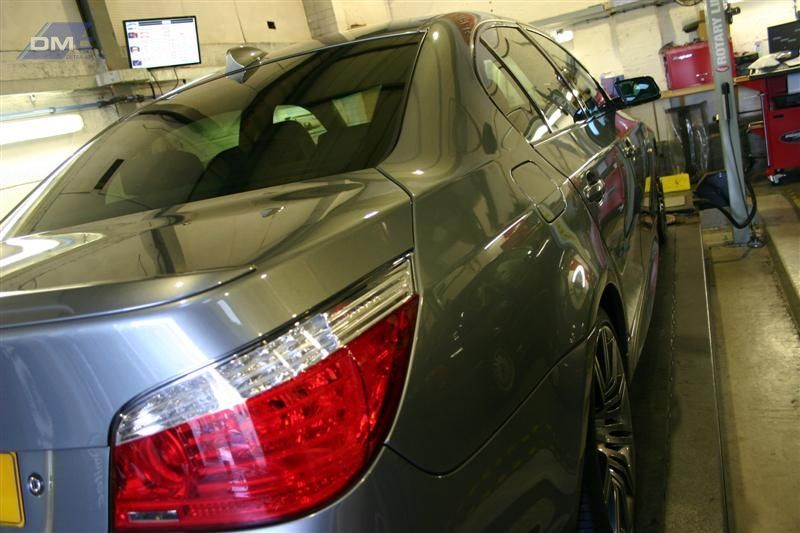
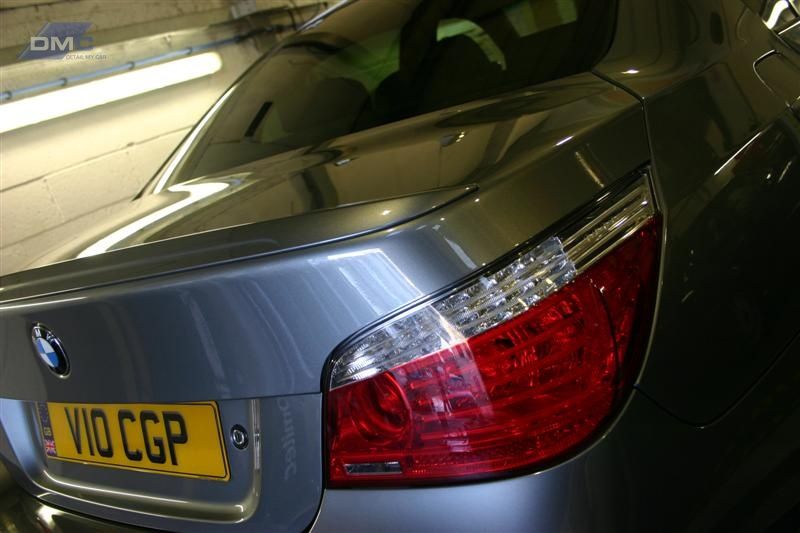
Excuse the sheer amount of pics but I wanted to show it in lots of angles, the car came up lovely and I'm really happy with it!
The owner is back tomorrow so looking forward to his reaction.
Thanks again for reading another write-up from DMC!
Nick