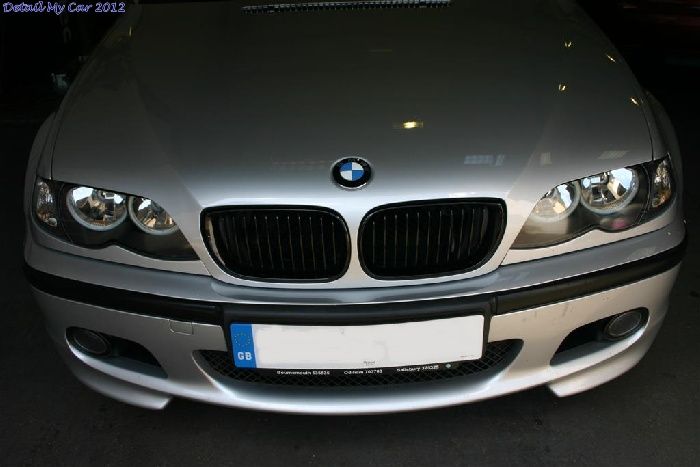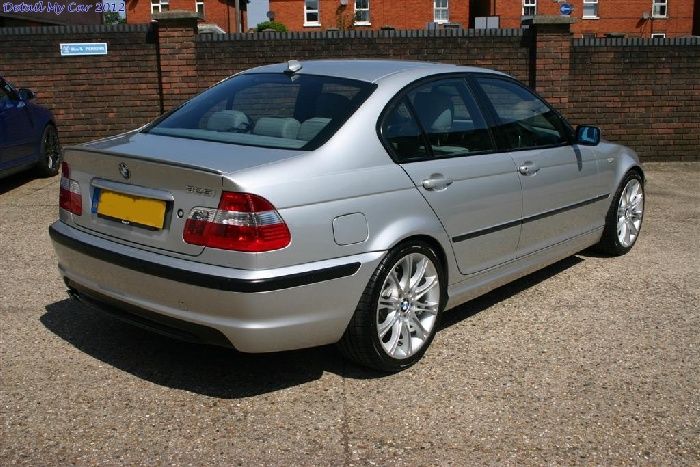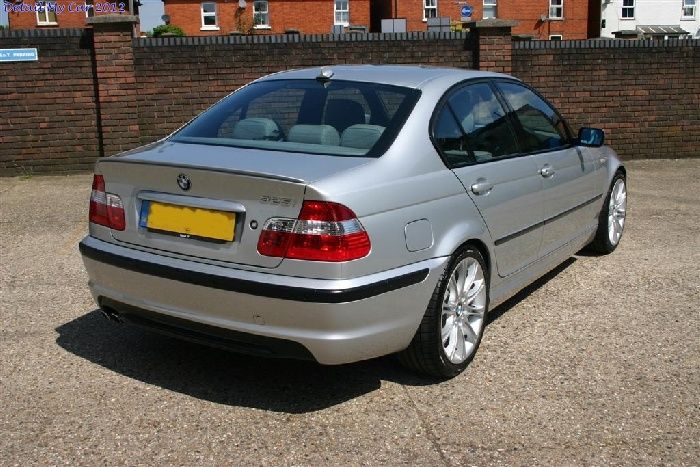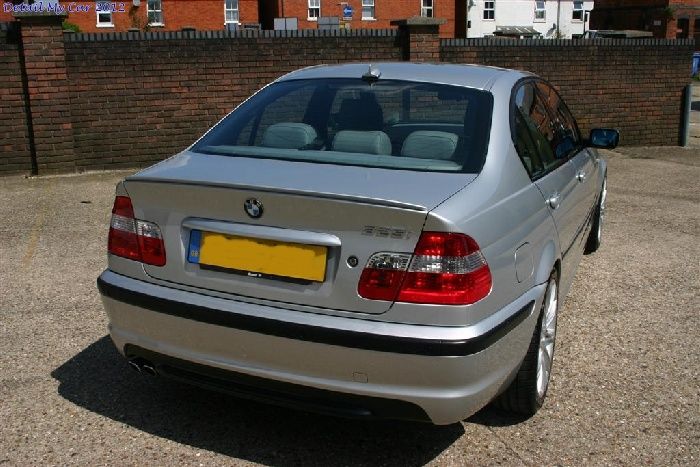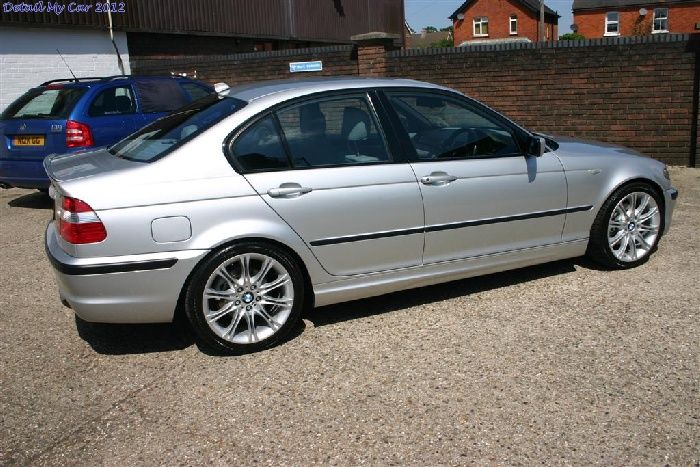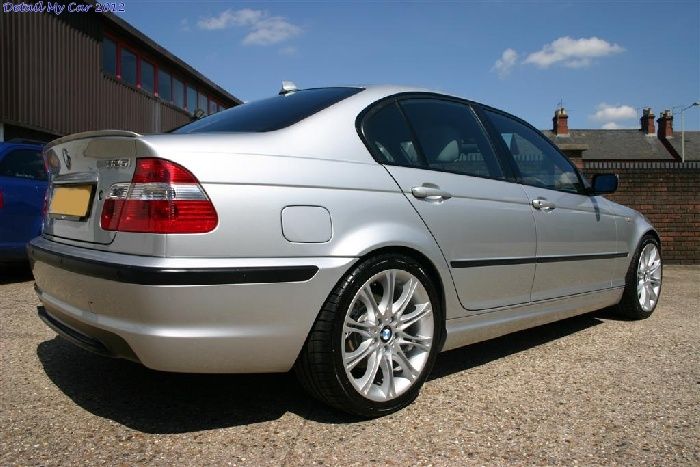
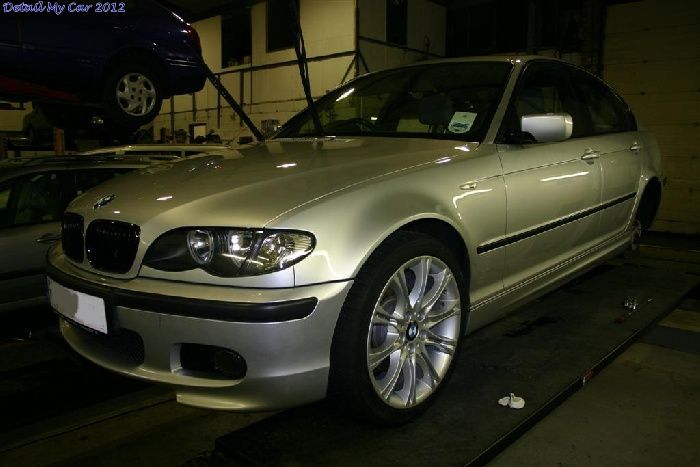
DMC Detailed Write up - BMW 325i M-Sport, Ceramic coating, Caliper painting
Posted on
Firstly please check out our other detailed write-ups, for a full list of cars please go here:
I warn you now this is quite a large write-up so please feel free to skip on or just look at the finished pictures, I don't expect everyone to enjoy reading these from me but thanks to those that do :-)
First of all Michael (MLAM on DW) enquired about getting his BMW 325i detailed, we agreed to do:
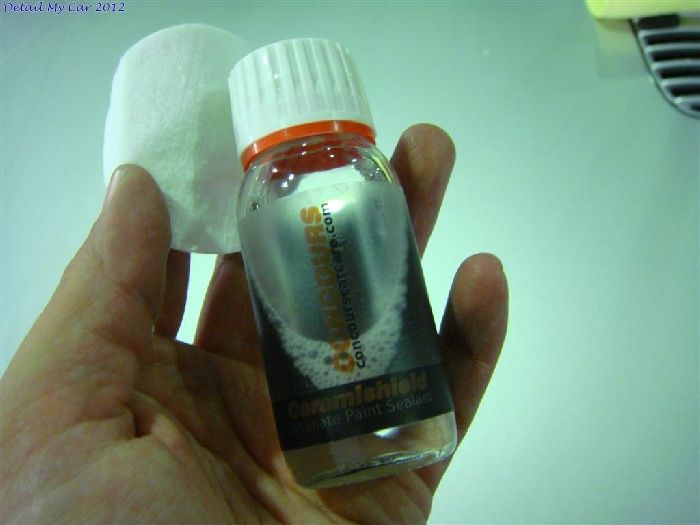
Enhancement detail with Ceramishield Sealant
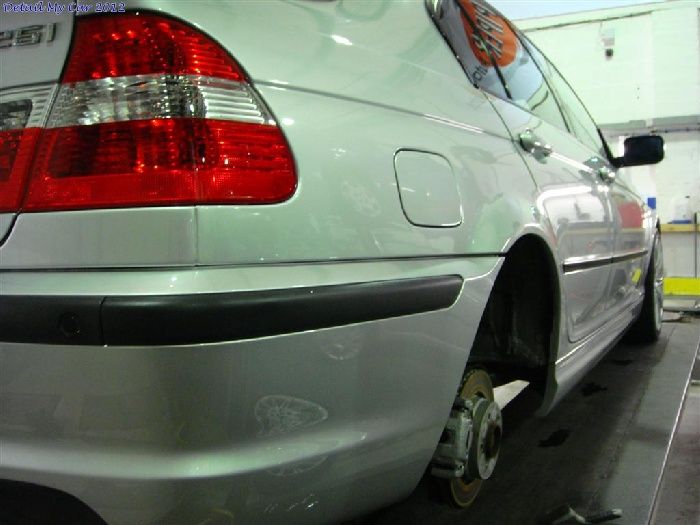
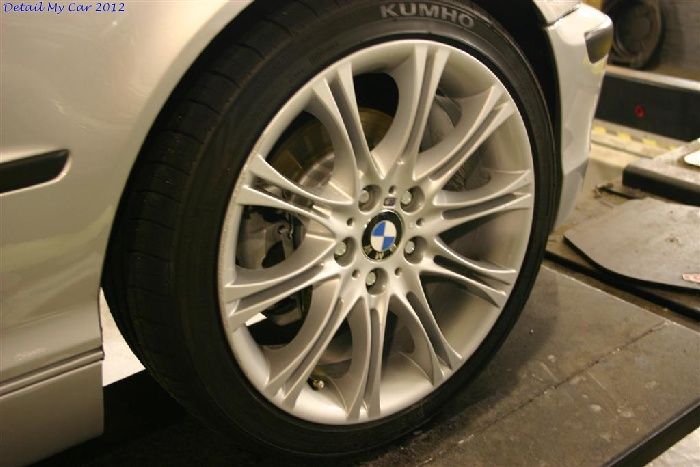
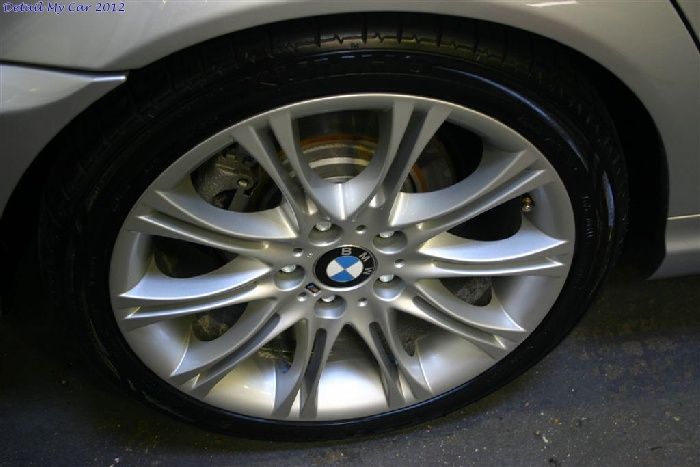
Brake calipers all painted and sealed (Wheels too whilst off the car)
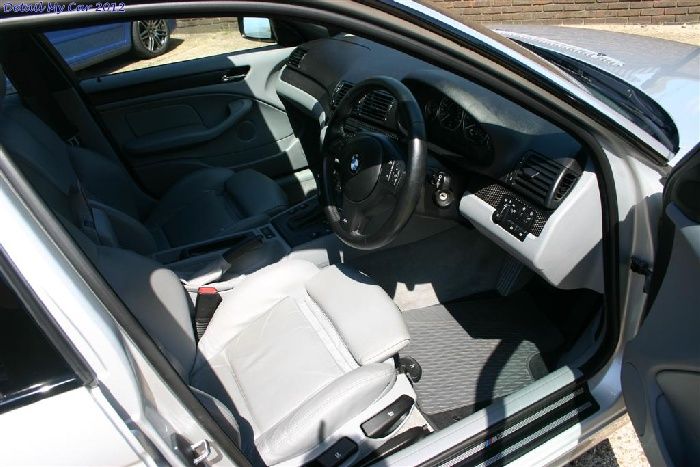
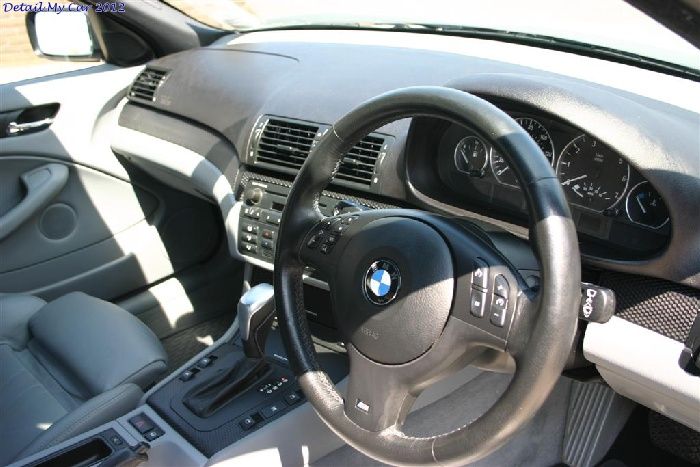
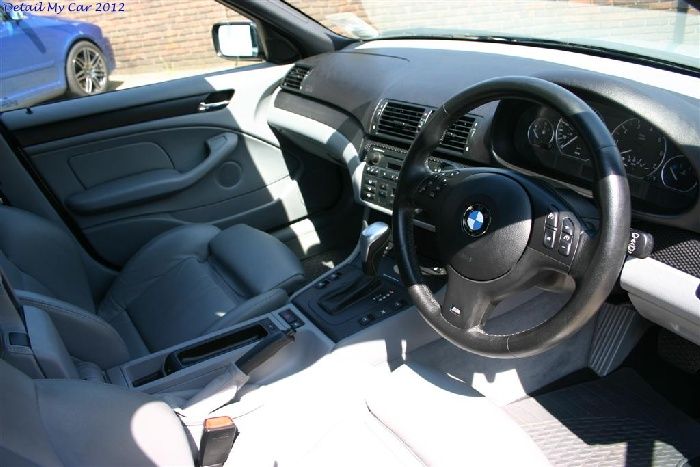
Interior Detail
Engine bay clean up
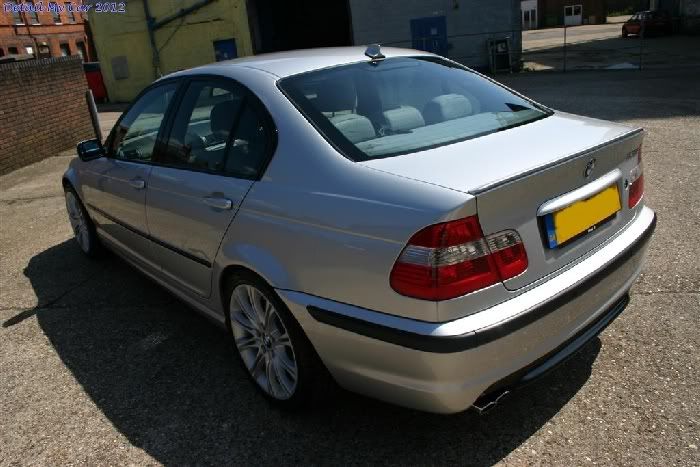
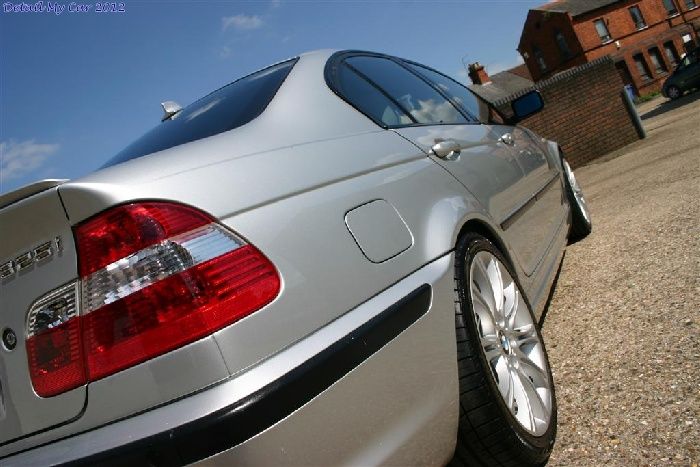
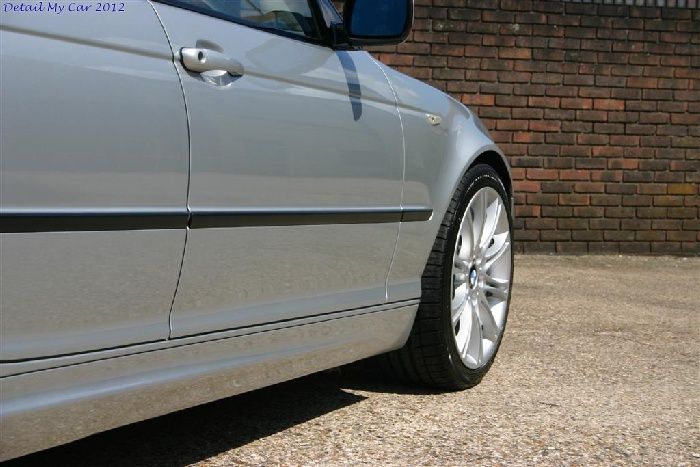
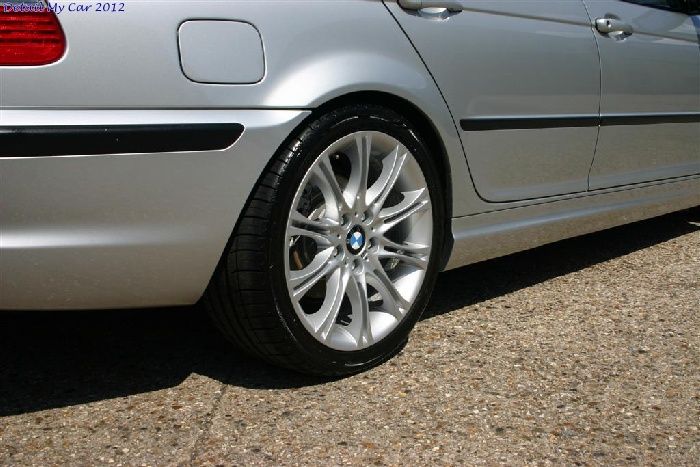
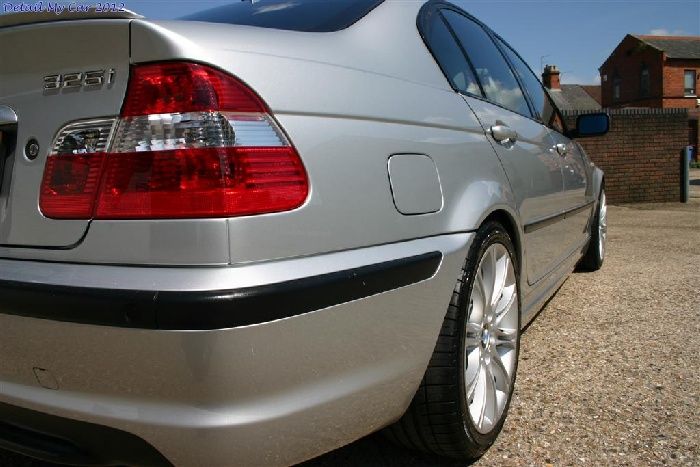
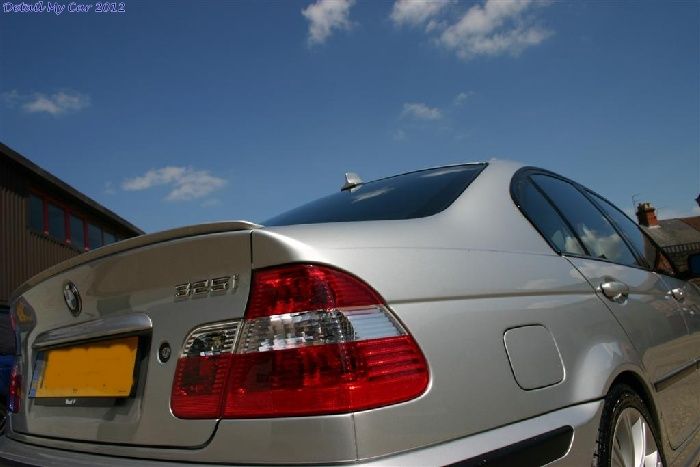
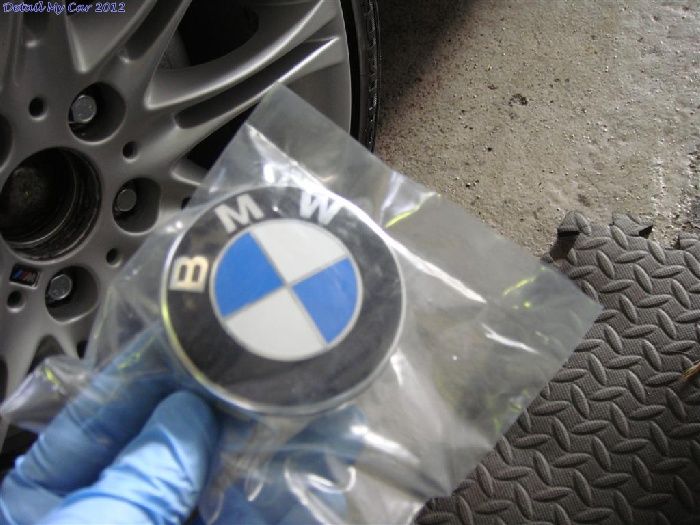
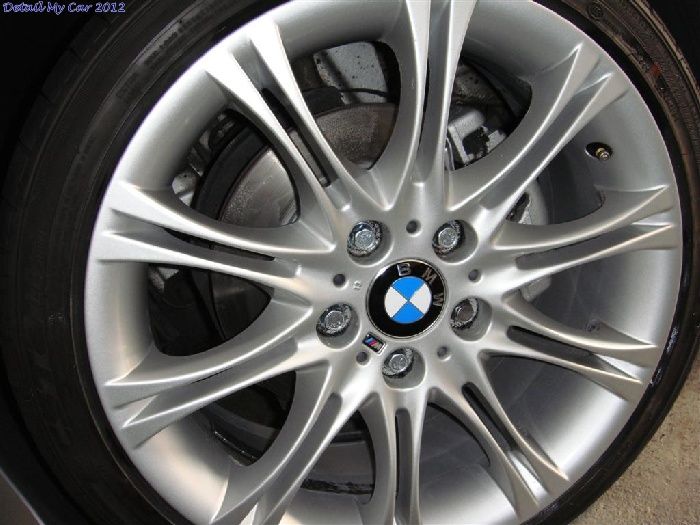
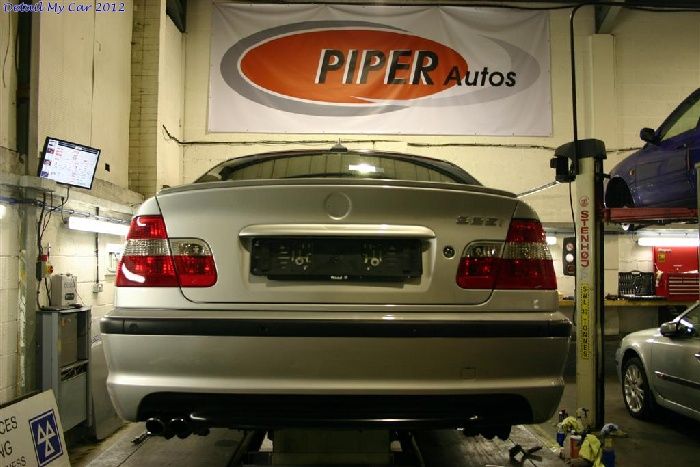
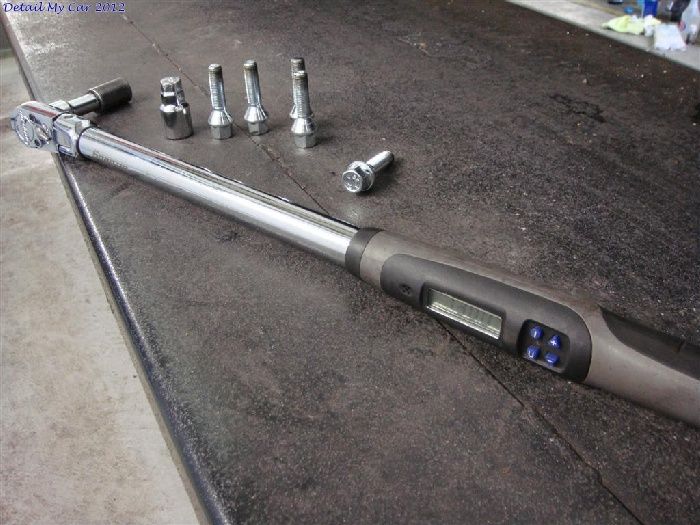
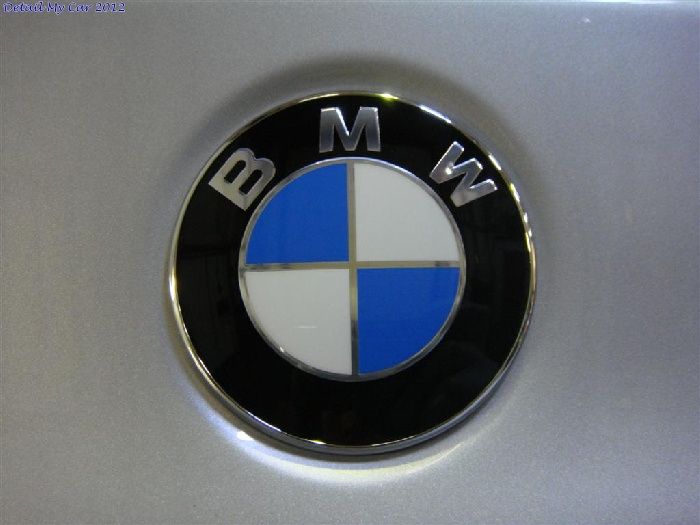
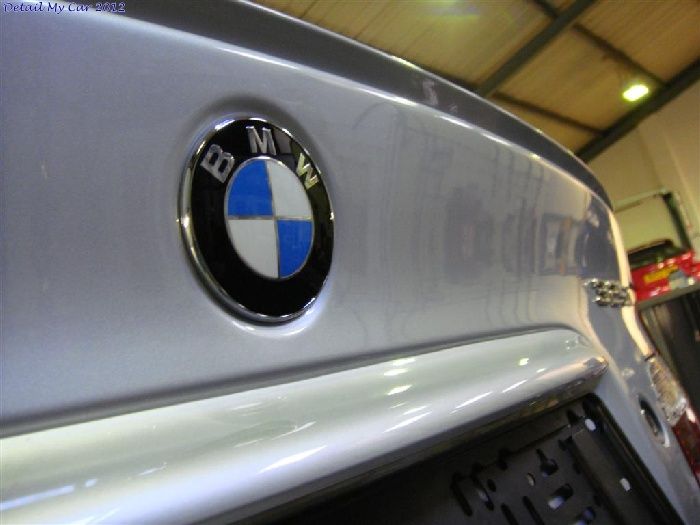
Michael also asked me to do a few bits to tidy the car up which you'll see but things that make quite a difference which are wheel spacers all round with new bolts and locking nuts, new centre caps, new rear light cluster, new plates, new badges here and there - Basically just a few bits to sort out.
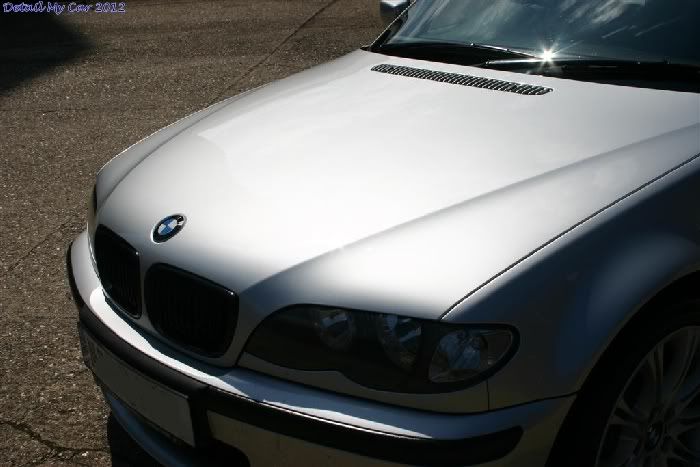
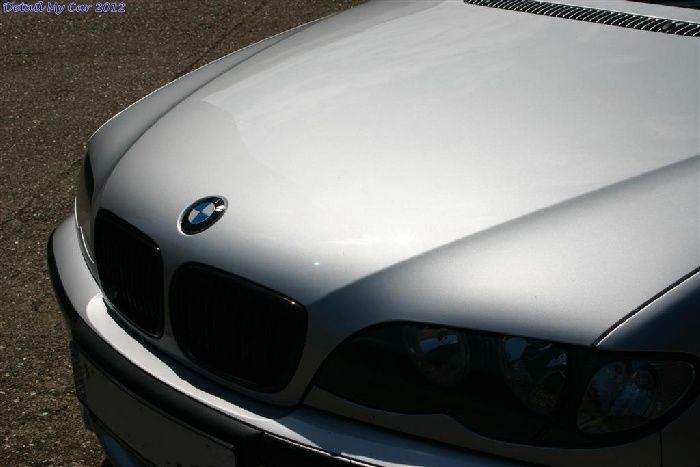
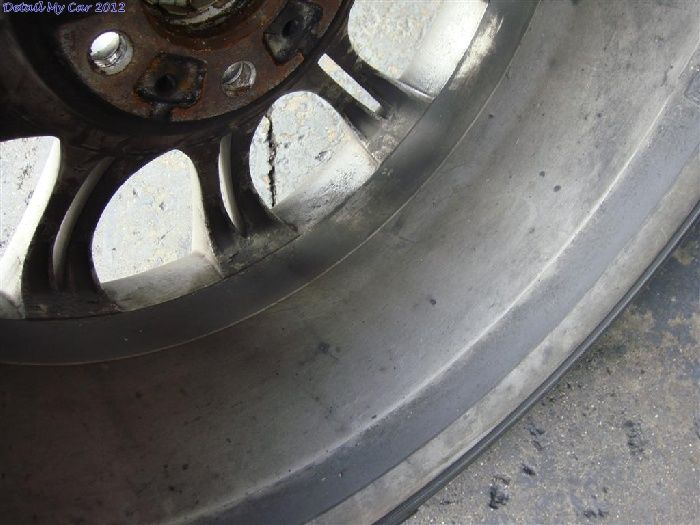
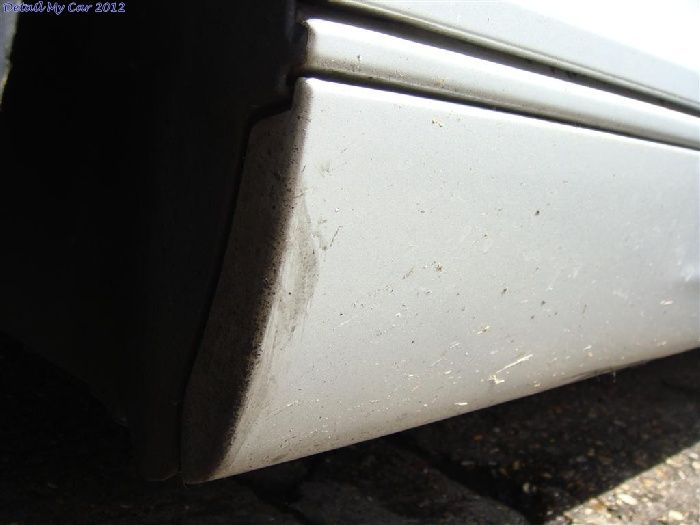
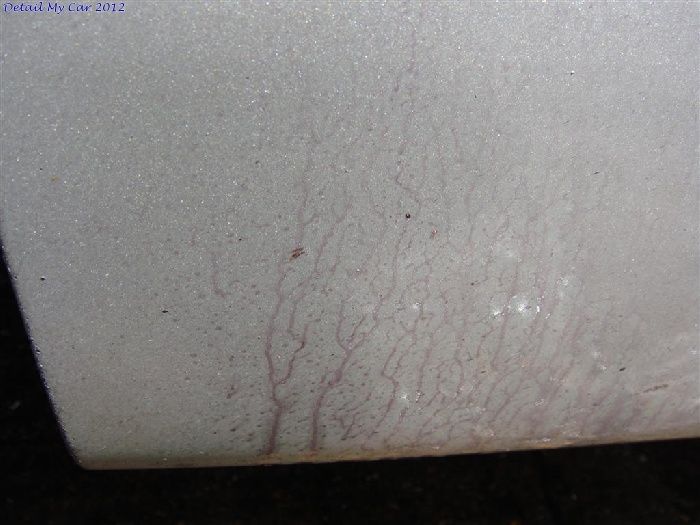
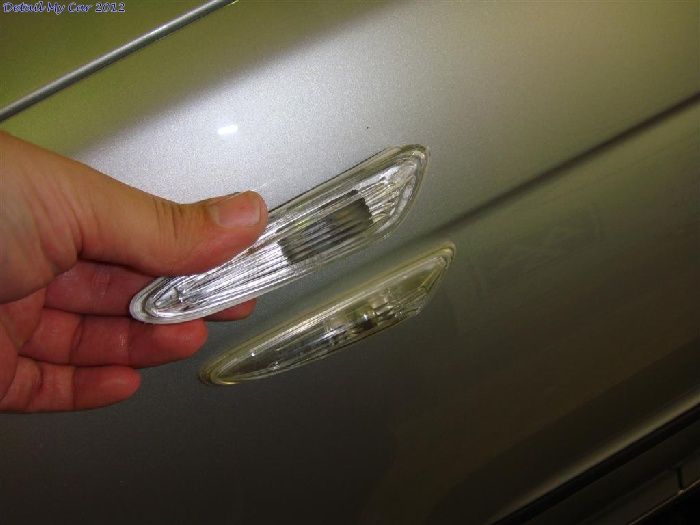
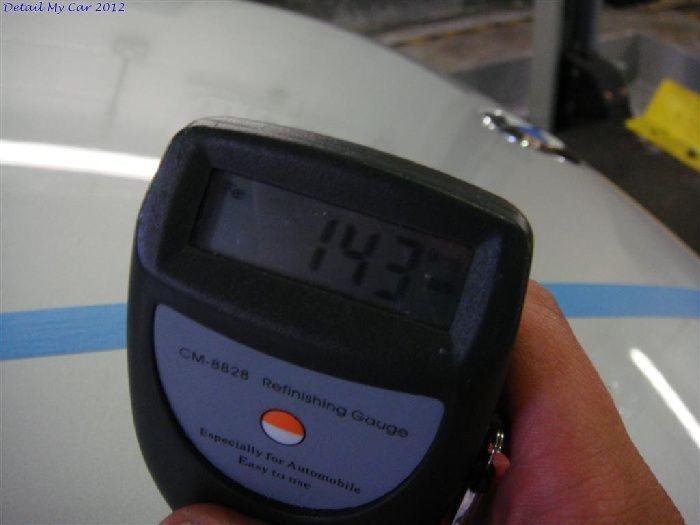
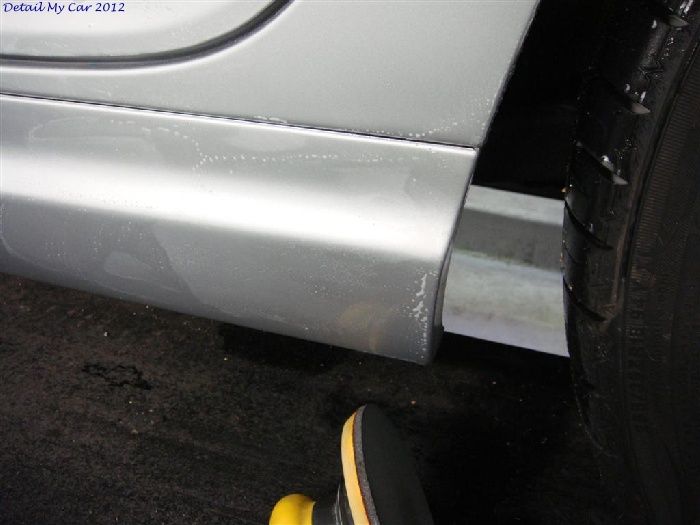
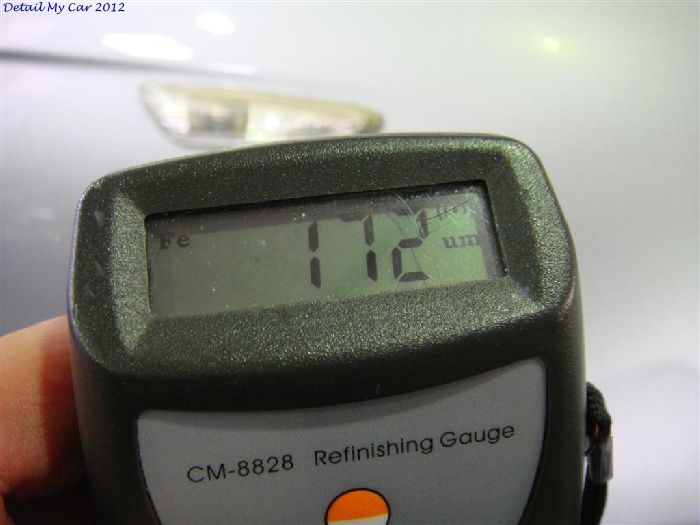
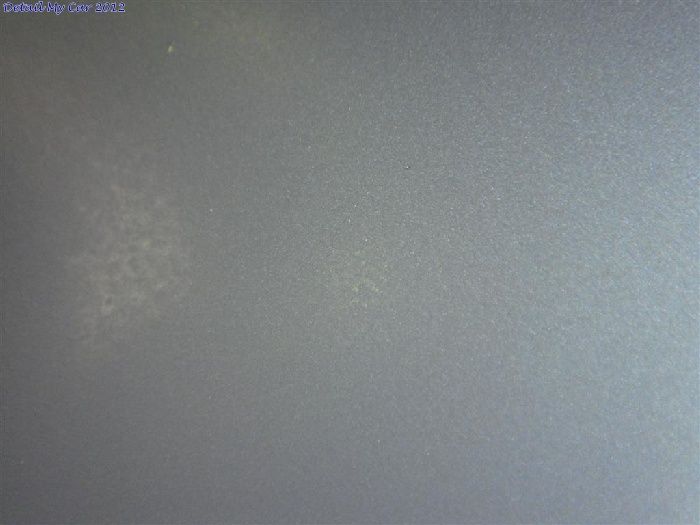
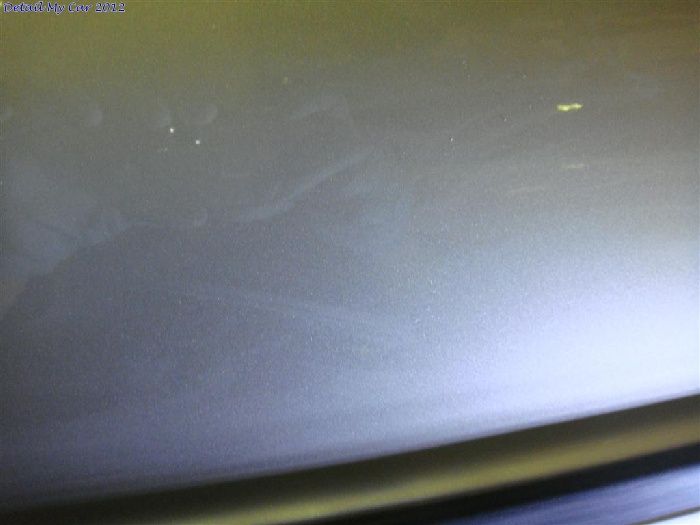
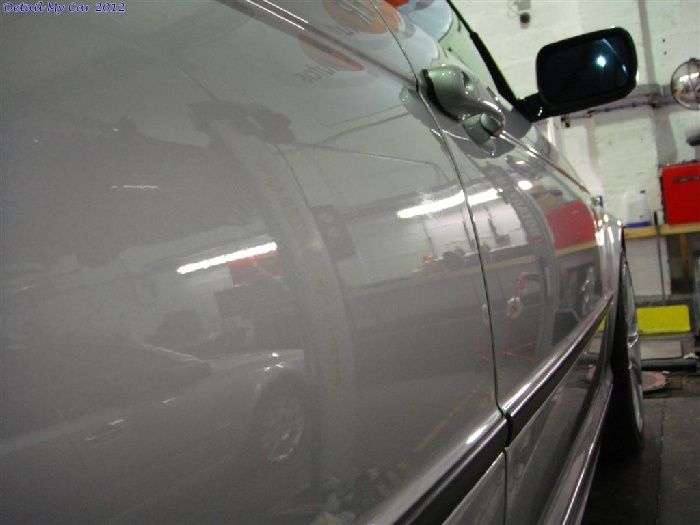
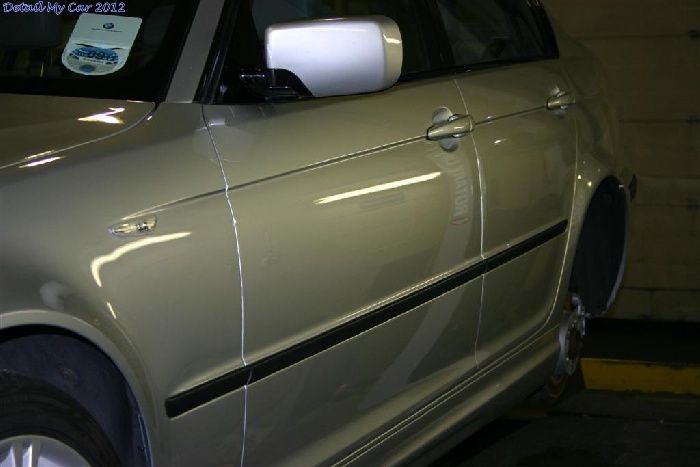
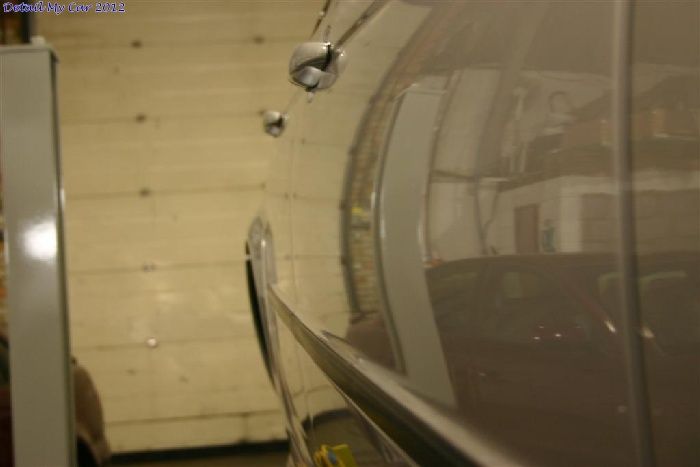
We did have an issue during the detail which again you will see but the car had recently had some body work including paint on the offside front wing, unfortunately although the paint depth was massively safe at 180+ microns, the new layer was extremely thin and obviously not prepped properly as one light pass showed the original silver colour starting to come through in a patch where they had obviously blended it in. I popped the side repeater off and discovered they had just masked over that too as the original Silver colour was obvious under there too so I discussed it with Michael and told him I would recommend somewhere local should he want to get it painted another day, and possibly get the wheels refurbed should he decide to go that far - Just the inners are starting to corrode a tad so that would be the main reason.
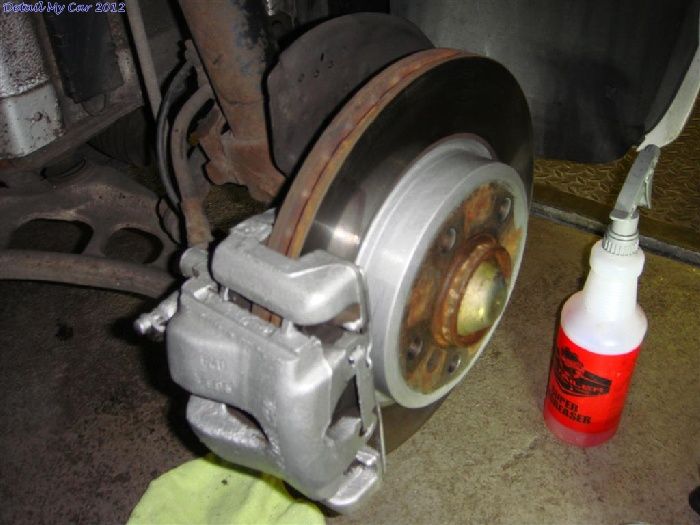
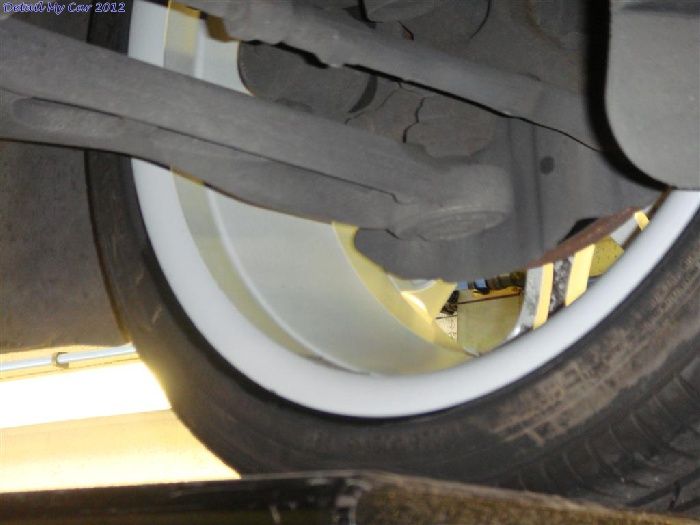
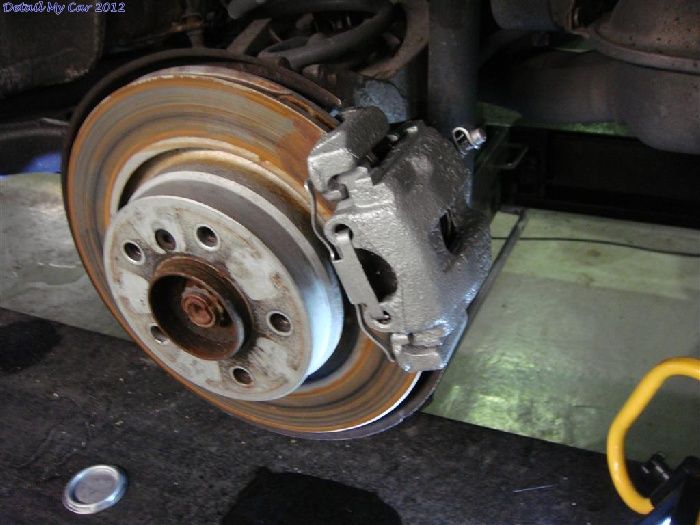
Moving on, here's the first job painting the calipers
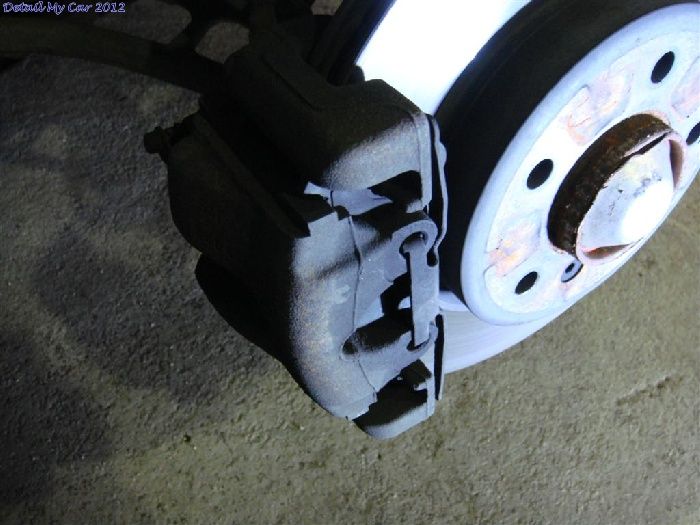
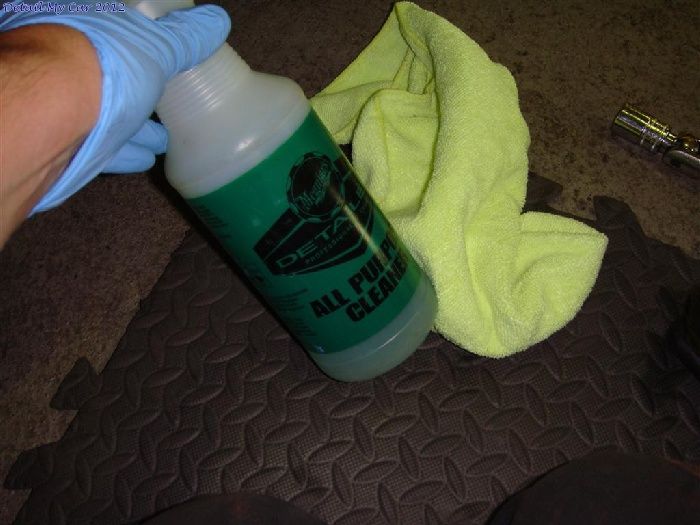
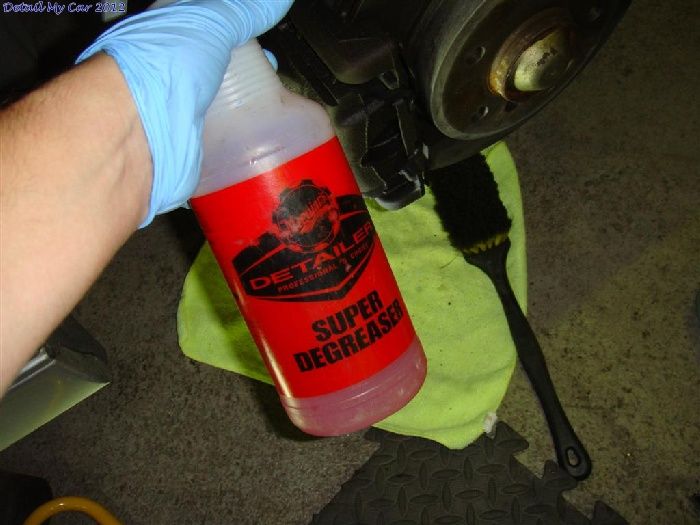
Firstly sprayed with Meg's APC all over incl arches to clean the loose dirt, followed up by Meg's Super Degreaser to remove any oils or residue and help the paint to bond to the calipers.
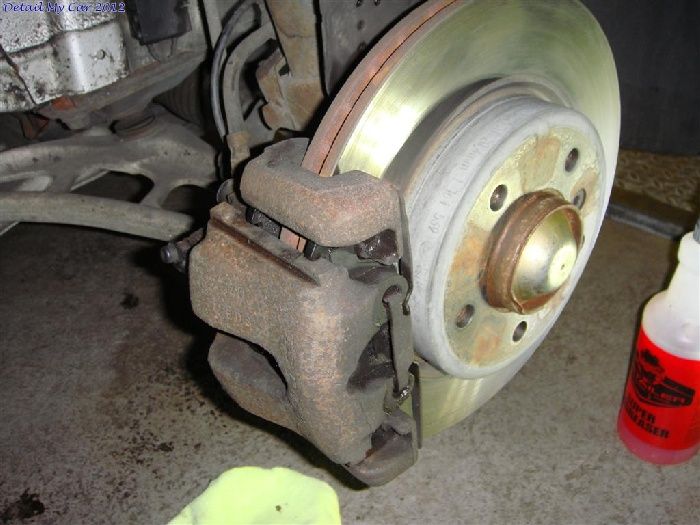
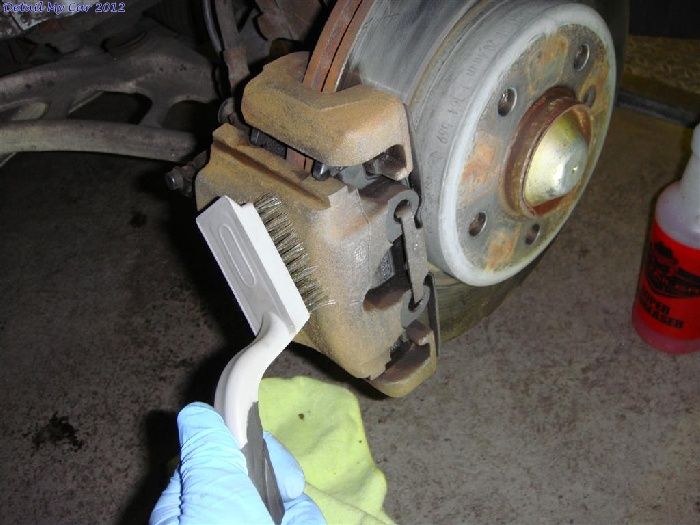
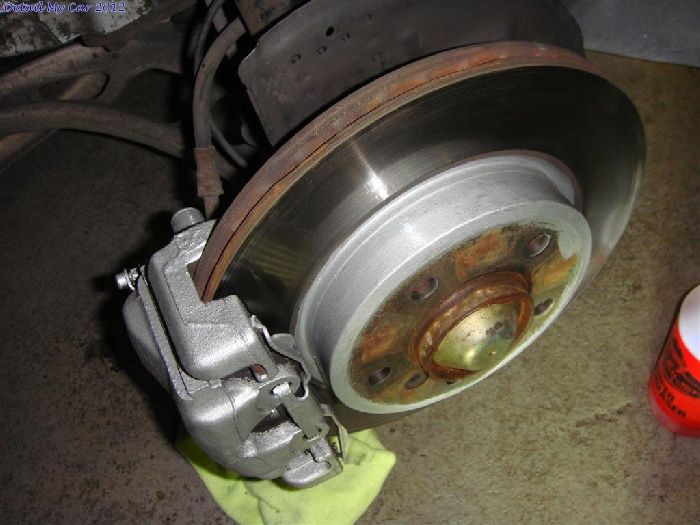
The calipers were then all scrubbed with a wire brush to remove loose rust and debris, this gets them ready for painting. They were painted with Hammerite smooth silver to restore a more factory look. The disc bells were done at the same time.

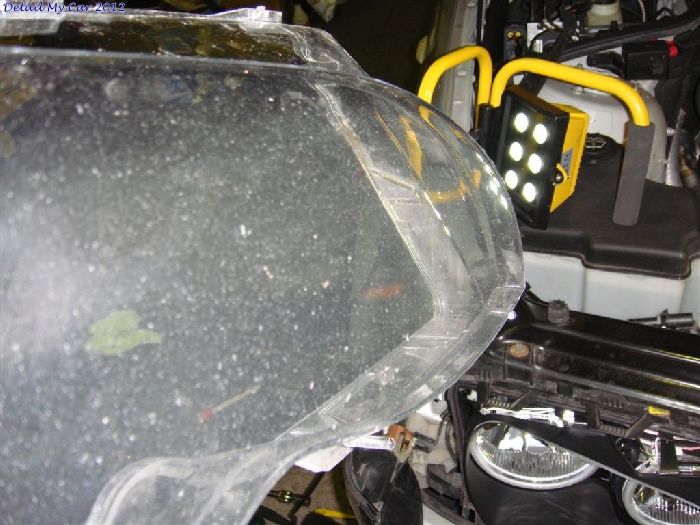
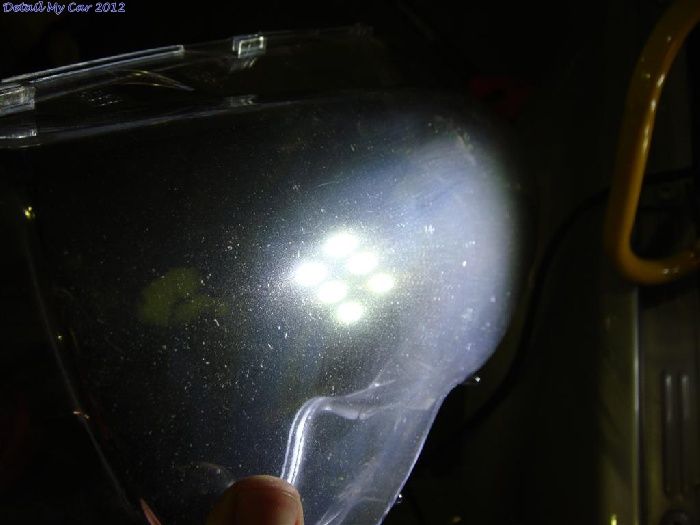
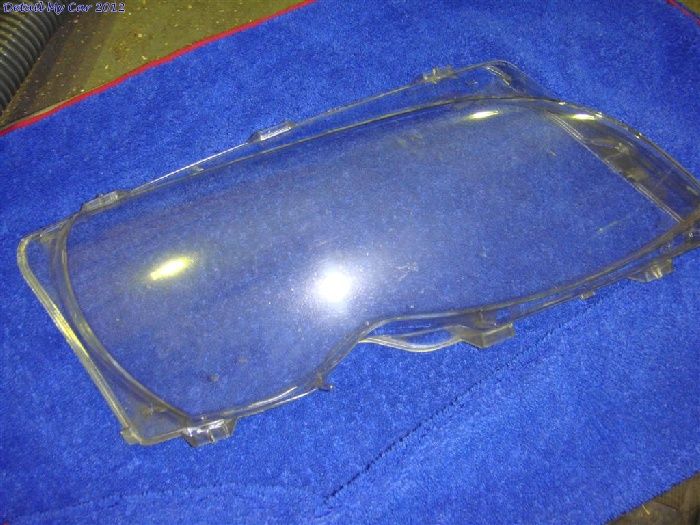
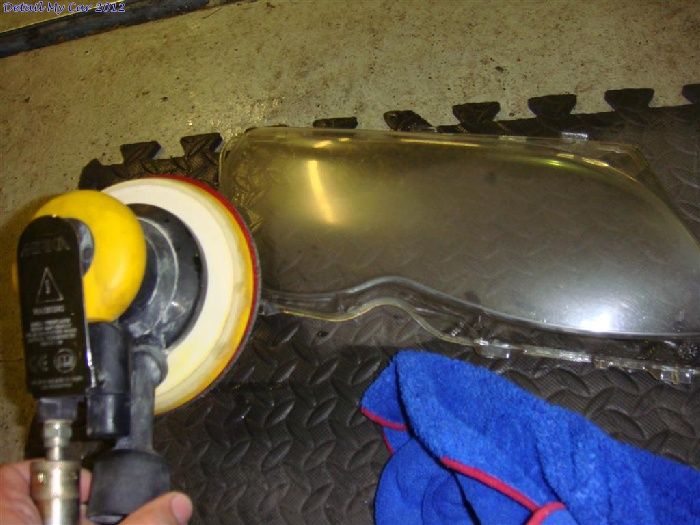
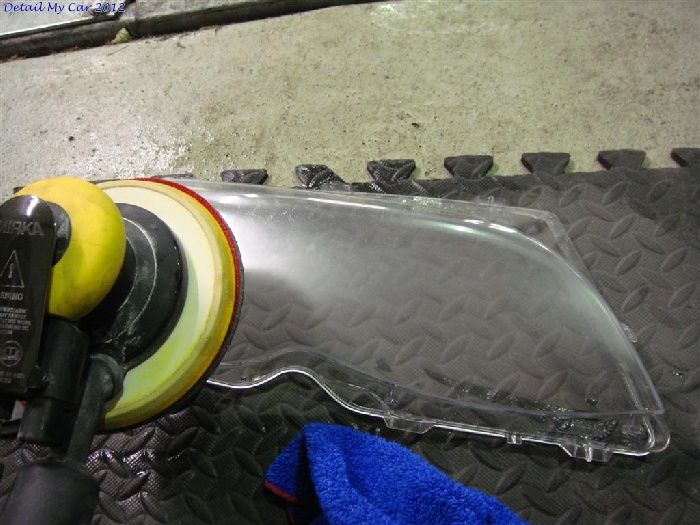
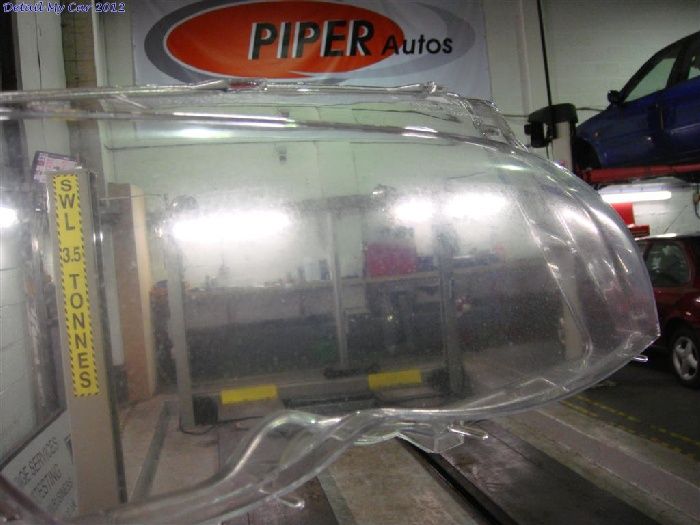
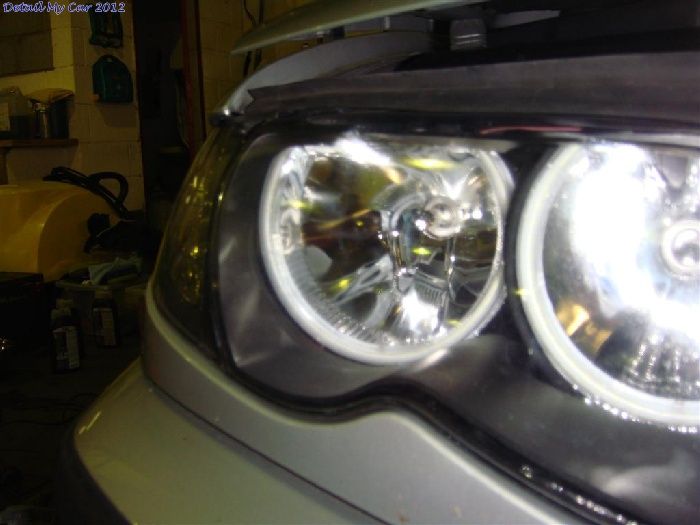
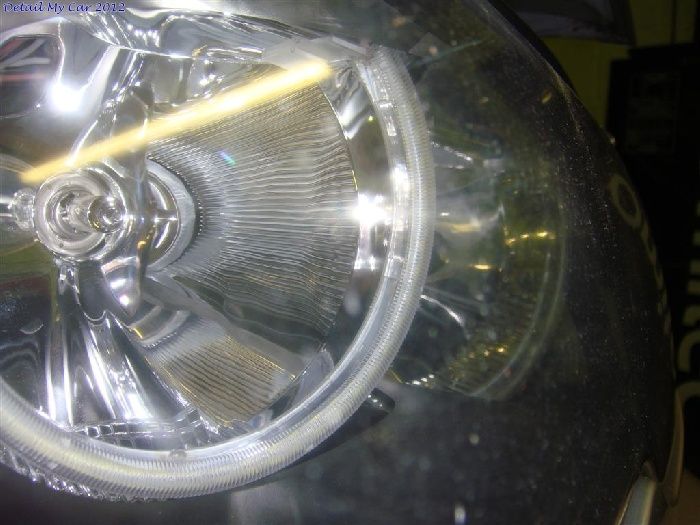
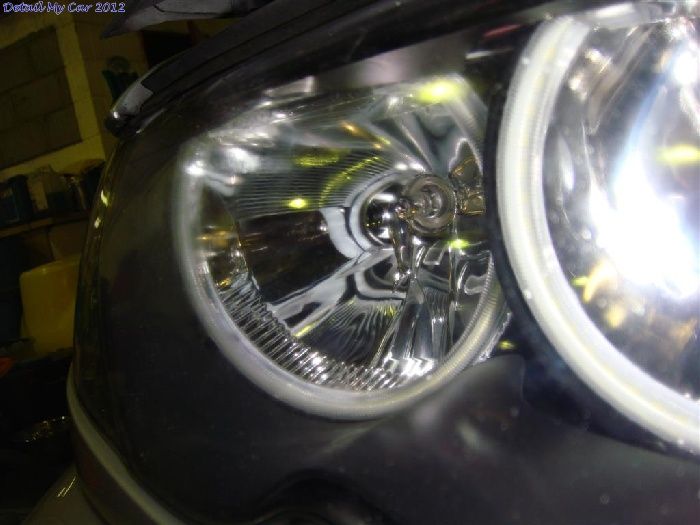
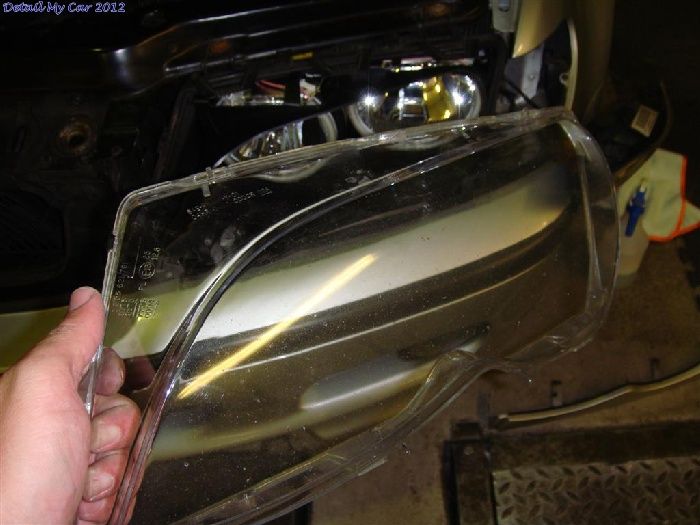
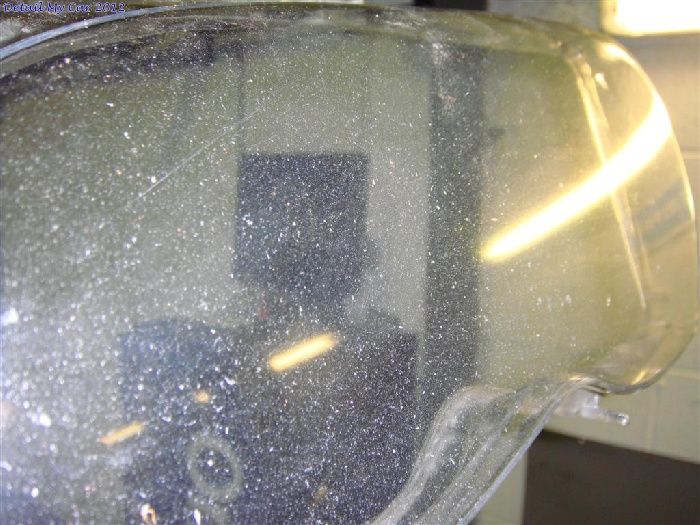
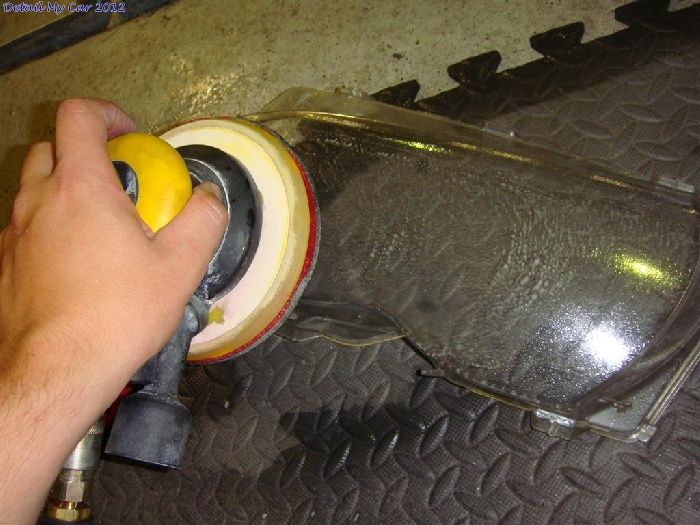
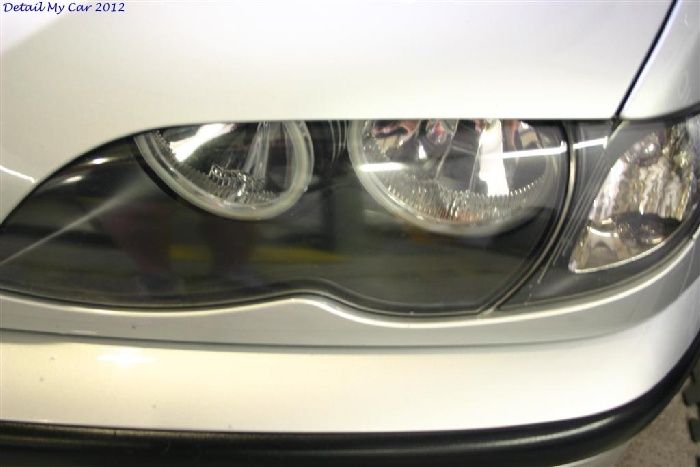
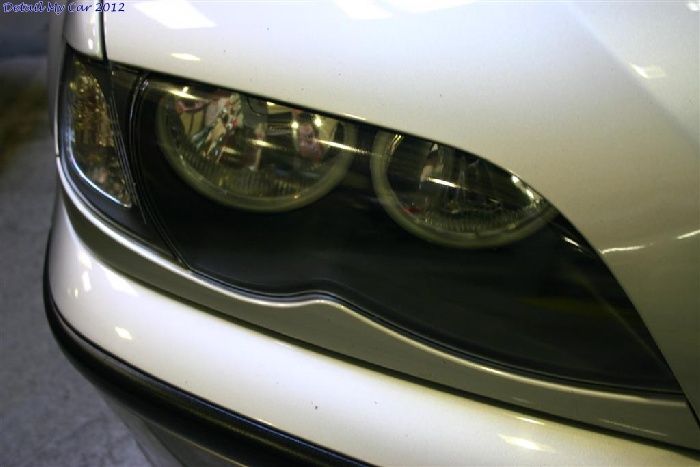
After painting the calipers I set about correcting the headlights. First of all you can see how 120k miles has taken it's toll, they were quite pitted and didn't look very clear so the lenses were removed from the car, firstly to clean the insides as they weren't perfect but mainly to wet sand them and polish them back up.

I used an air powered DA sander with some Mirka 1000 discs, followed by 2000 and 4000 to get them as good as possible before polishing up with Scholl S17+ and refining with Scholl S40.

Nearside before
Offside after
They were hugely improved and once back on the car looked so much nicer.
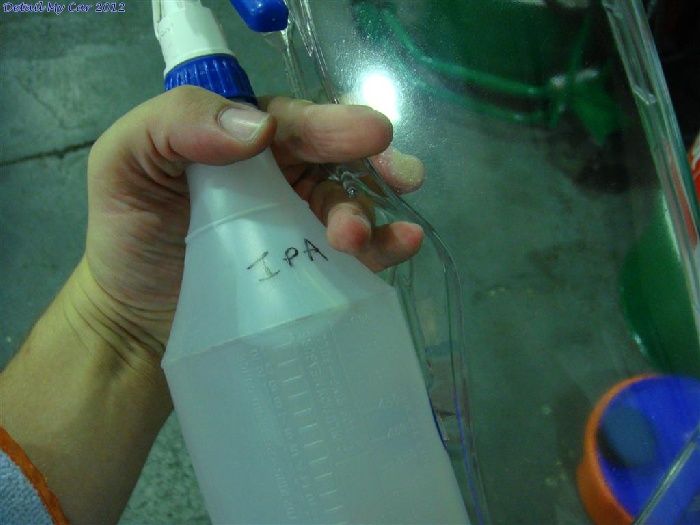
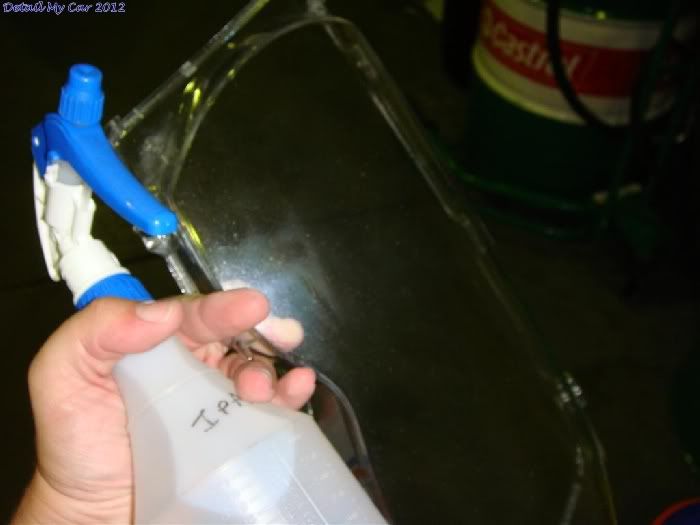
The headlight lenses were all cleaned inside with IPA to remove any grease, finger prints or oils and put back together.
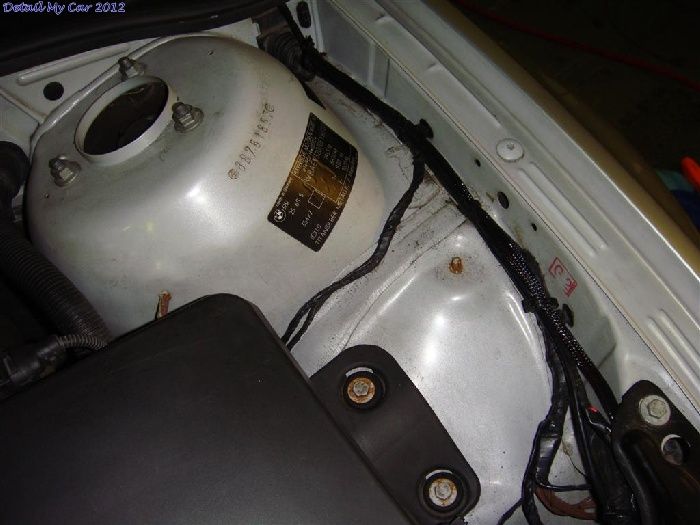
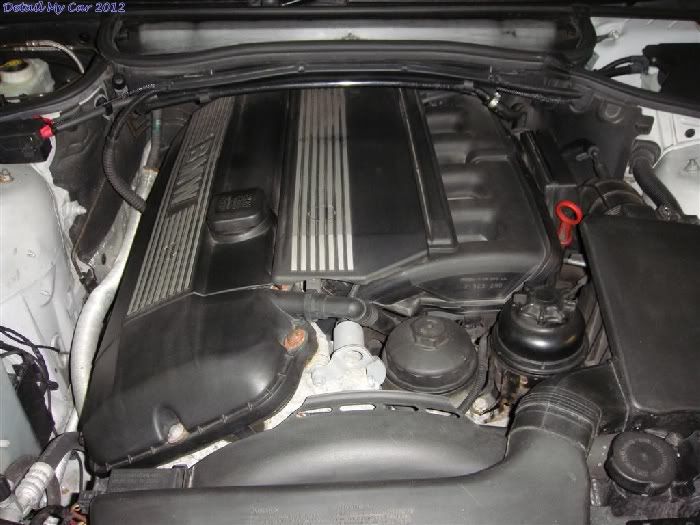
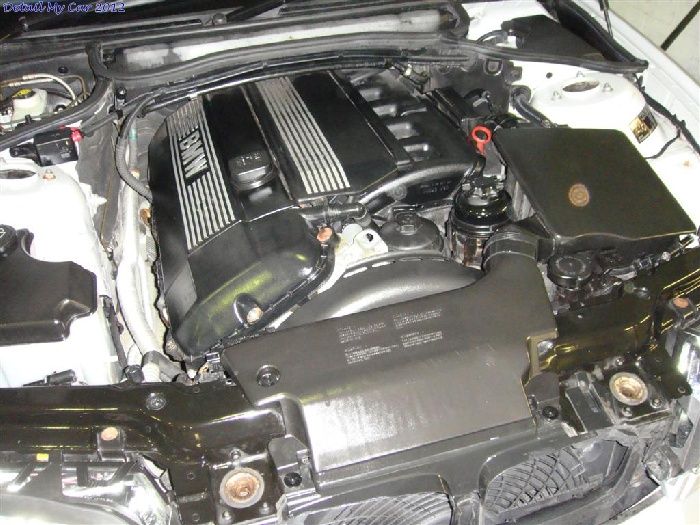
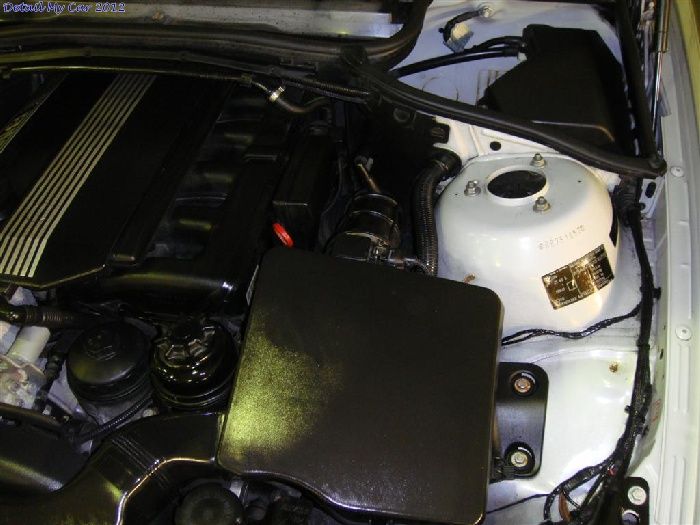
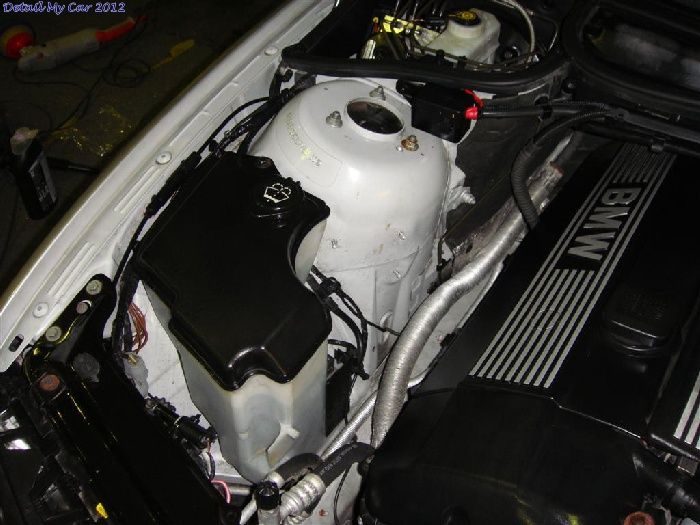
The engine bay was then sprayed with Meguiars APC and a slide-lock brush used to agitate all the areas that are usually hard to reach, a Tornador was also used to blast the loose debris and dirt out. I then went over all of it with a couple of MF cloths to remove the last bits of APC. The engine was then sprayed all over with 303 protectant and the bonnet then shut down so it could be left to absorb into the plastics and hopefully add a nice bit of protection.
Engine before

APC used
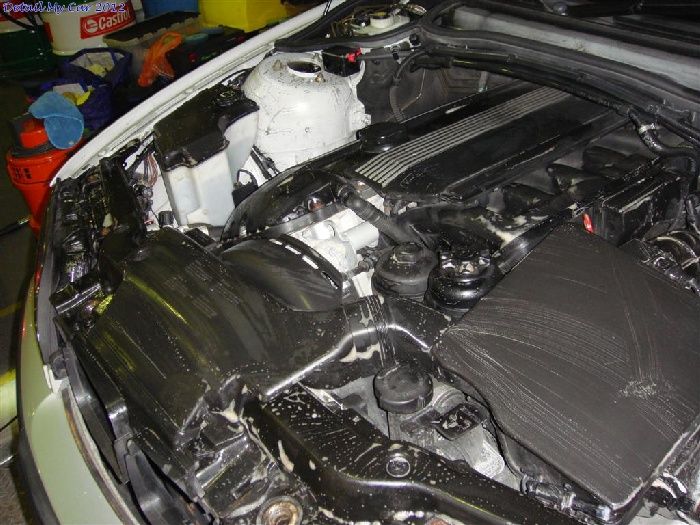
303 sprayed on
That was me done on Friday night so I packed up at midnight and headed home.
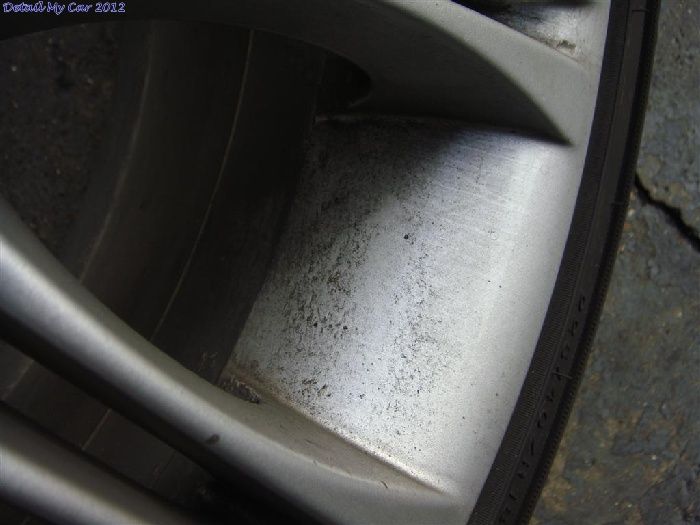
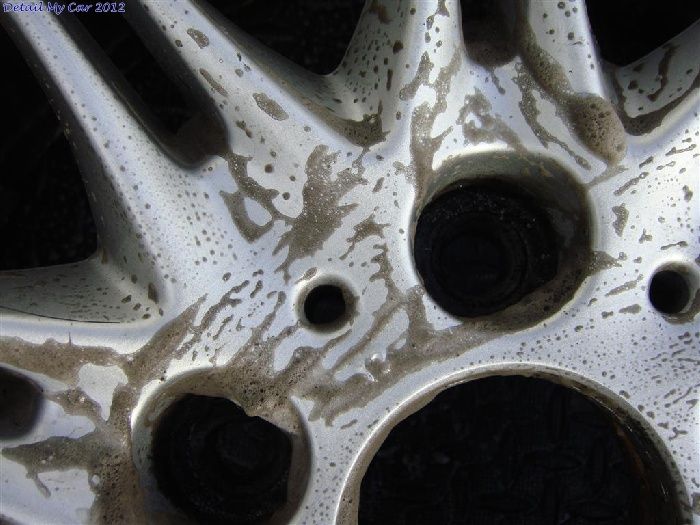
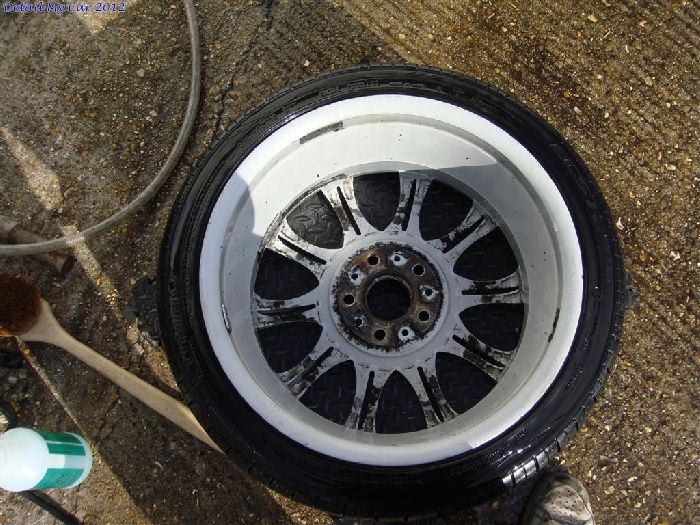
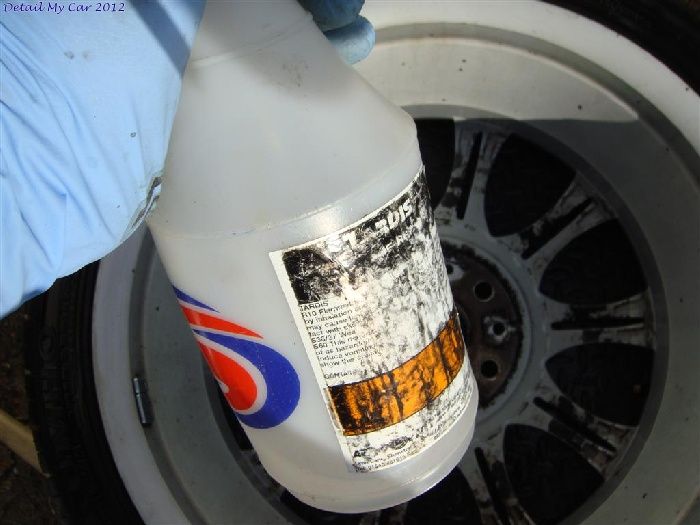
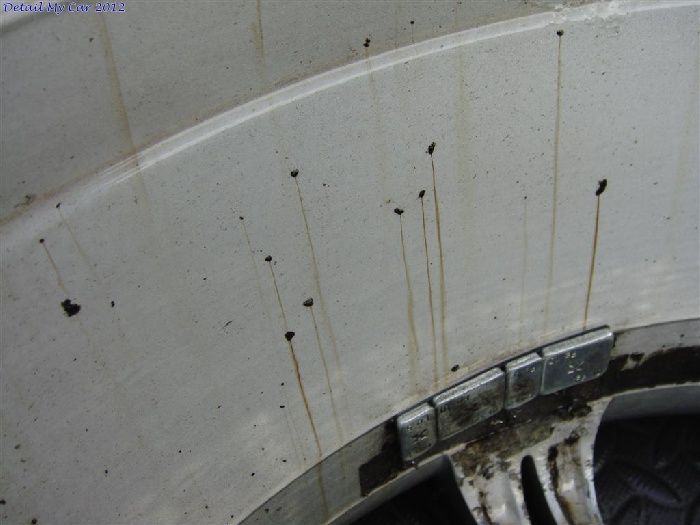
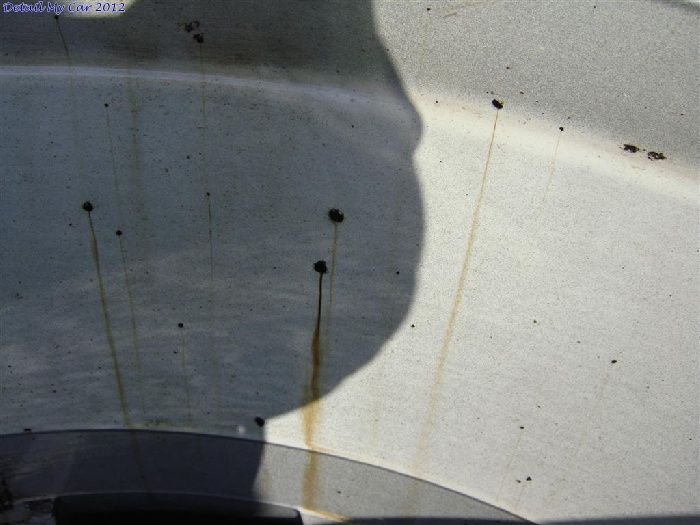
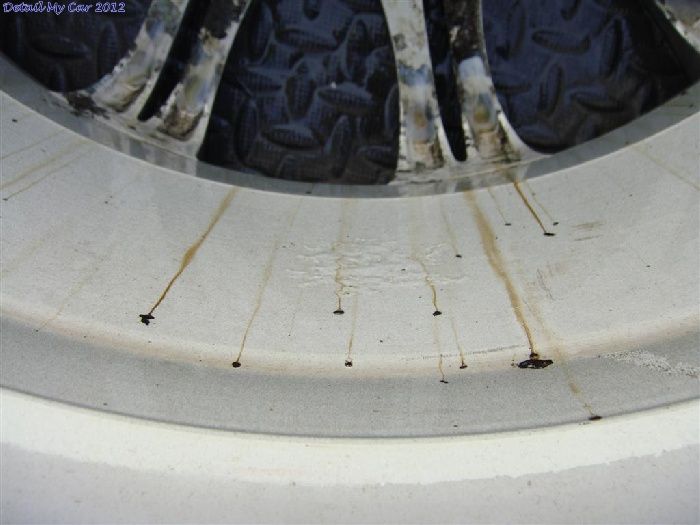
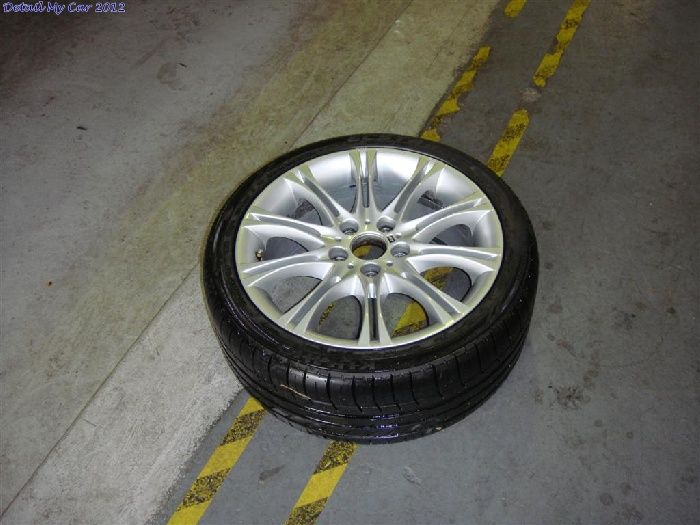
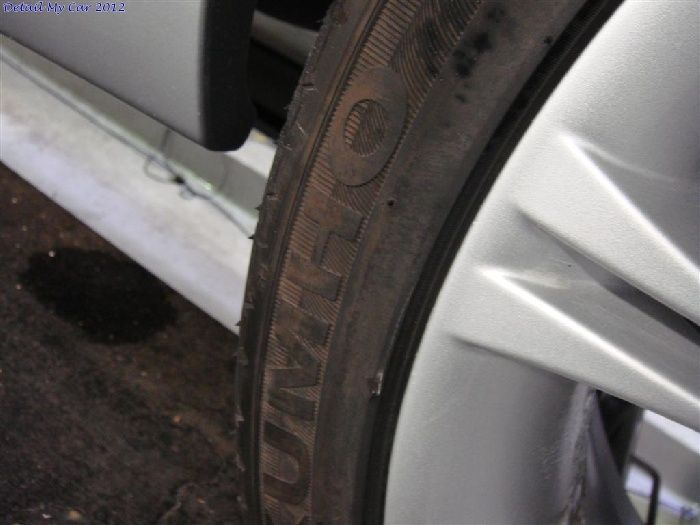
Saturday morning came and I decided to clean all 4 wheels inside and out, using AS smart wheels, Tardis and Iron-X it was a case of gettnig rid of as much as possible. Unfortunately some bits of old Glue were left from previous wheel weights but even soaking them in Tardis for 20 mins wasn't helping them break down so I didn't have time to remove this completely. Tyres were scrubbed with Meg's APC and after rinsing it all off the wheels were taken back inside to be dried off, and sealed with FK1000p.
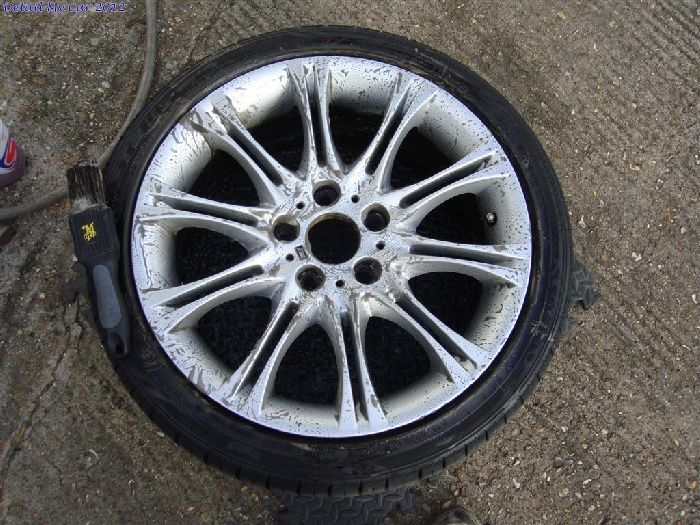

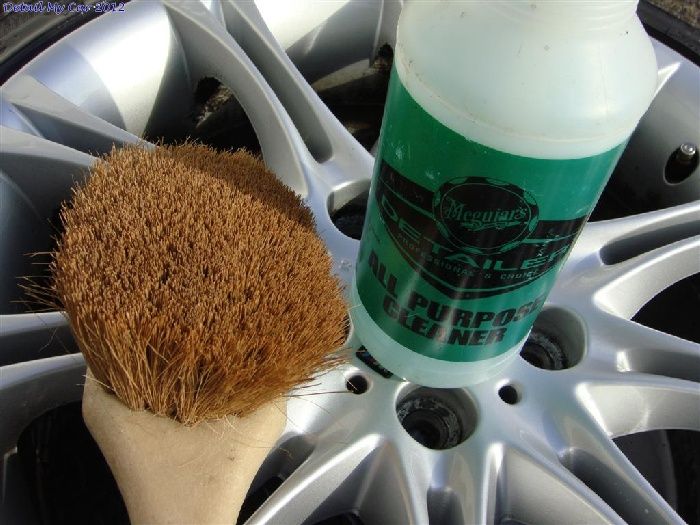

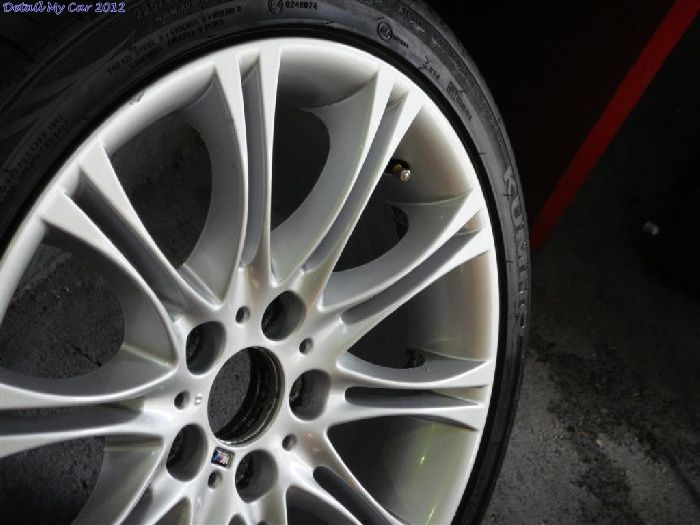
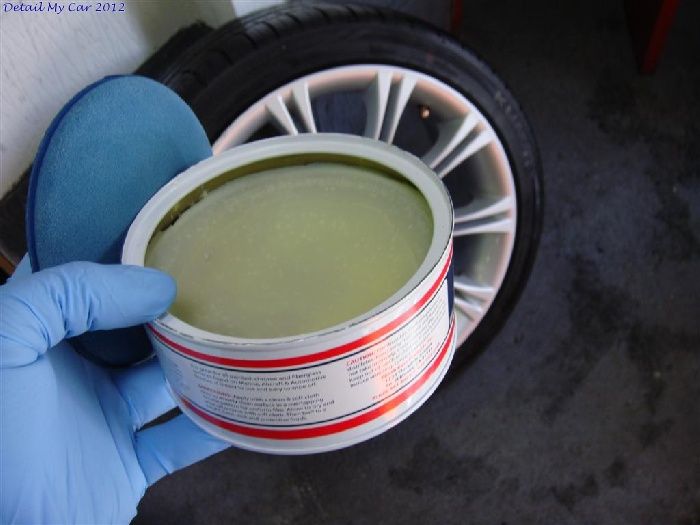
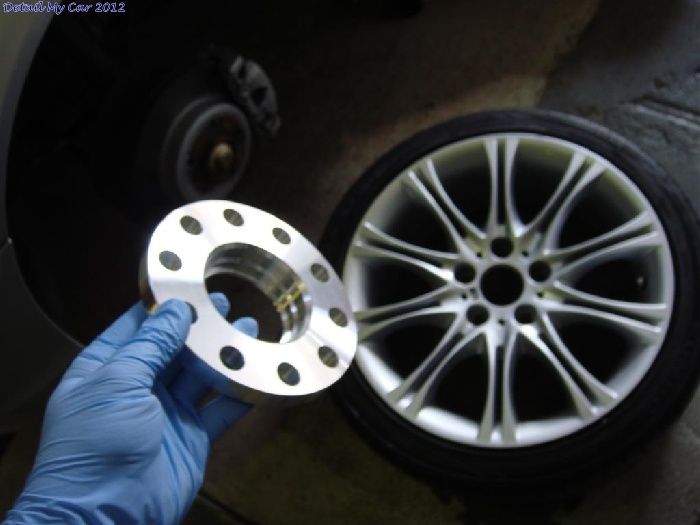
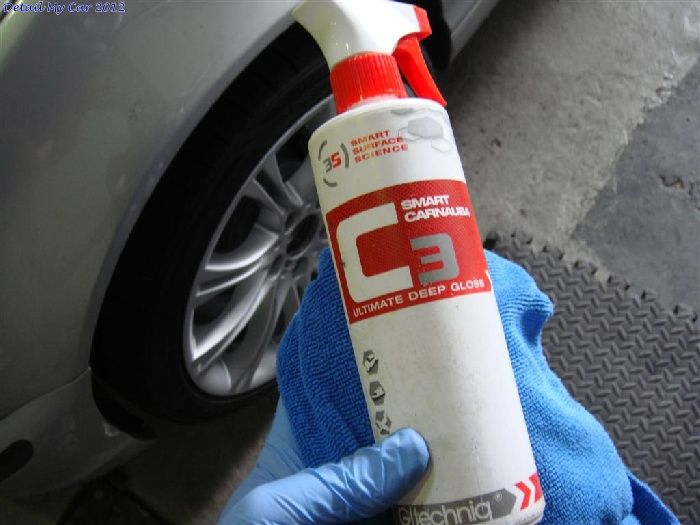
Wheel spacers were added with new bolts, lockers and also new centre caps. They were put on the car then given a coating of Gtechniq C3 spray wax and wiped over.
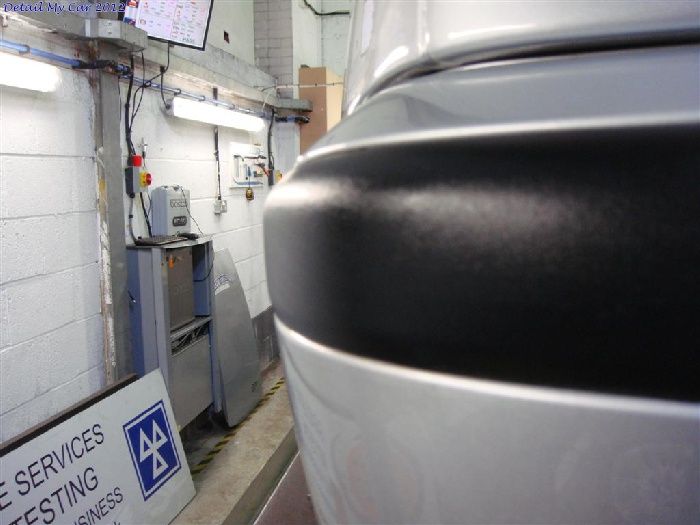
After doing all 4 wheels I got the car out of the unit and started on the outside.
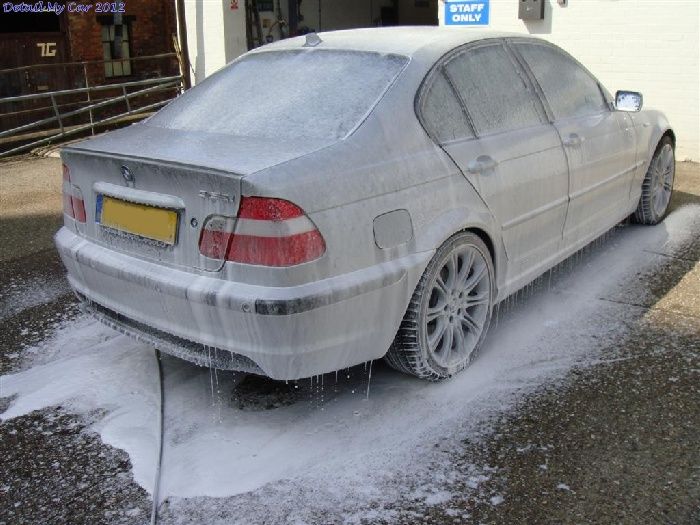
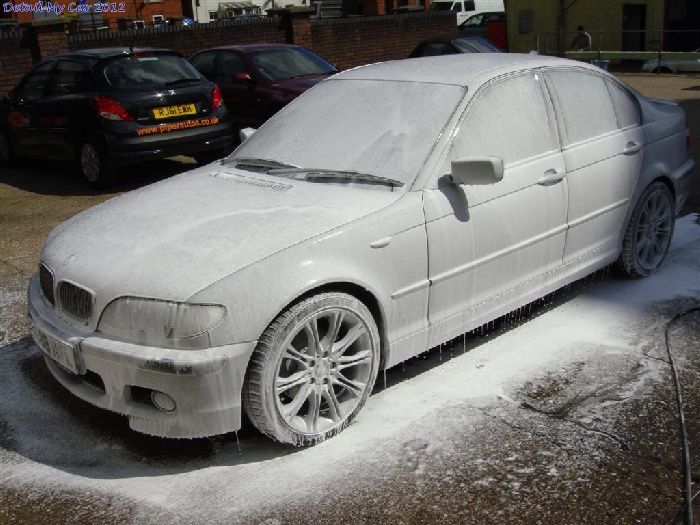
Here's a few pics showing the wash / cleaning process
Before
Pressure washer set to 60 Deg
Snow foamed with Autojoy Pink Foam
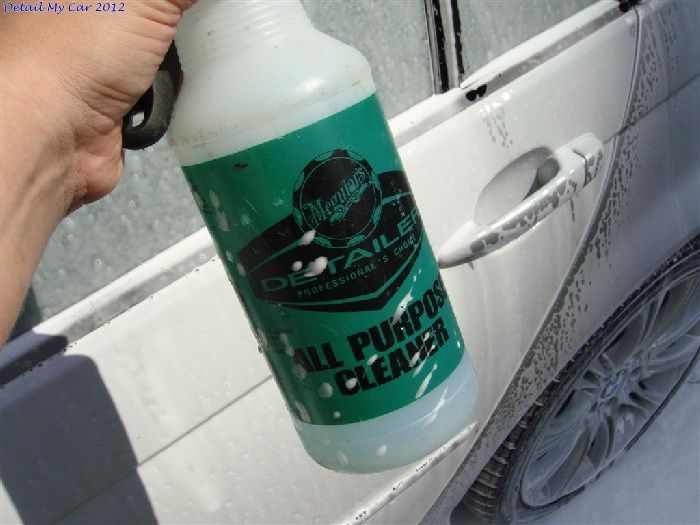
Meg's APC and various brushes used on badges, grills, vents and trims
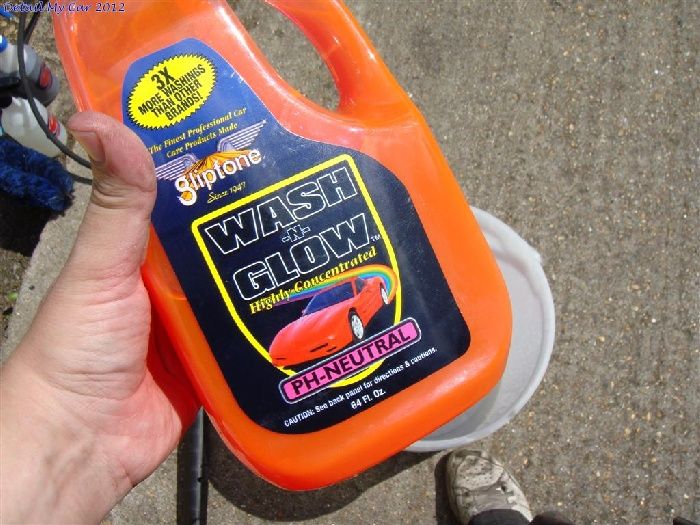
Hand washed with 2 buckets, Gliptone wash N glo shampoo and a lambswool mitt.
Rinsed off and treated with Tardis all over to break up the tar
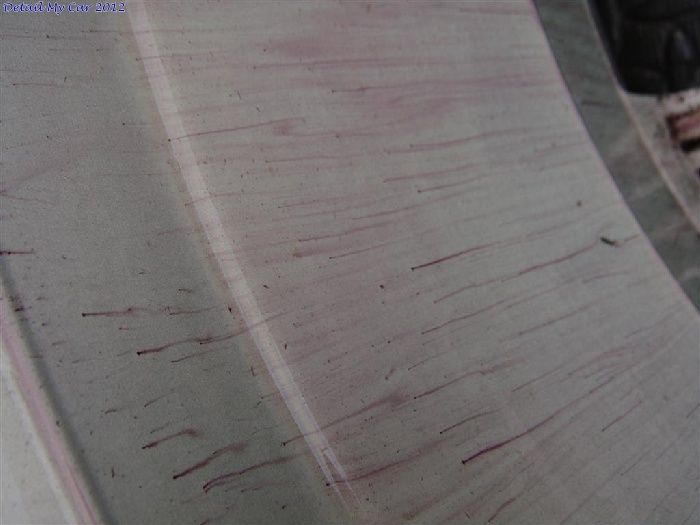
IronX then sprayed all over to remove last remaining fallout.
Zaino clay and shampoo used as a lube to remove all contaminants on the paintwork and glass.
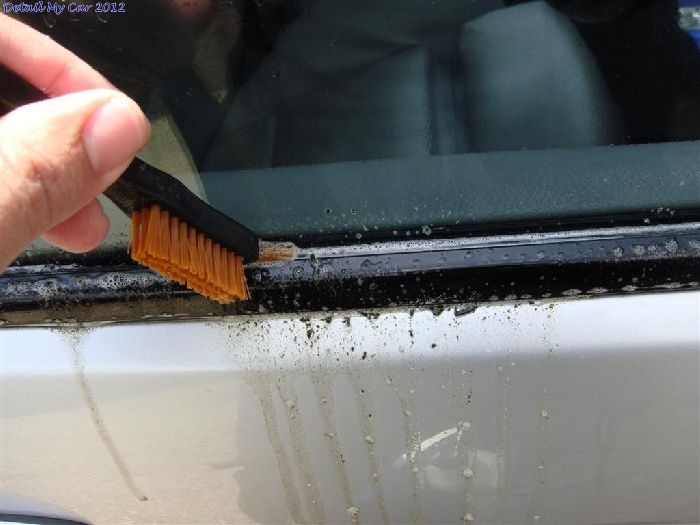
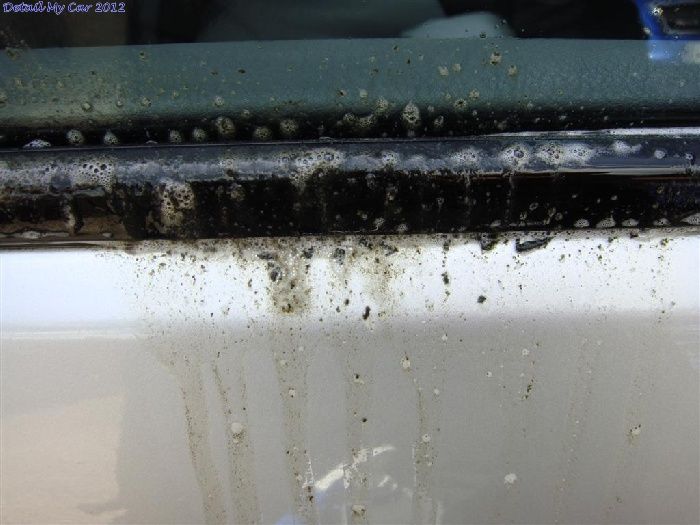
Crud under window runners
Gliptone shampoo
Clayed
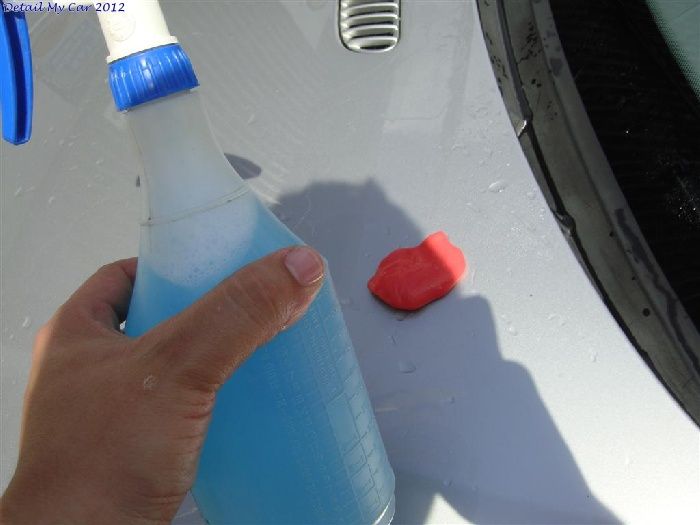
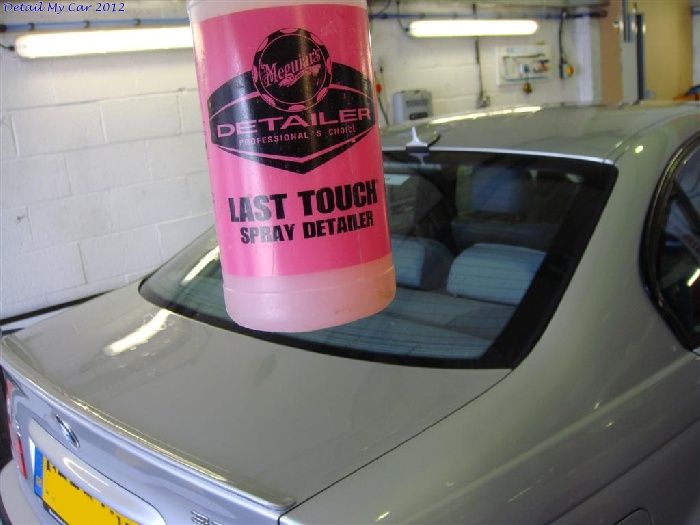
The car was then taken inside, sprayed with Last touch and towel dried off.
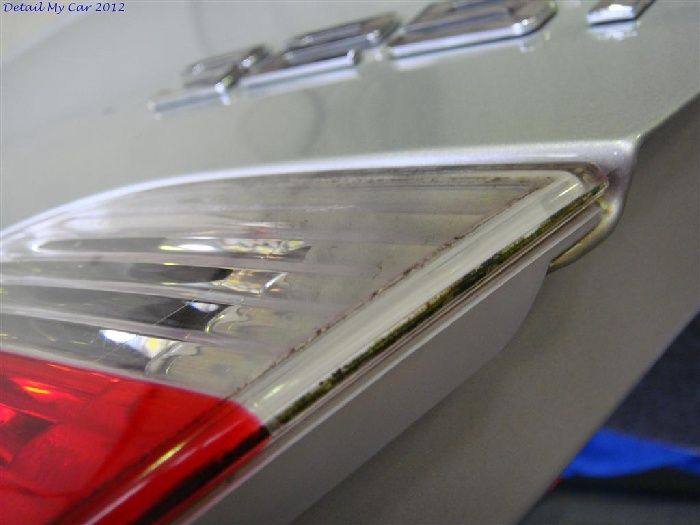
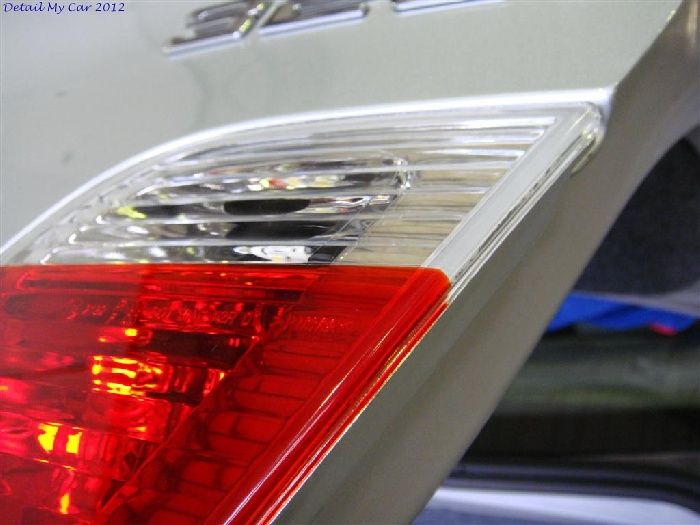
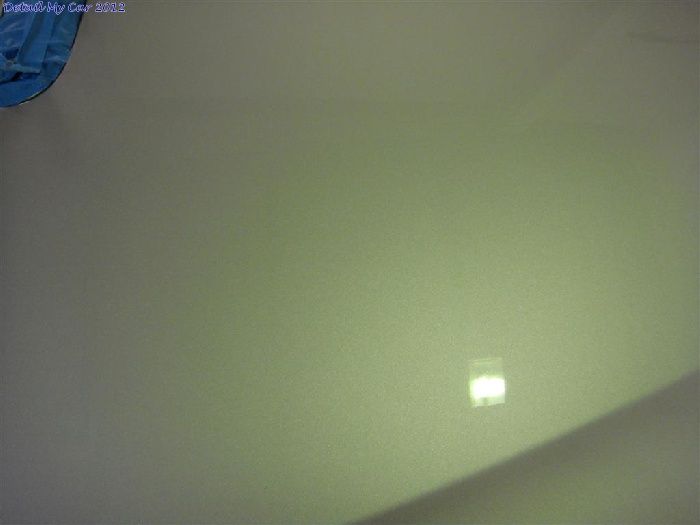
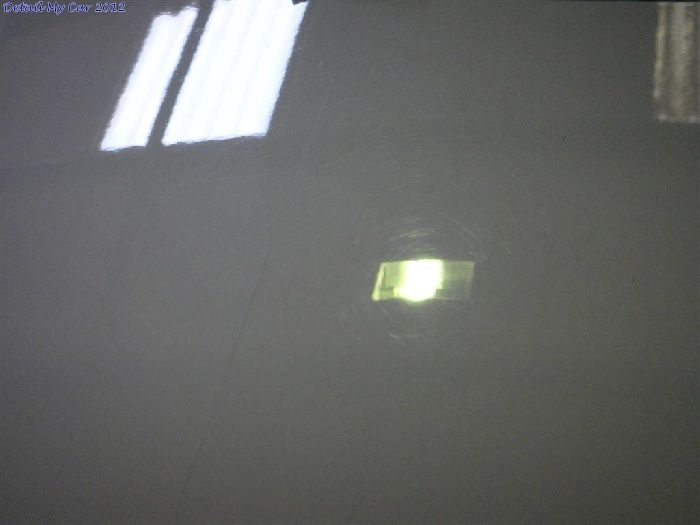
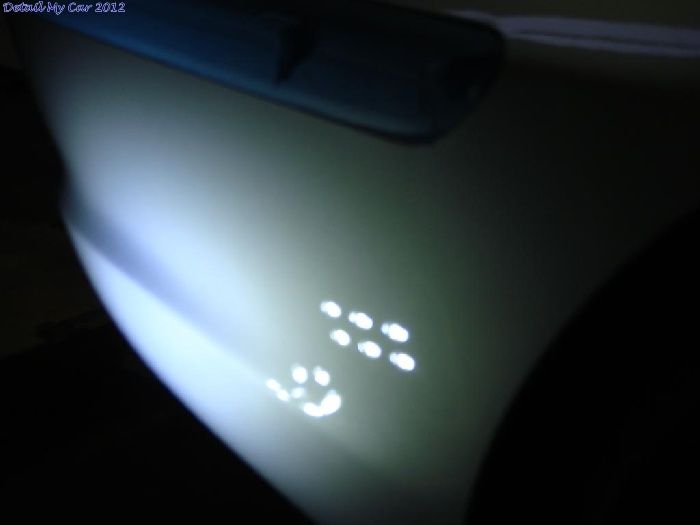
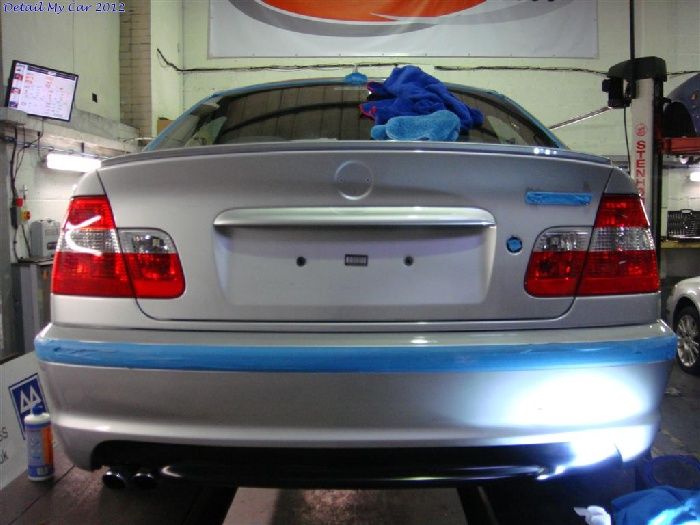
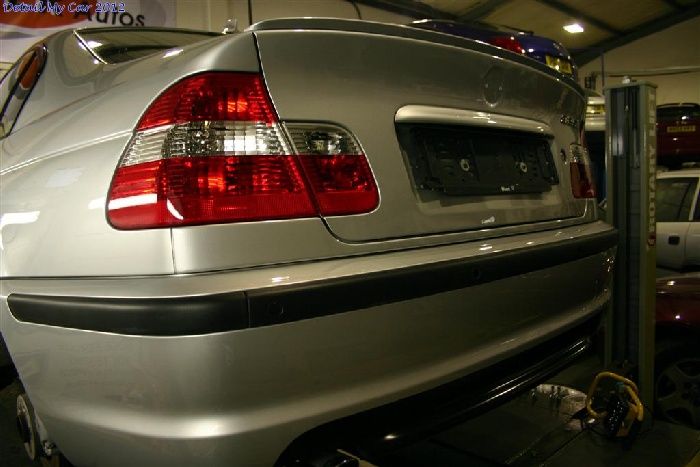
New lights to go on
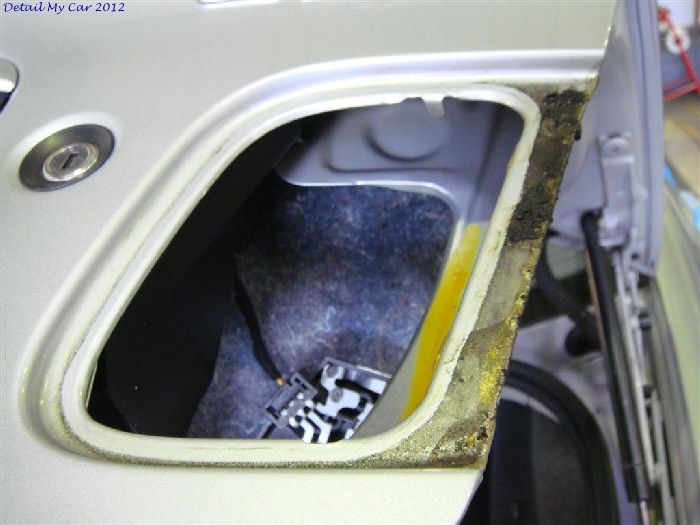
New rear light cluster to be fitted, see the crud built up in this one
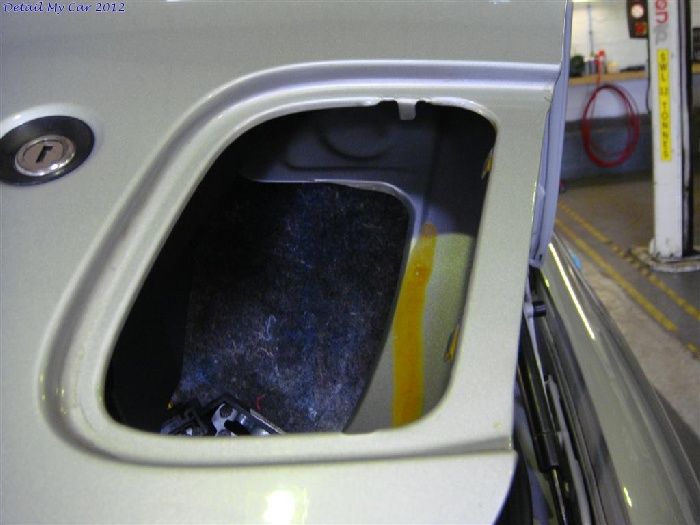
Removed
Cleaned up
New light on
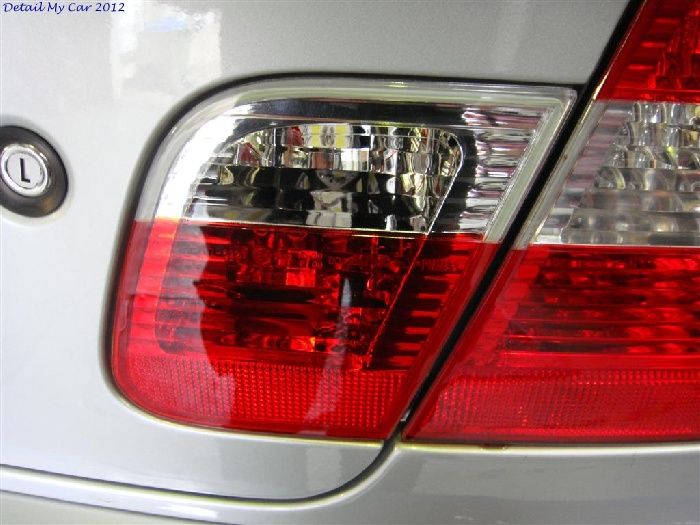
Much better
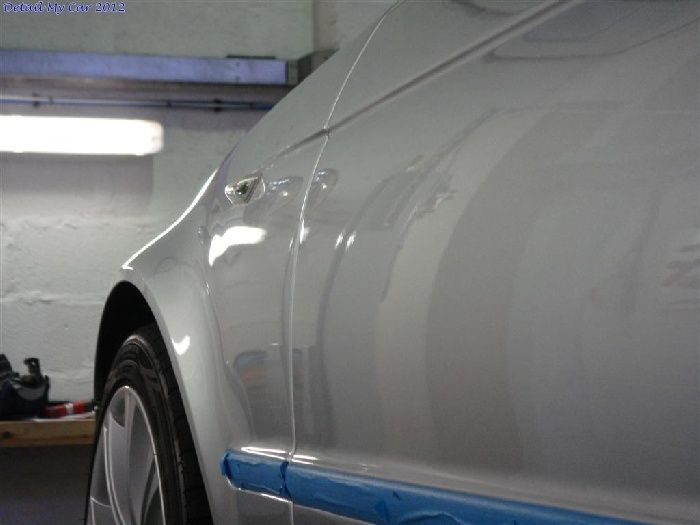
I then set about taping up the car and getting ready to start polishing.
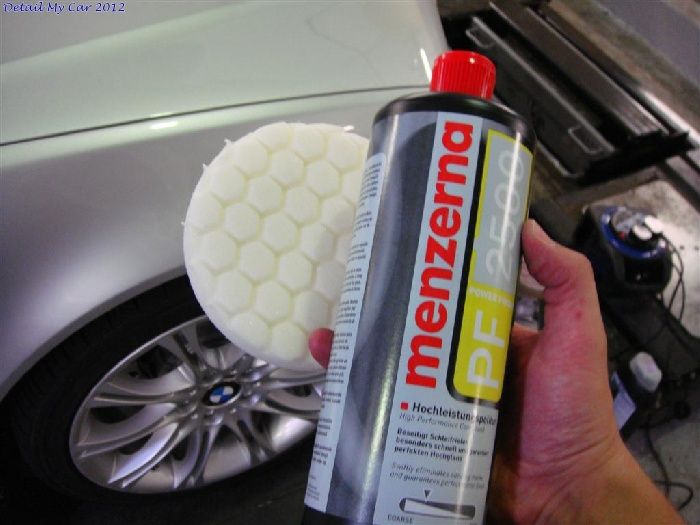
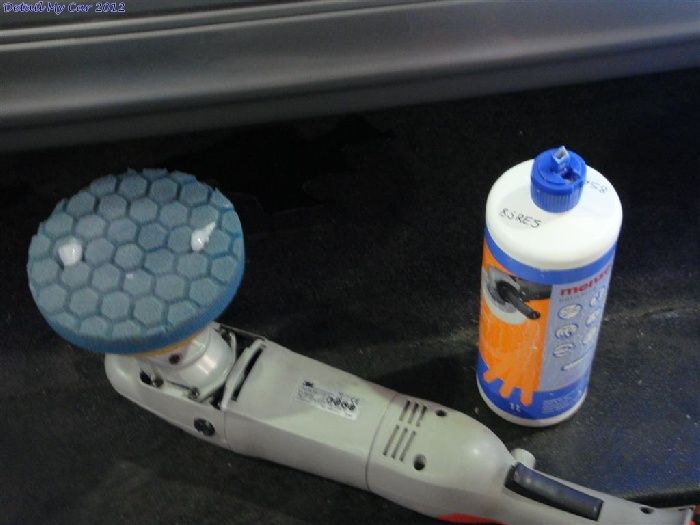
I used Menz 3.02 with a white Hex Logic pad and found it giving good correction, the whole car would later be refined using Menz PO85RE5 and a blue Hex Logic. There were a few areas I stepped up to S17+ with an Orange Hex Logic but only after wet sanding on the rear 1/4 really where there was some runs in the paint to try and improve.
Polishing
Here's a few 50/50's (always hard to show on Silver) and a few Before and After pics showing the damage.
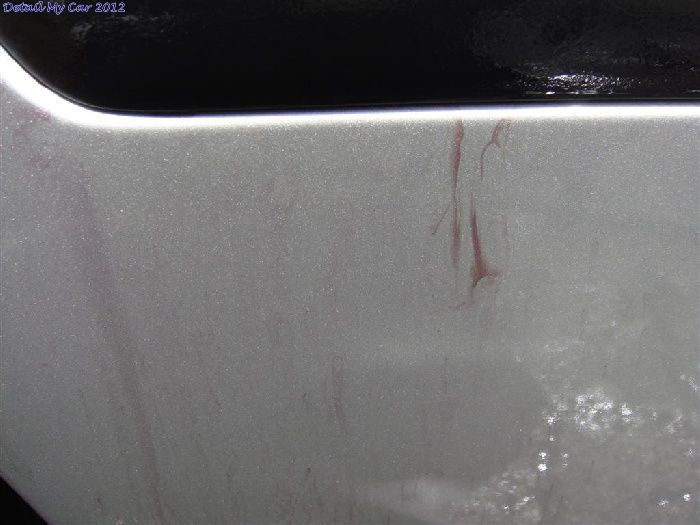
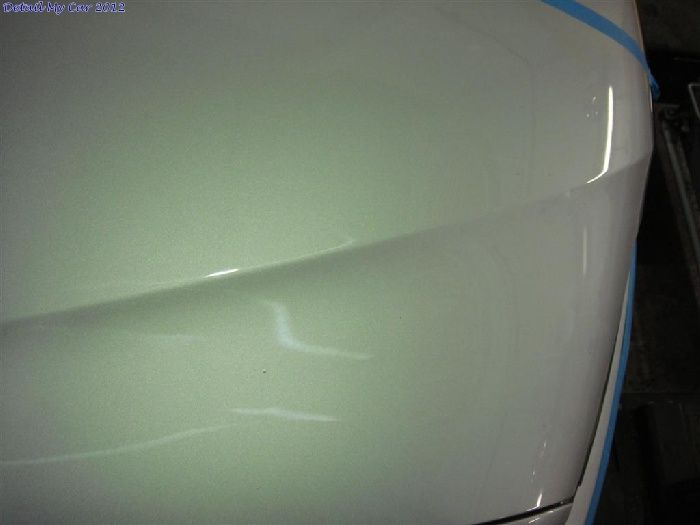
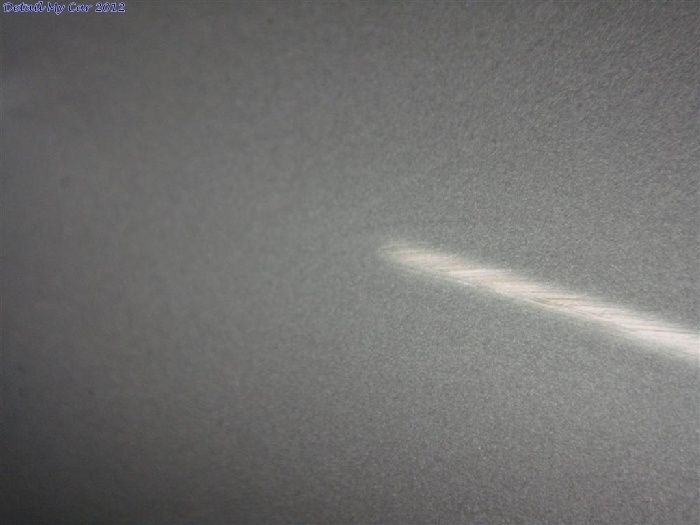
Rear 1/4 wet sanded lightly to remove a paint run
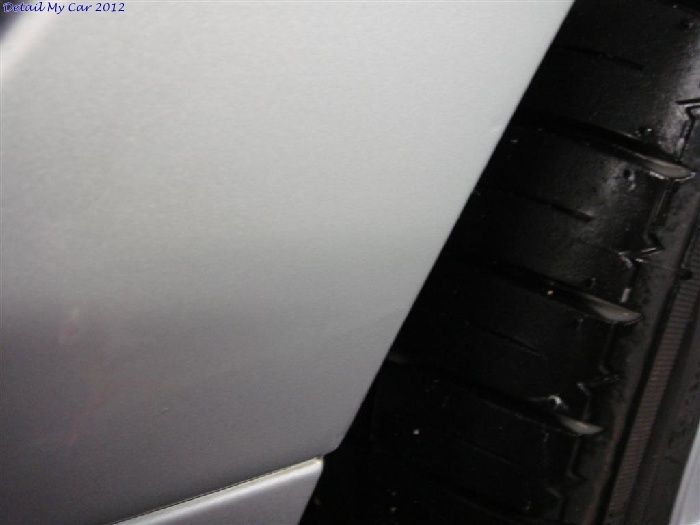
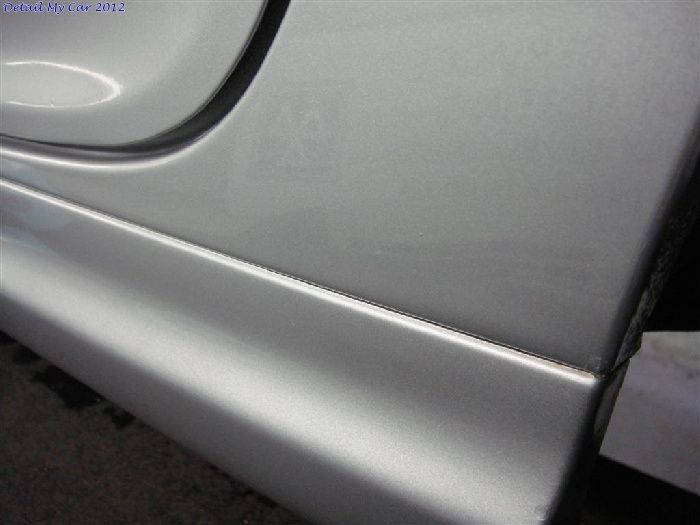
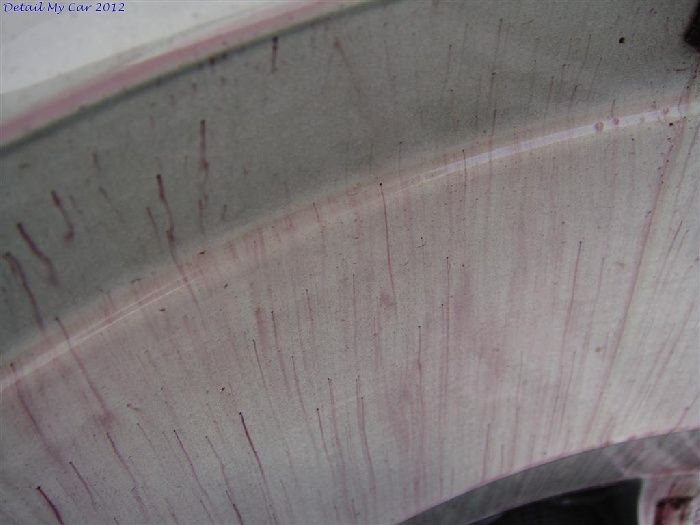
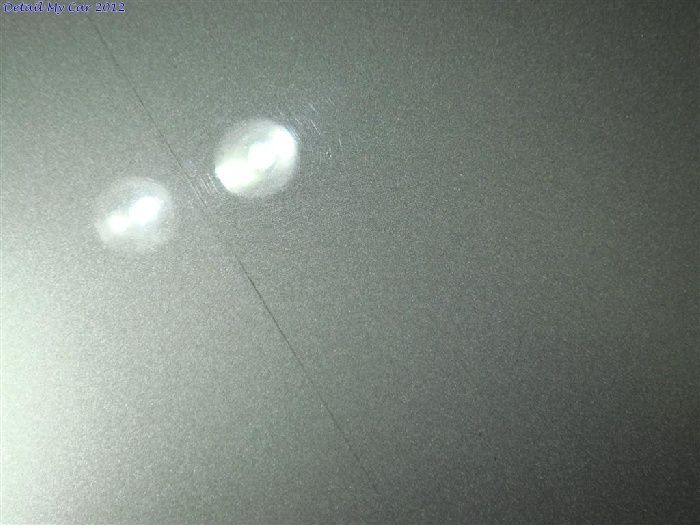
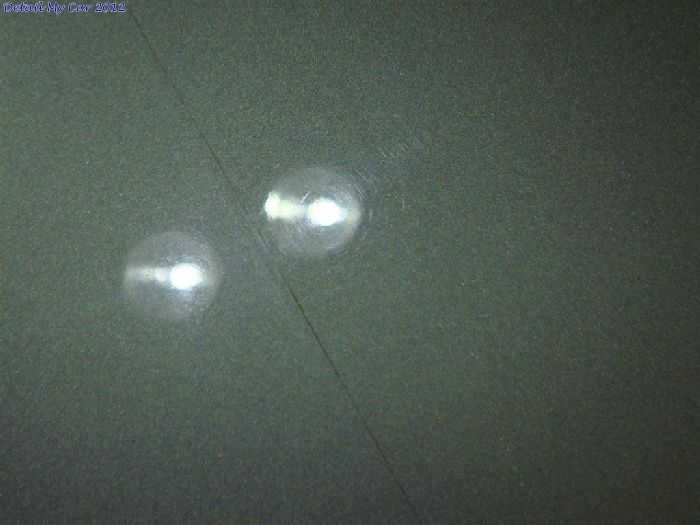
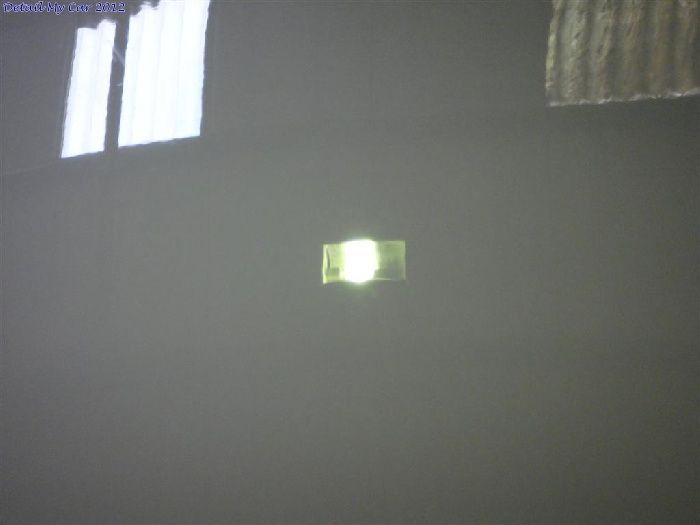
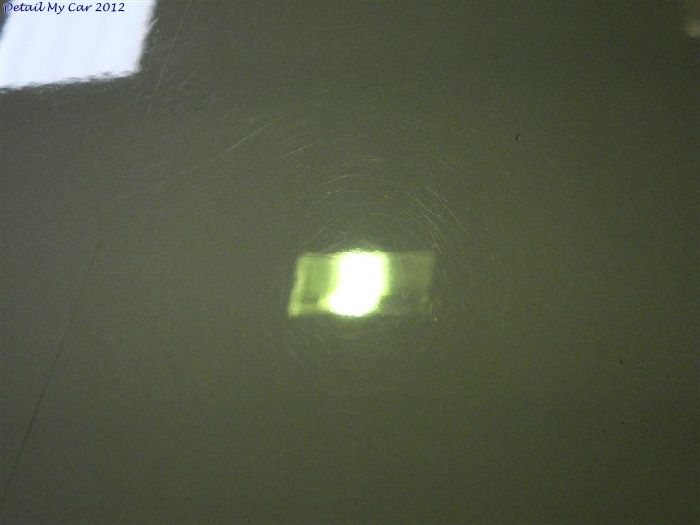
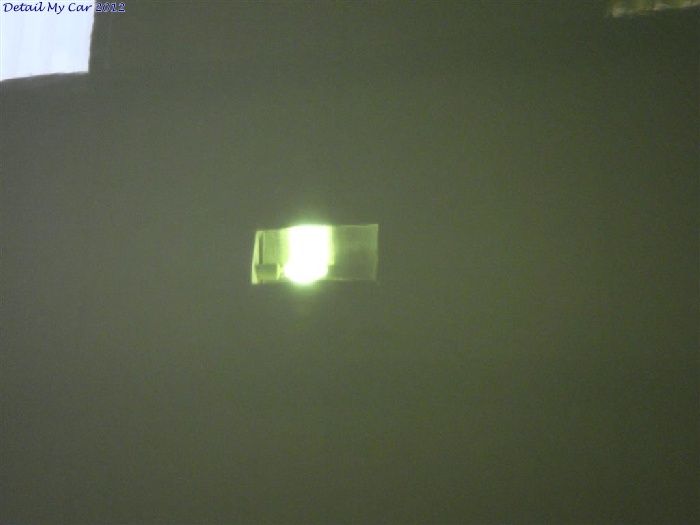
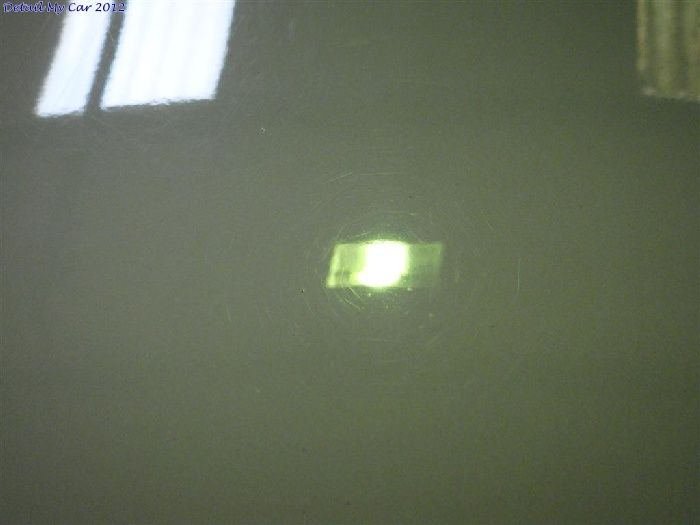
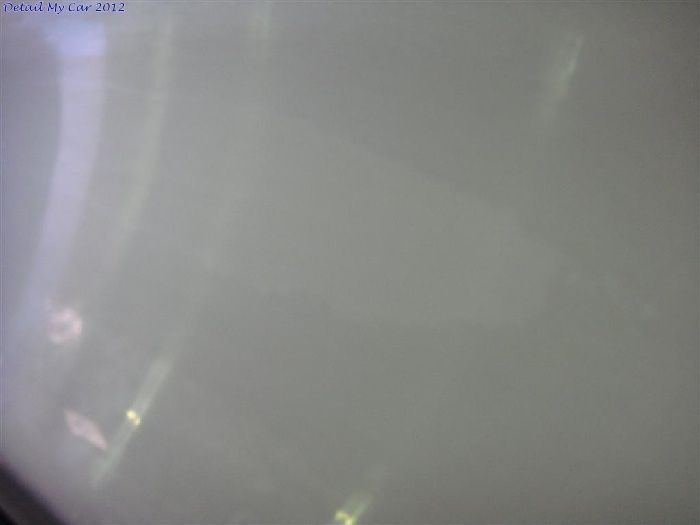
Here's the damaged offside wing
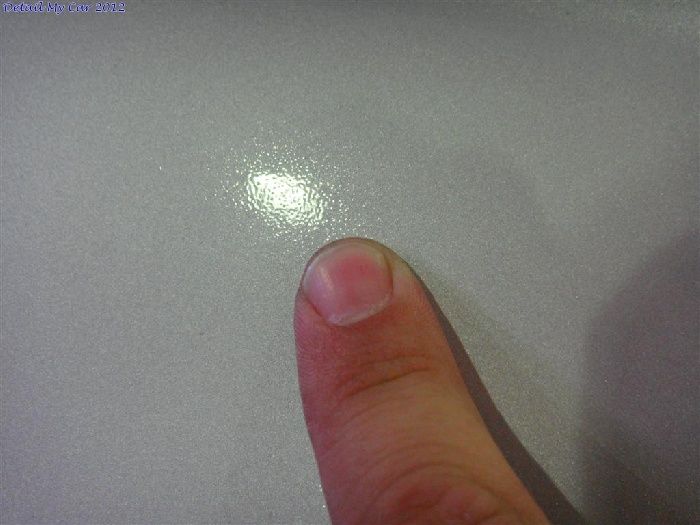
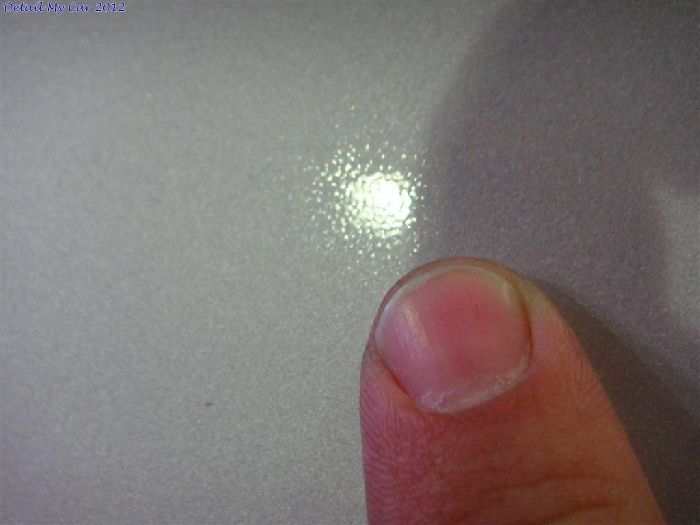
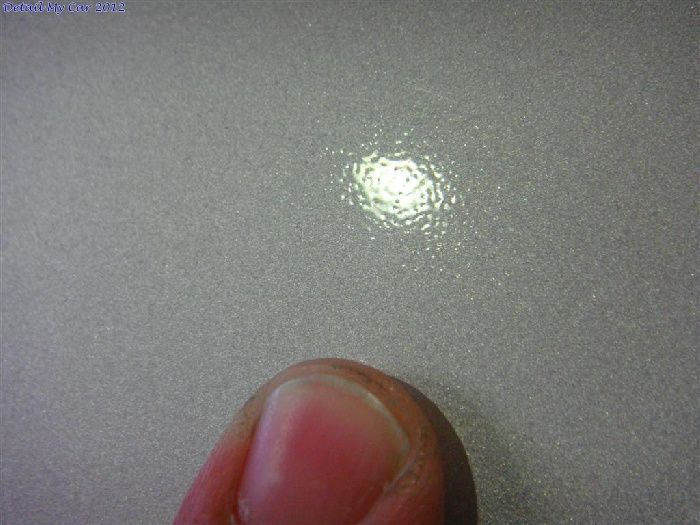
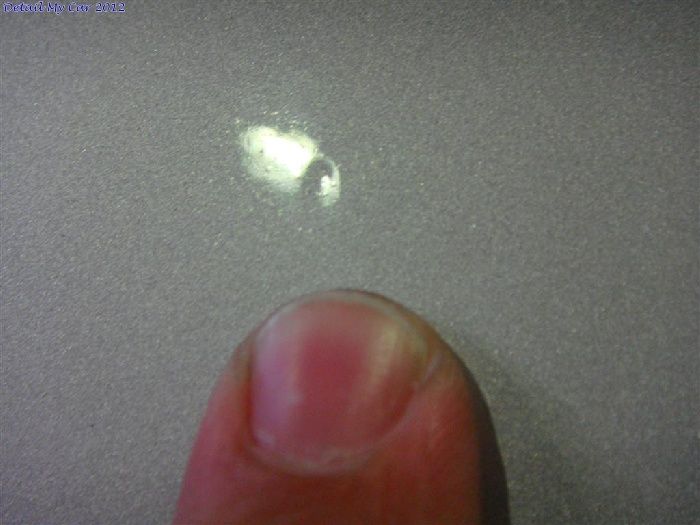
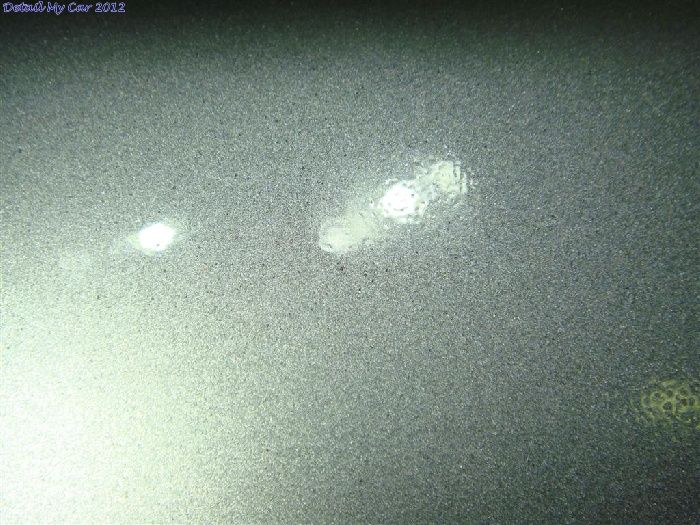
Lots of paint
Here you can see the old colour showing through
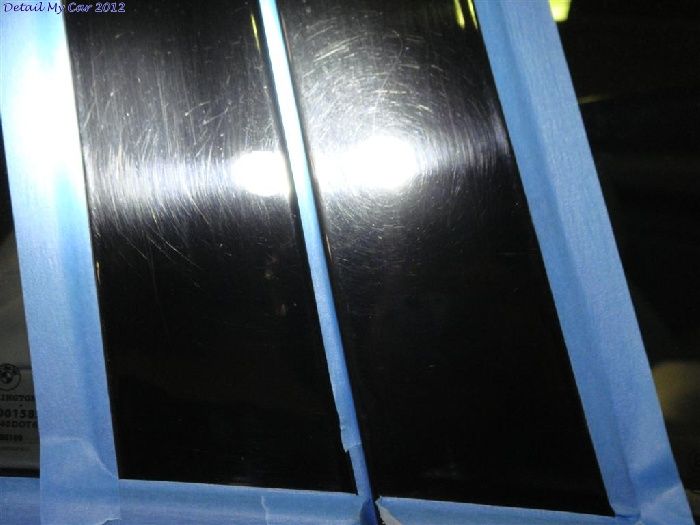
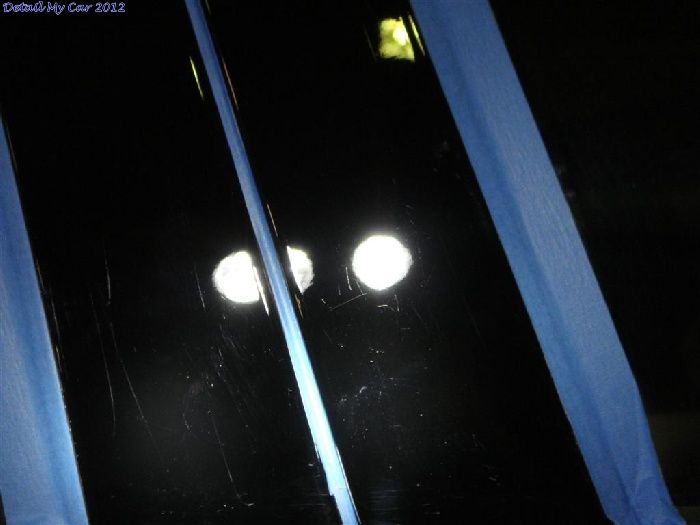
Pillars before
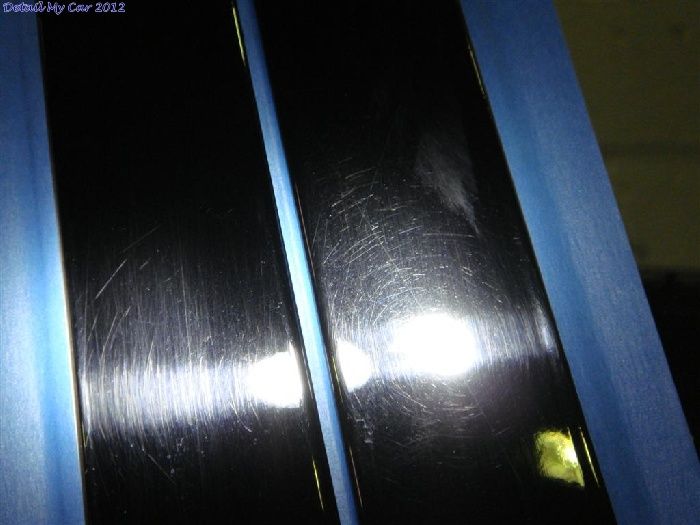
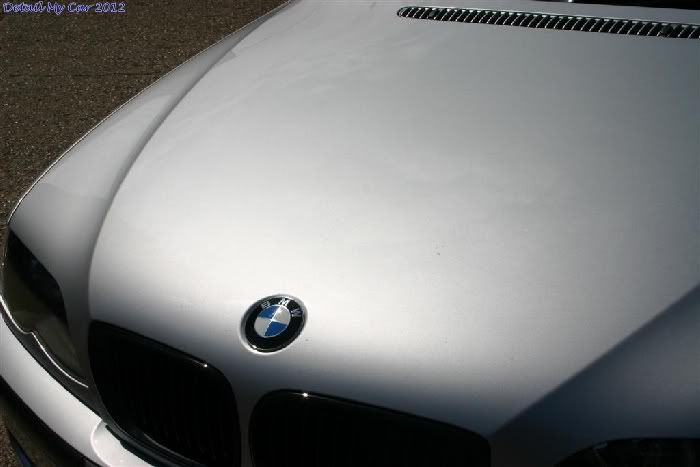
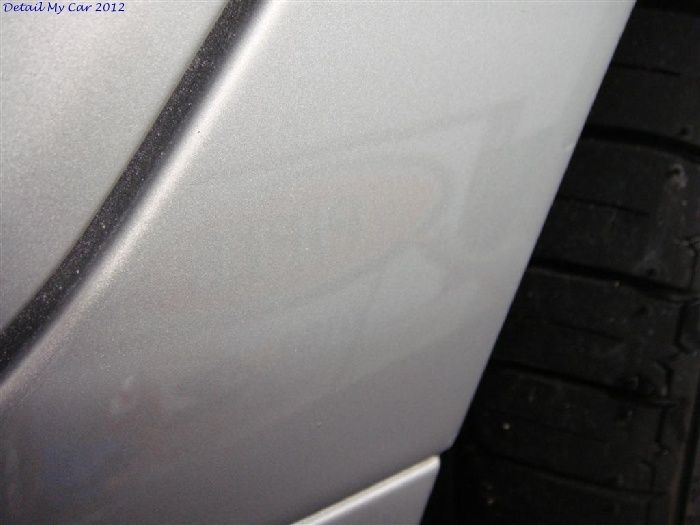
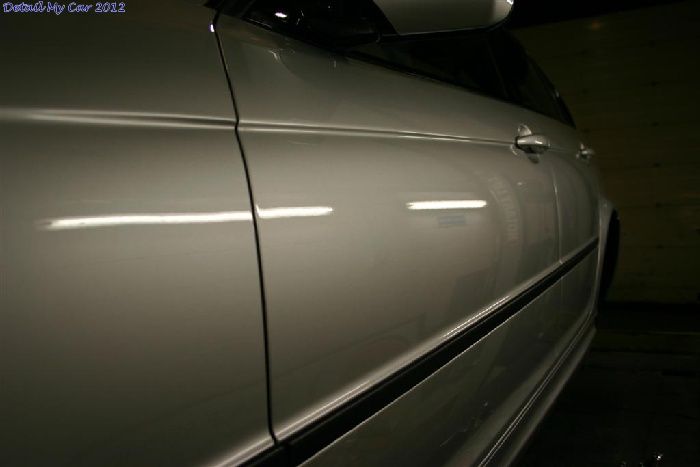
After first polish but not refined
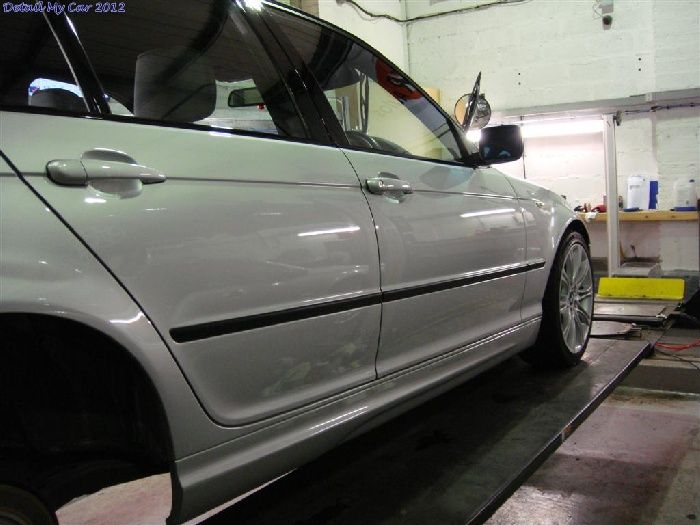
Rest of the car looking better


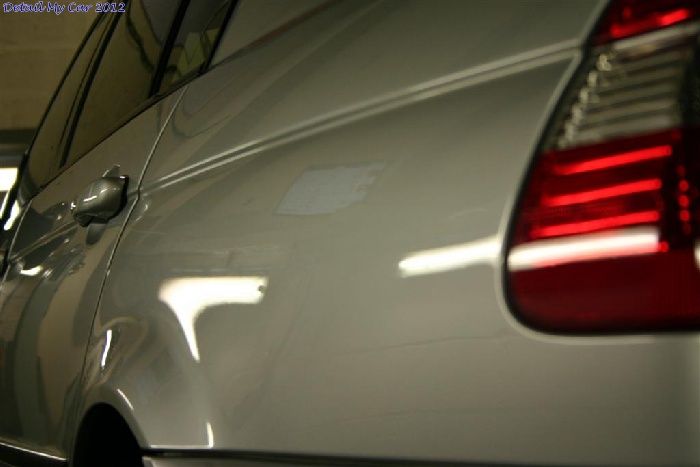
Rear badge removed
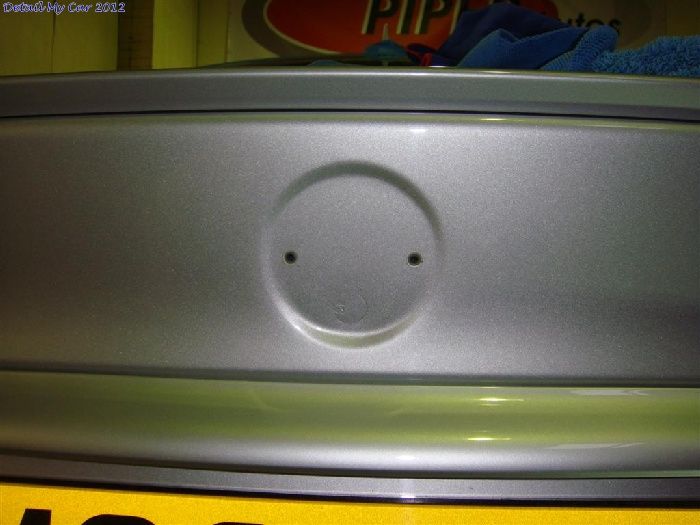
Plate removed
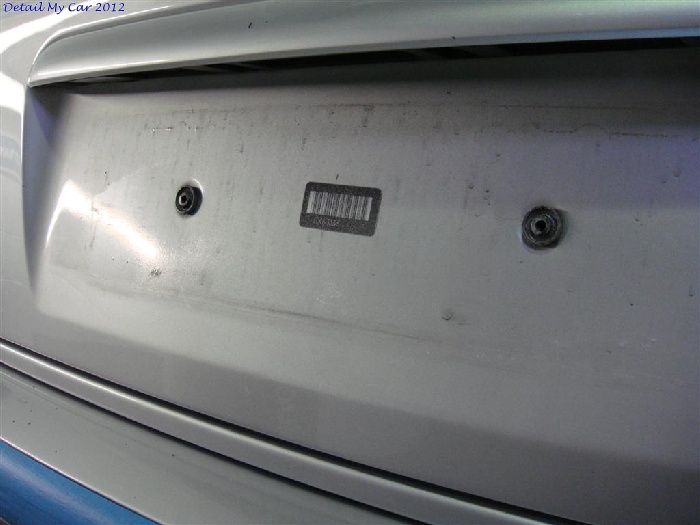
Cleaned up
Refining polish
Tornador used to remove dust

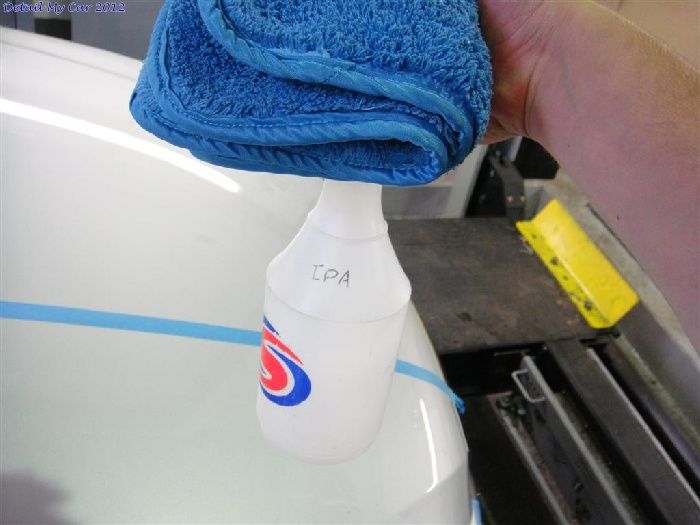
The car was wiped down with IPA at each stage, I would usually use eraser but as the car was going to be protected with Ceramishield I wanted to make sure it had no oils or reside to cause any issues with Ceramishield bonding, as IPA is really what should be used.

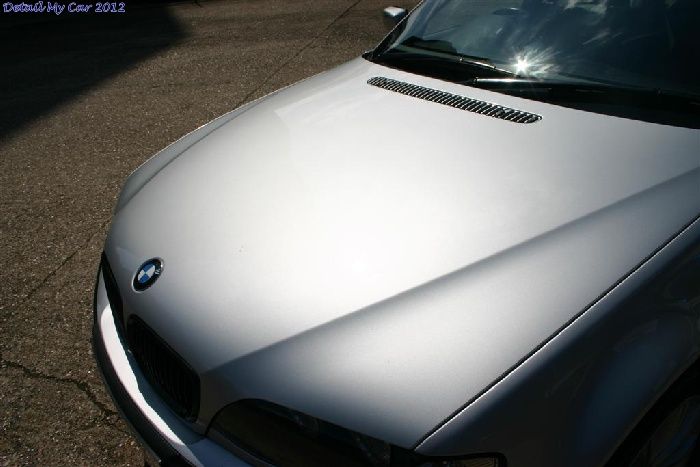
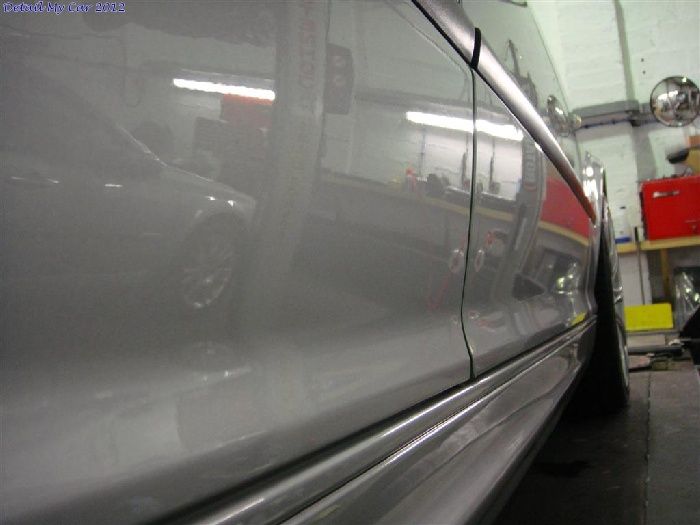
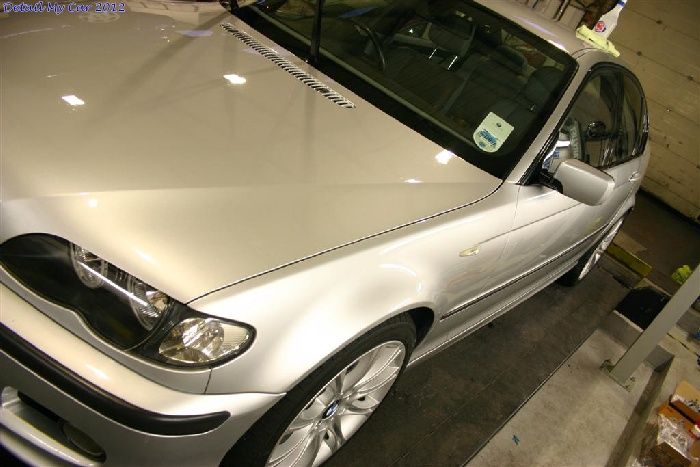
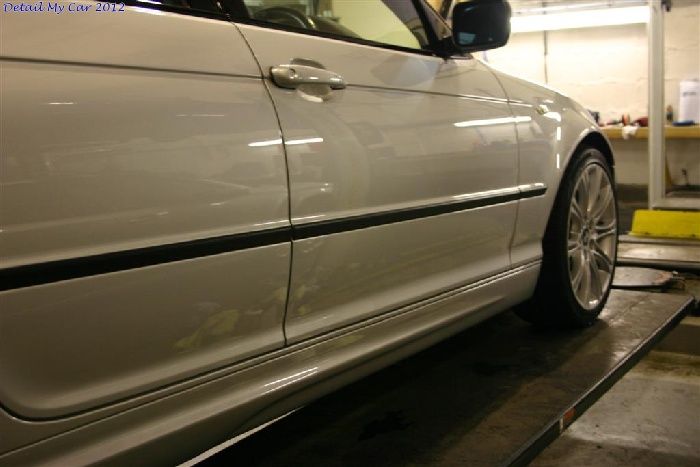
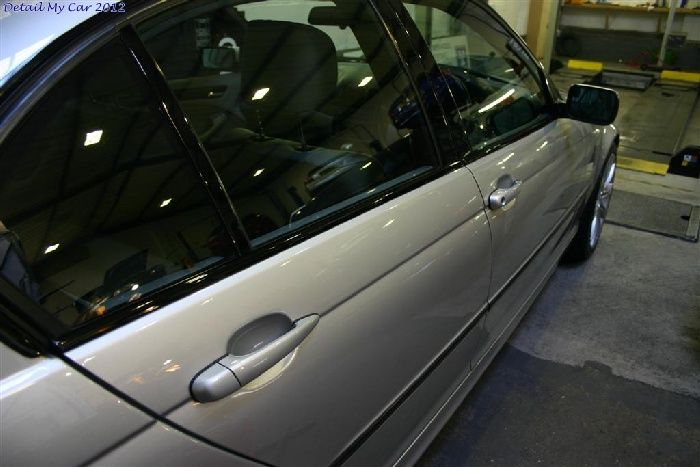
After polishing and refining, the paintwork was all sealed with Ceramishield incl lights and glass. I removed each section after 3 minutes and it buffed off relatively easy to leave a seriously slick finish!! The car was looking far better at this point so I was pleased.
Curing
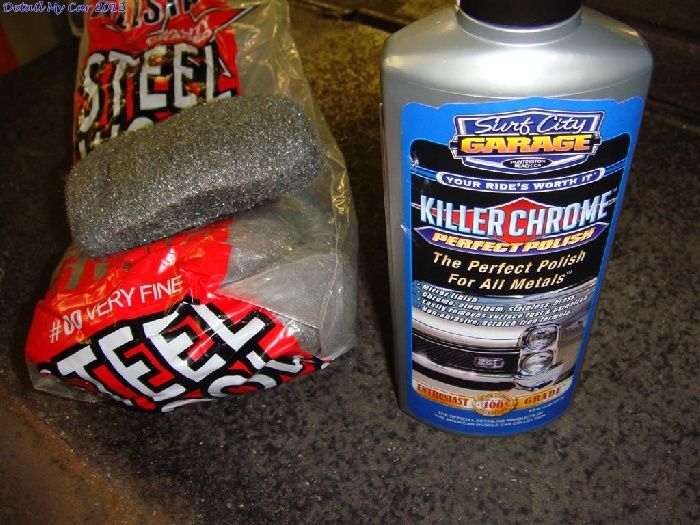
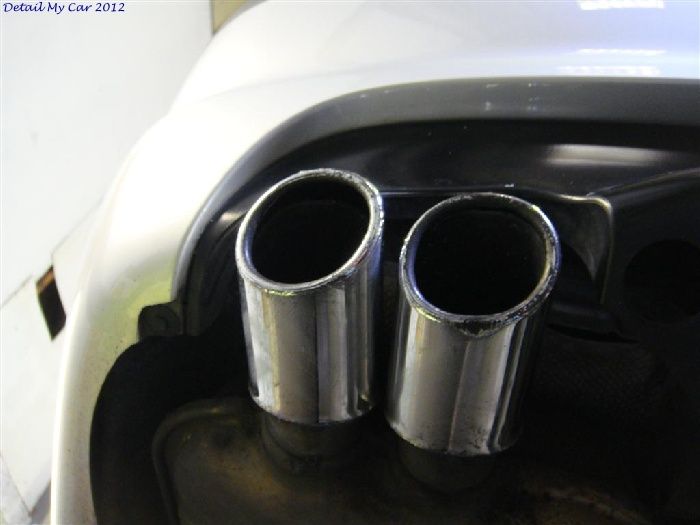
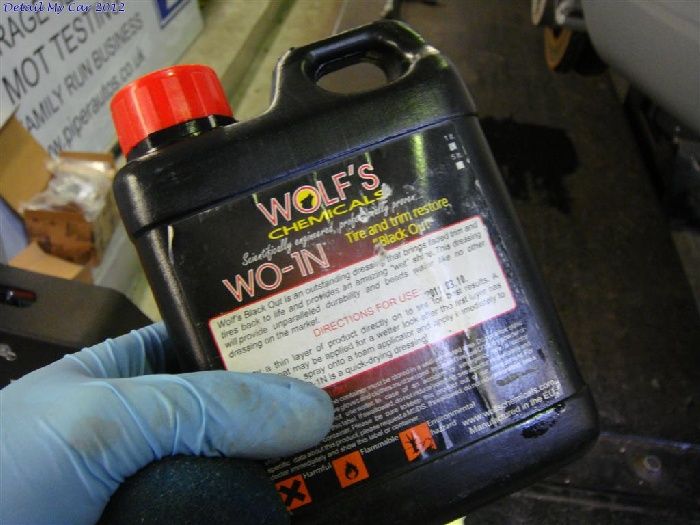
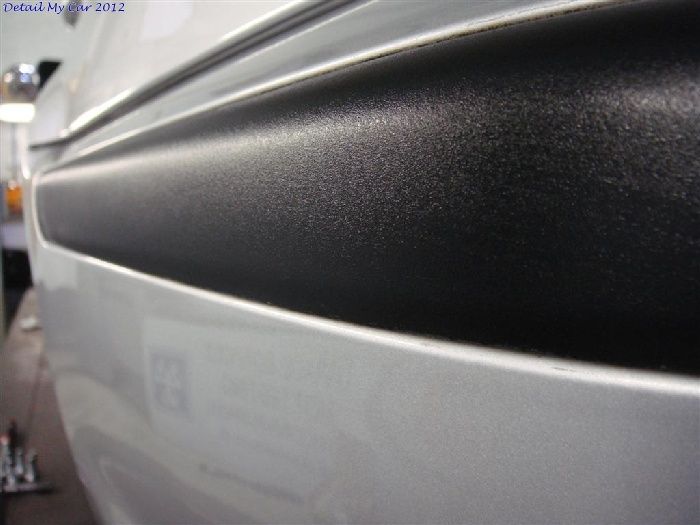
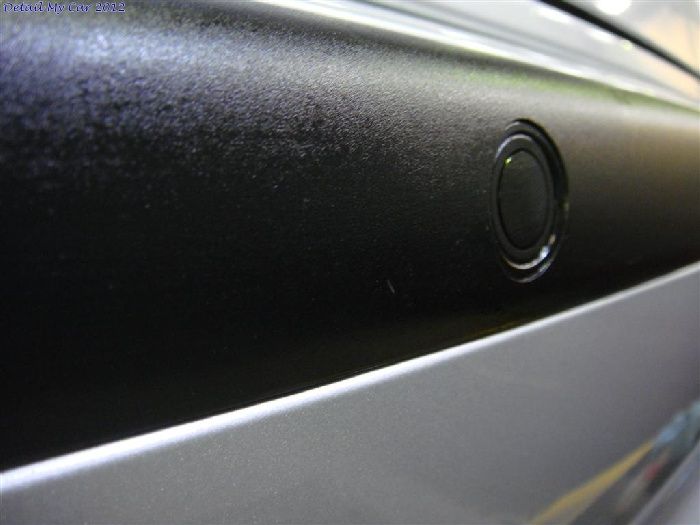
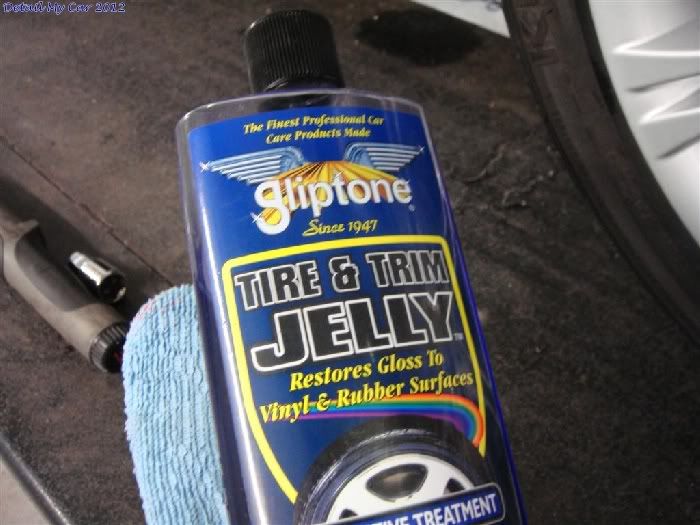
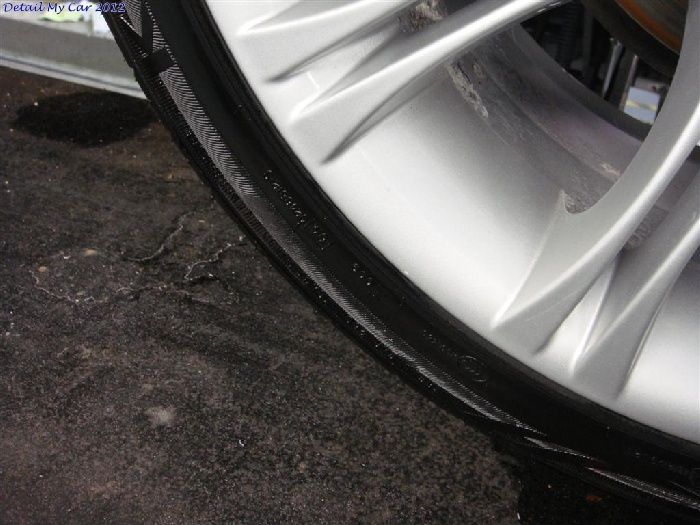
The trims were treated with Wolfs, Tyres with Gliptone, Exhausts with Surf City's killer chrome.
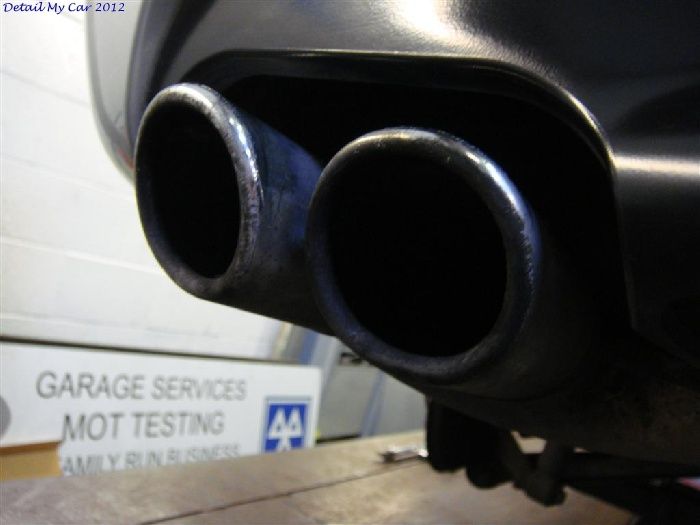

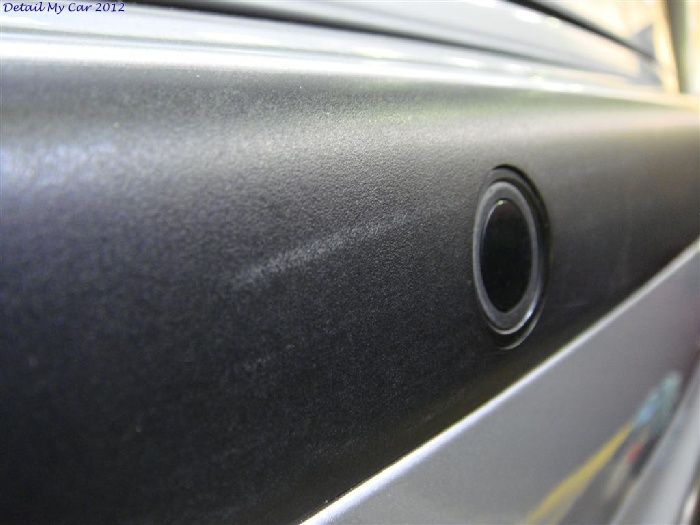
Trim before
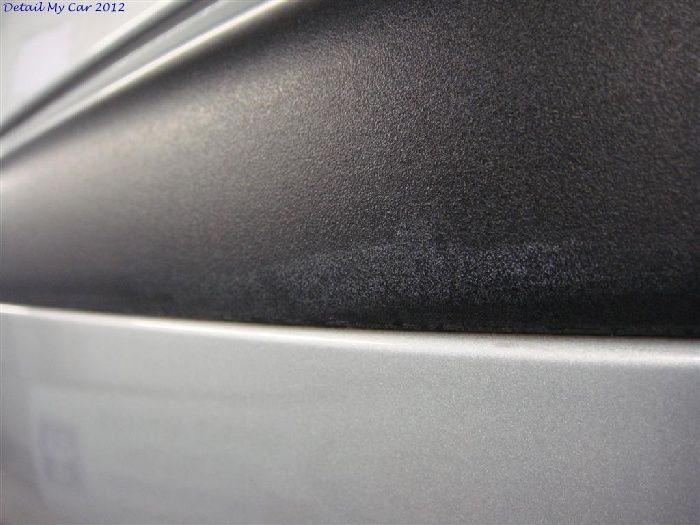
Wolfs
After
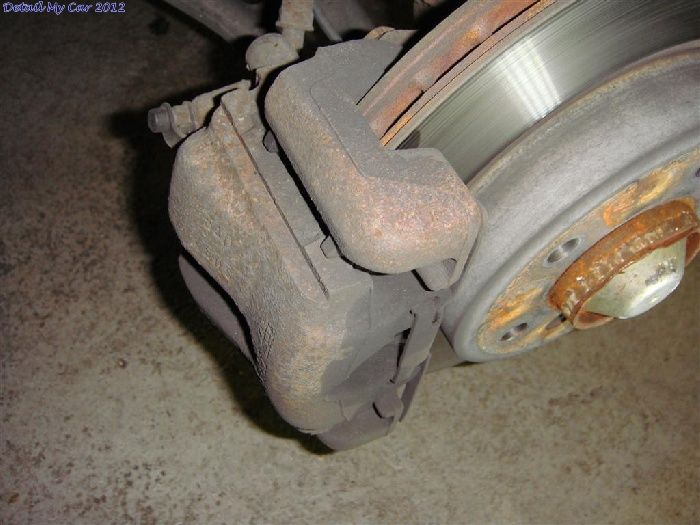
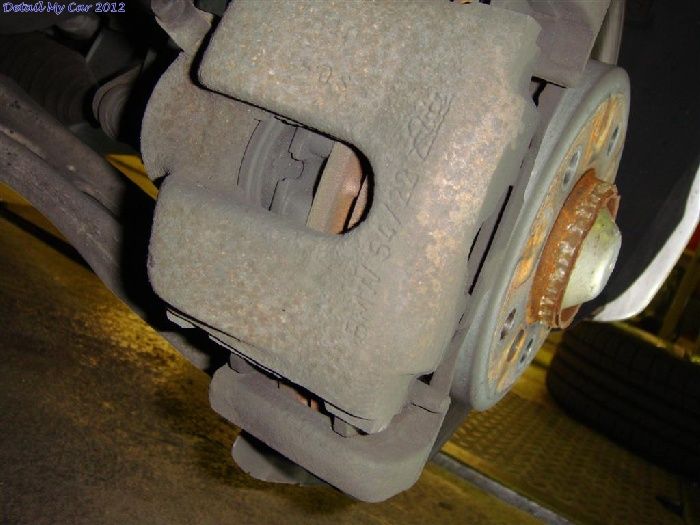
Rear calipers were then painted before going home at gone 11pm to start again Sunday morning.
Rear calipers before

After
Ceramishield buffed off
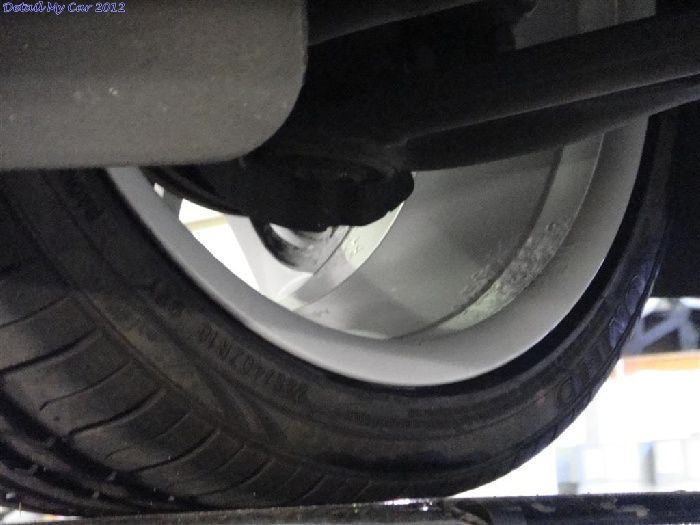
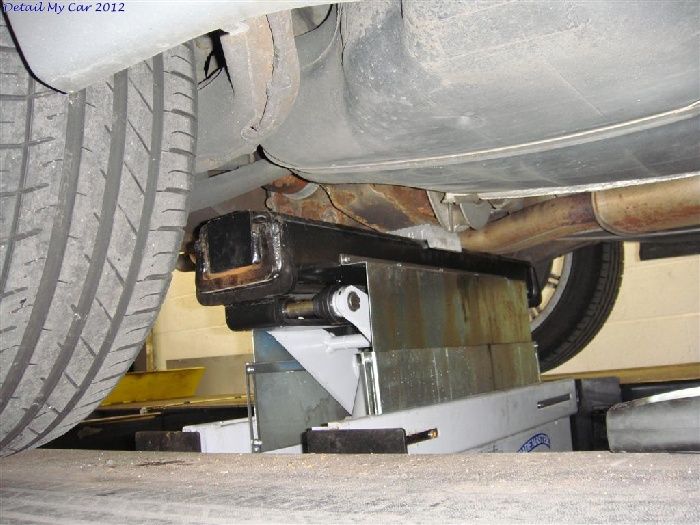
Sunday AM I got down and bolted the rear wheels on with the new spacers, all torqued up with a snap on digital torque wrench to make sure all was safe.
I then got the car off the ramp and started on the interior, all was dusted down, vac'd, steam cleaned and Gliptone leather cleaner and conditioner used on all leather. Meg's APC used on all plastics incl steering wheel to remove built up dirt. Carpets were wet-vac'd with a Vax 6131T and AS Brisk. After this the Tornador was also used with Brisk to get into the tricky areas and leave a nice dry finish. The boot and spare wheel well were also cleaned and dressed.
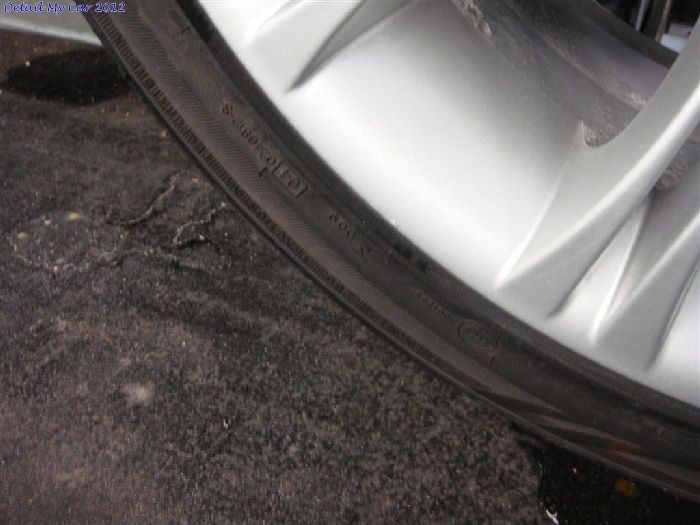
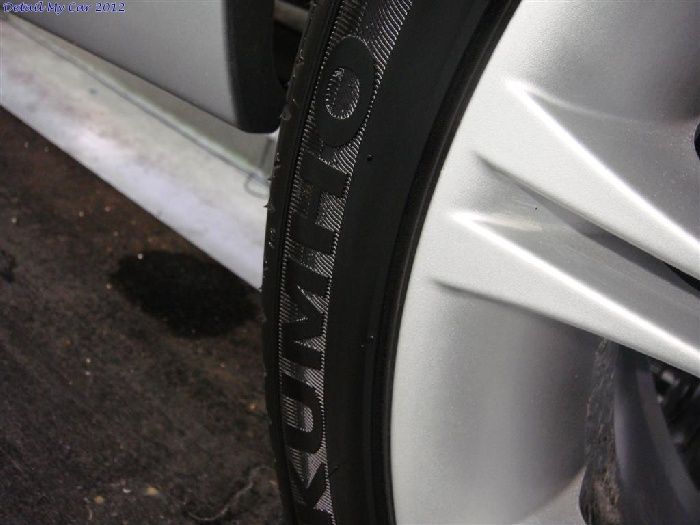
Tyres before
New centres again
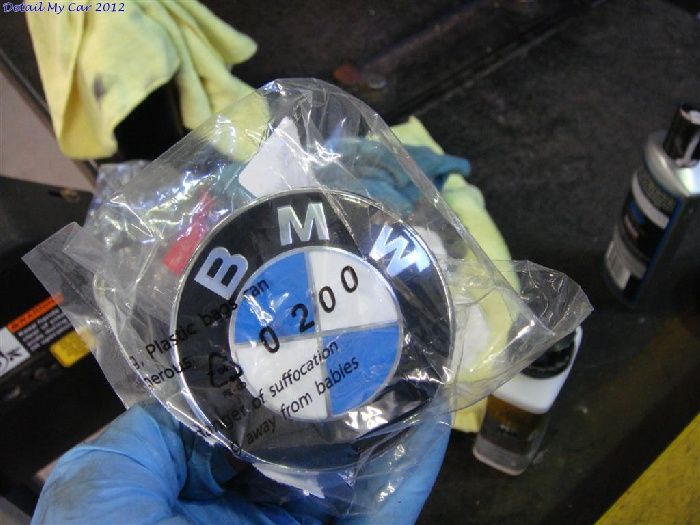
New rear badge

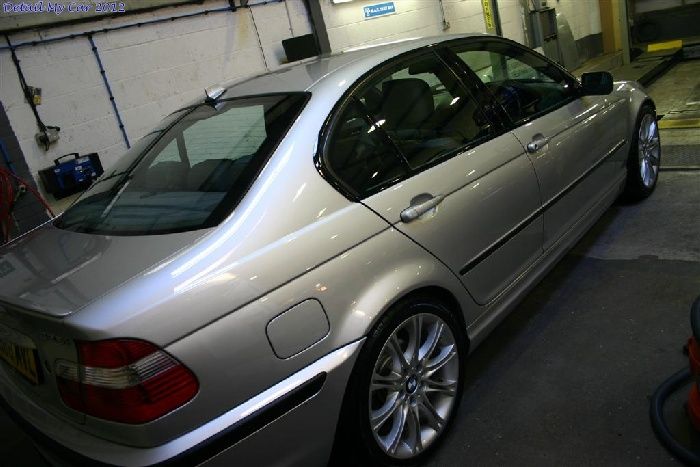
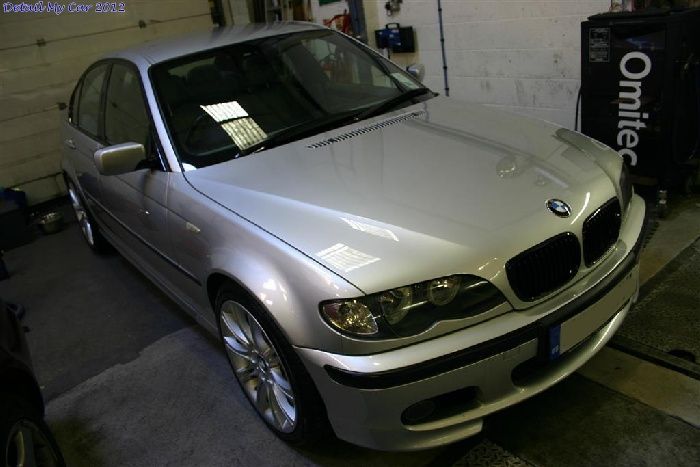
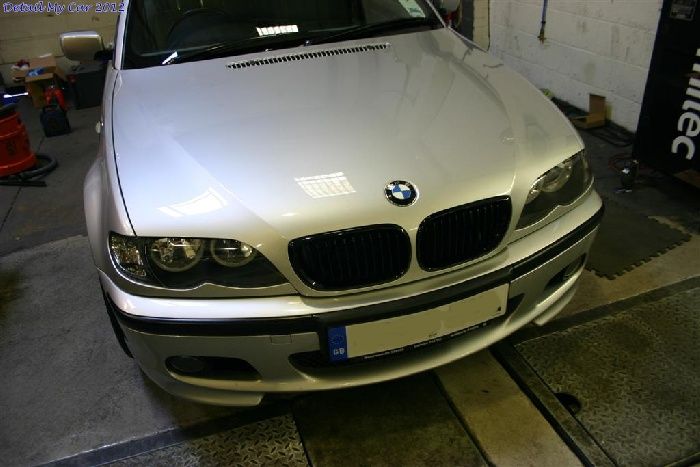

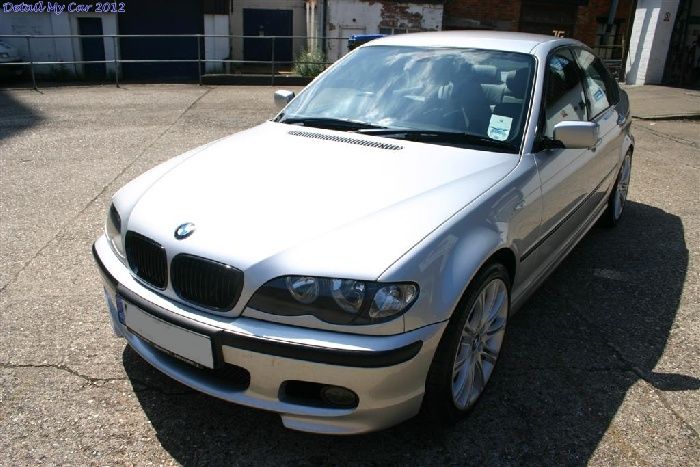
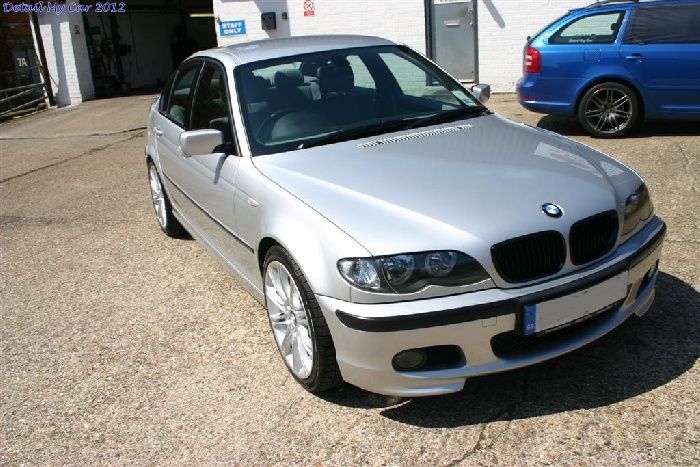
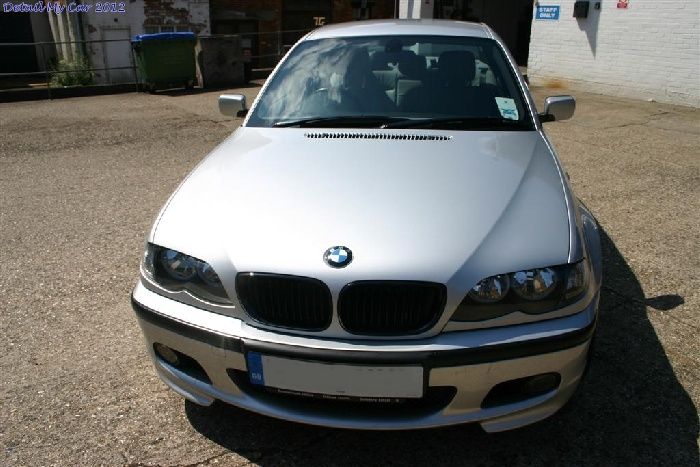
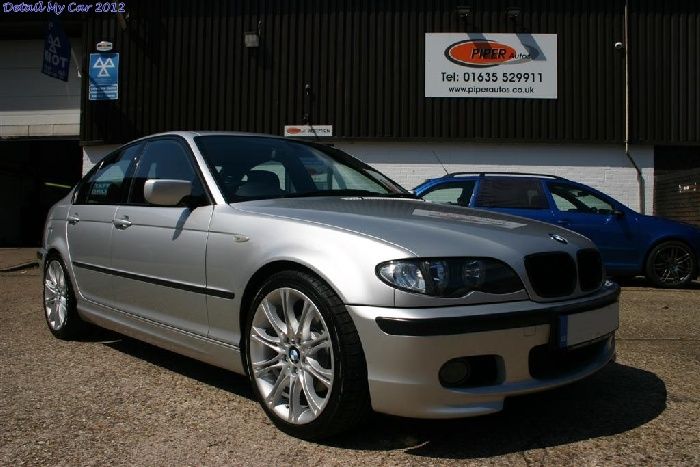
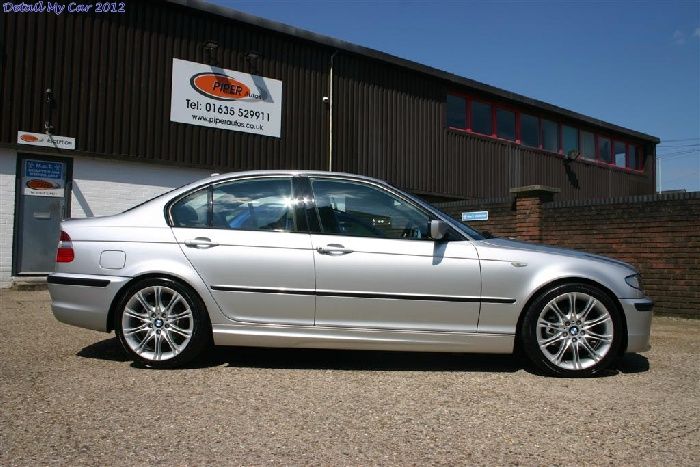
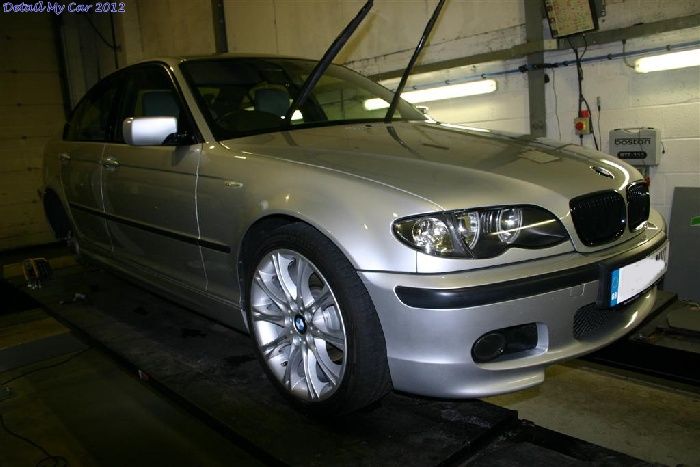
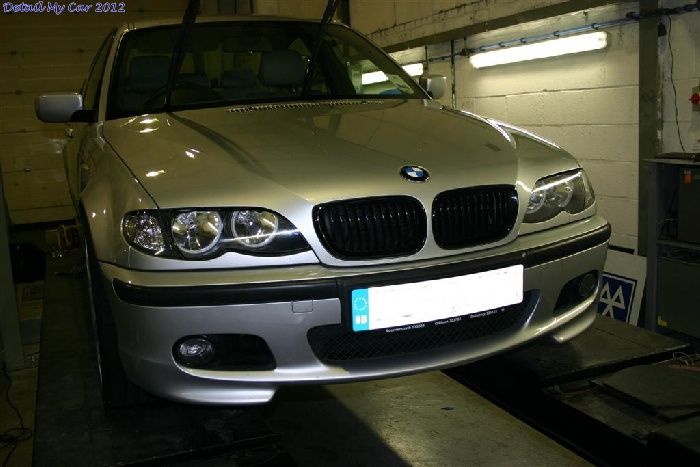
That was pretty much me done with the car, after 24 hours work I was really pleased with it - Obviously there were still a few tiny issues that I would like to have done but with the time spent (and charged for) I just couldn't afford to spend any more time on it, but all in all I out my heart and soul into this one and really felt it was a job well done
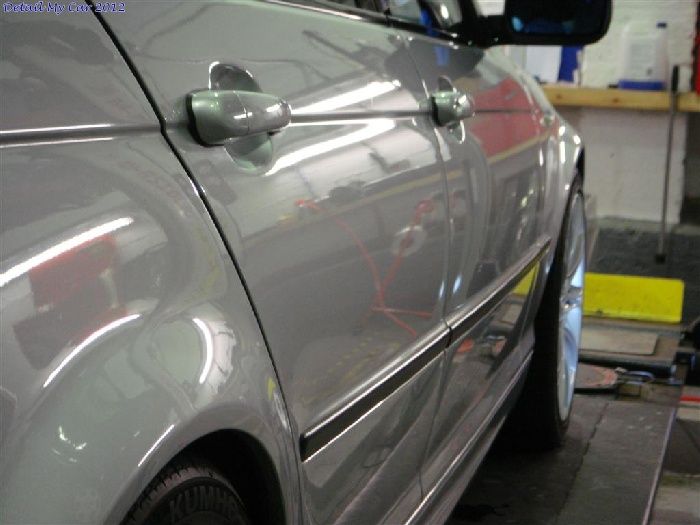
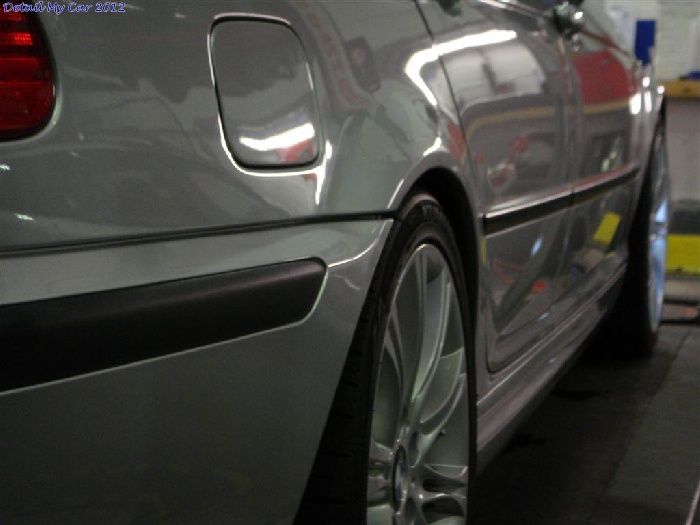
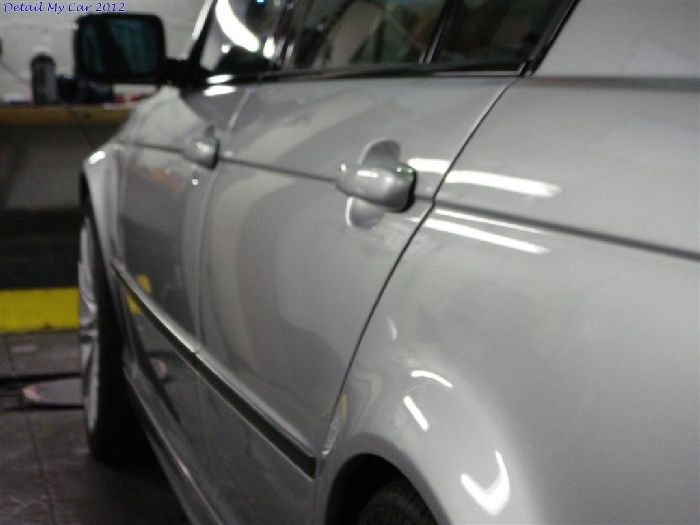
Here's all the final pics, thanks for sticking with the write-up if you've made it this far, and as always appreciate any feedback and comments!
Nick - Detailmycar