
DMC Detailed Write up - Lamborghini Murciélago LP 670–4 SuperVeloce
Posted on
The SuperVeloce's V12 produces 670 PS (493 kW; 661 hp) at 8000 rpm and 490 lb•ft (660 N•m) of torque at 6500 rpm, thanks to revisedvalve timing and upgraded intake system. The car's weight was also reduced by 220 lb (100 kg) through extensive use of carbon fiberinside and out. A new lighter exhaust system was also used. As a result of the extensive weight loss, the SV produces a power-to-weight ratio of 429 Bhp/long ton
They believed the LP 670–4 SV would be capable of accelerating to 62 mph (100 km/h) from a standing start in just 2.9 seconds and on to 124 mph (200 km/h) in 7.4 seconds. Subsequent testing by Road and Track revealed a 0–60 time of 2.8 seconds and a quarter mile time of 10.9 seconds at 129.4 miles per hour.[13] Lamborghini claims a top speed of 212 mph (341 km/h) when the car is fitted with an optional smaller spoiler, or 209 mph (336 km/h) with the standard Aeropack wing.
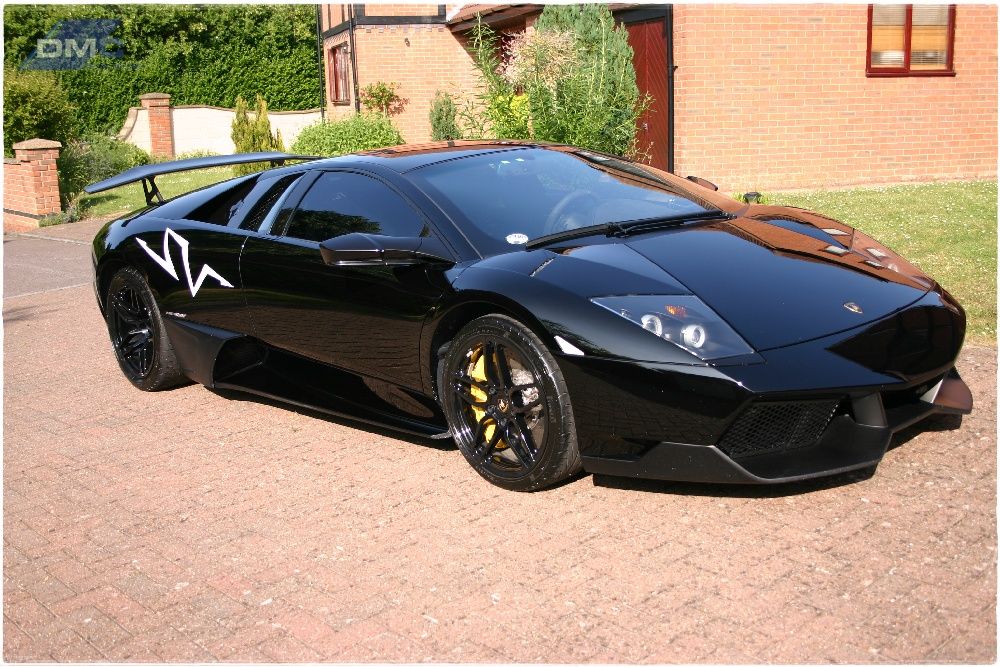
[B]Only 186[/B] of these cars were made due to the factory having to make way for the new Aventador production line (they initially intended to make 350)!
This car is simply one of my all time favourite hyper cars ever made, and being a Lamborghini it is just that bit special so I was really pleased to be working on it.
I have known this customer for some time having previously worked on his Yellow Diablo VT Roadster (Link to follow)!
The car was completed in 2 days and being a few months back now I can’t remember every product used but thought this was still worth sharing as it’s a car most people tend to like!
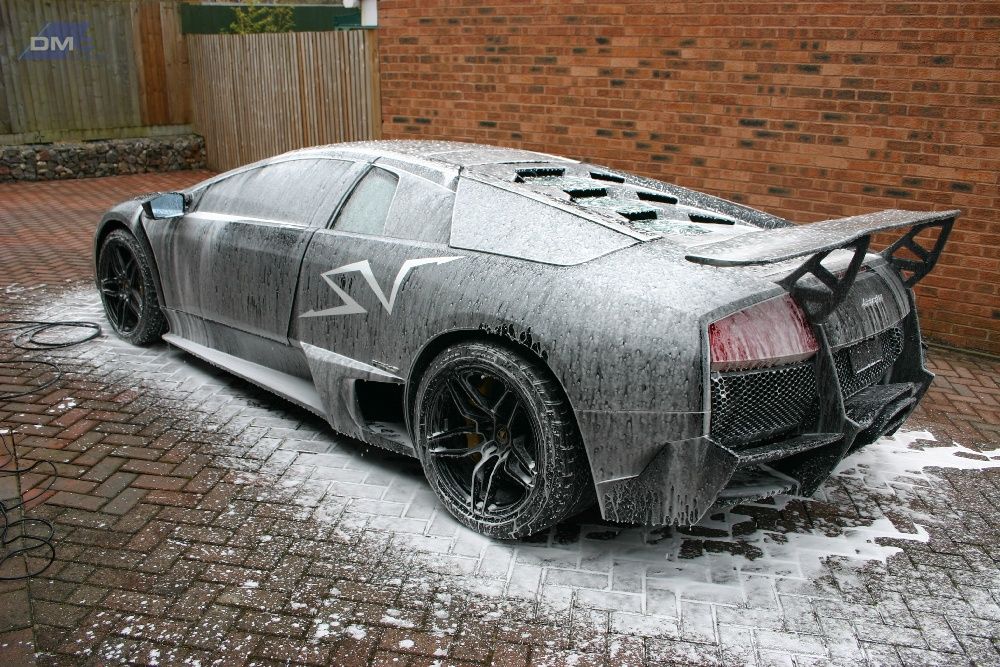
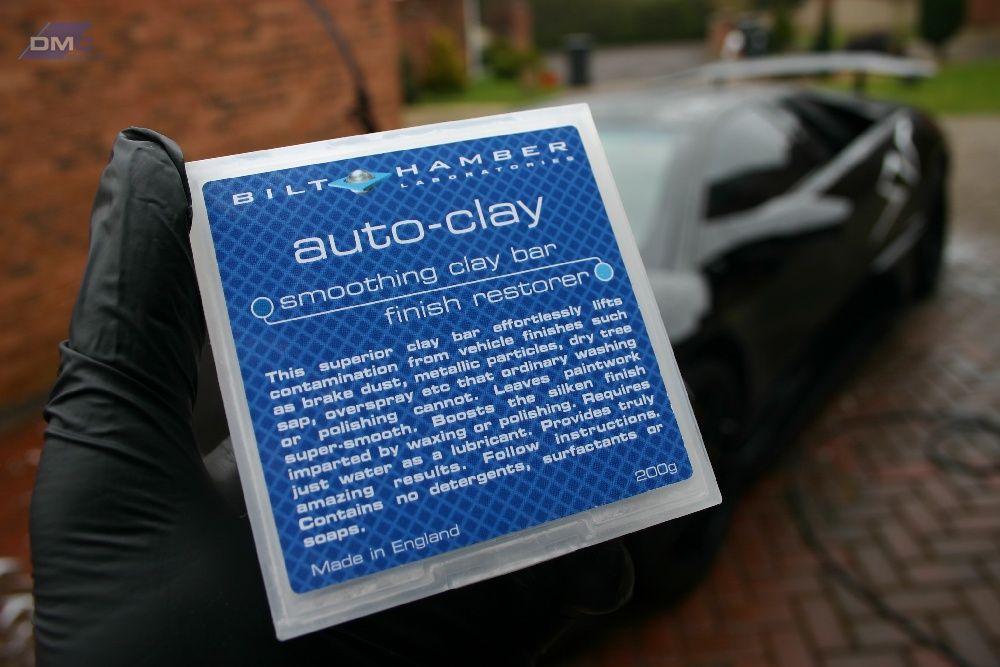
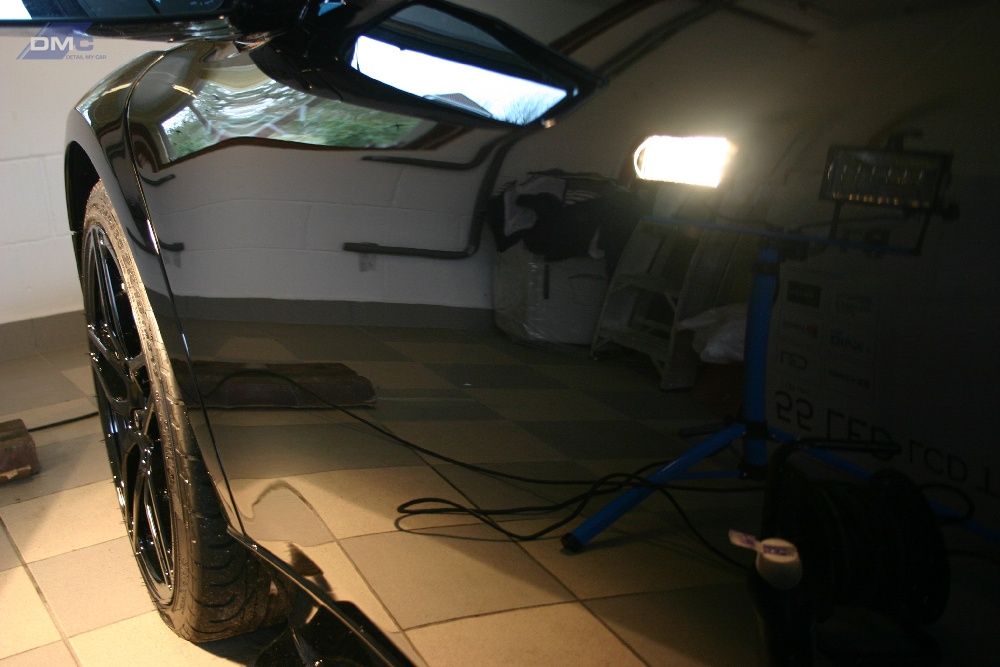
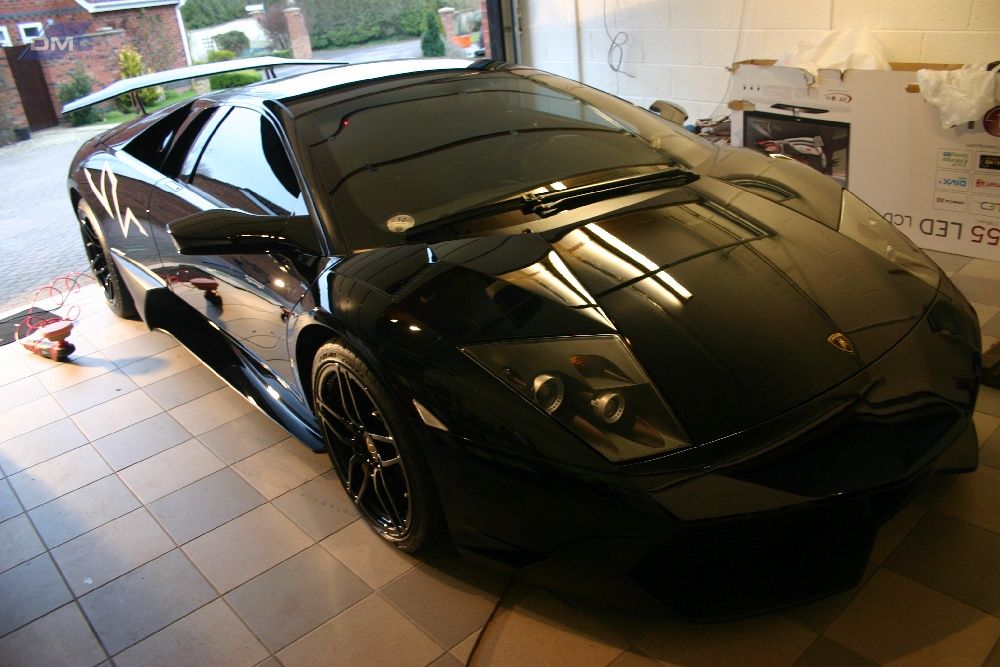
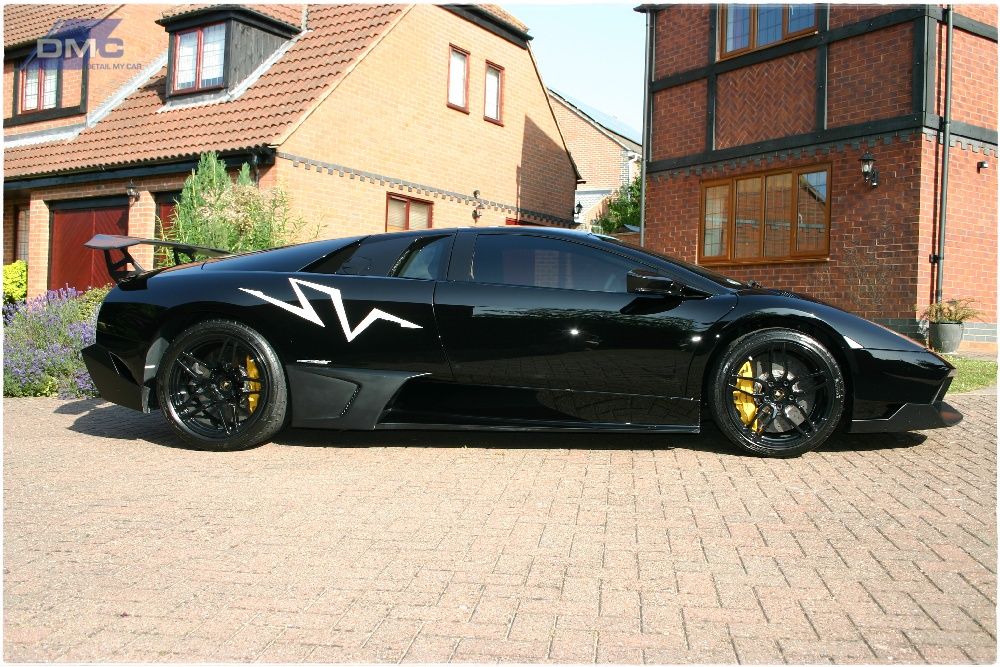
Here’s some shots
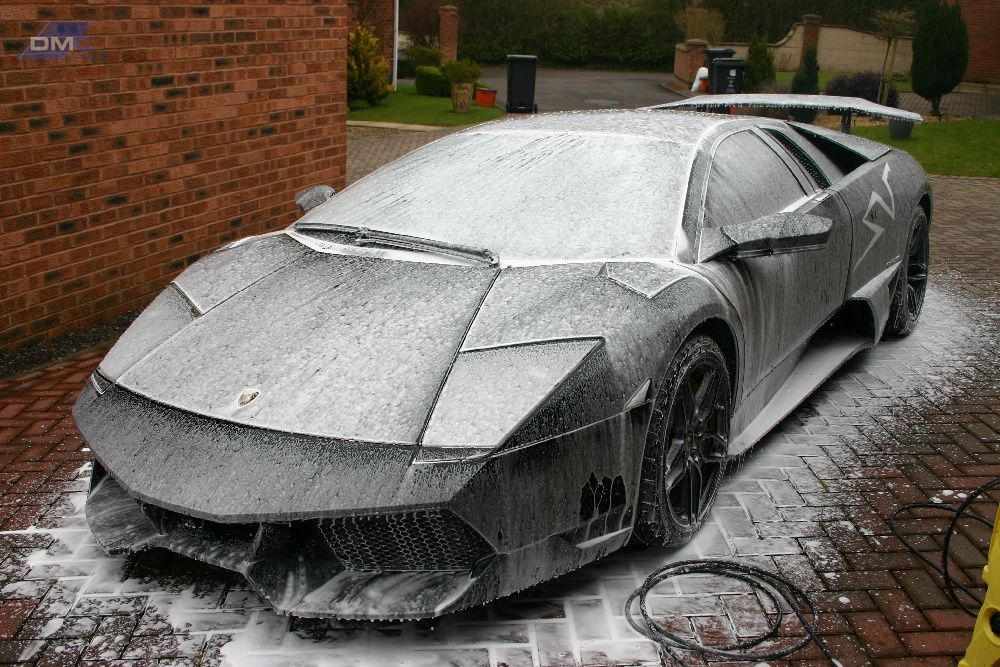
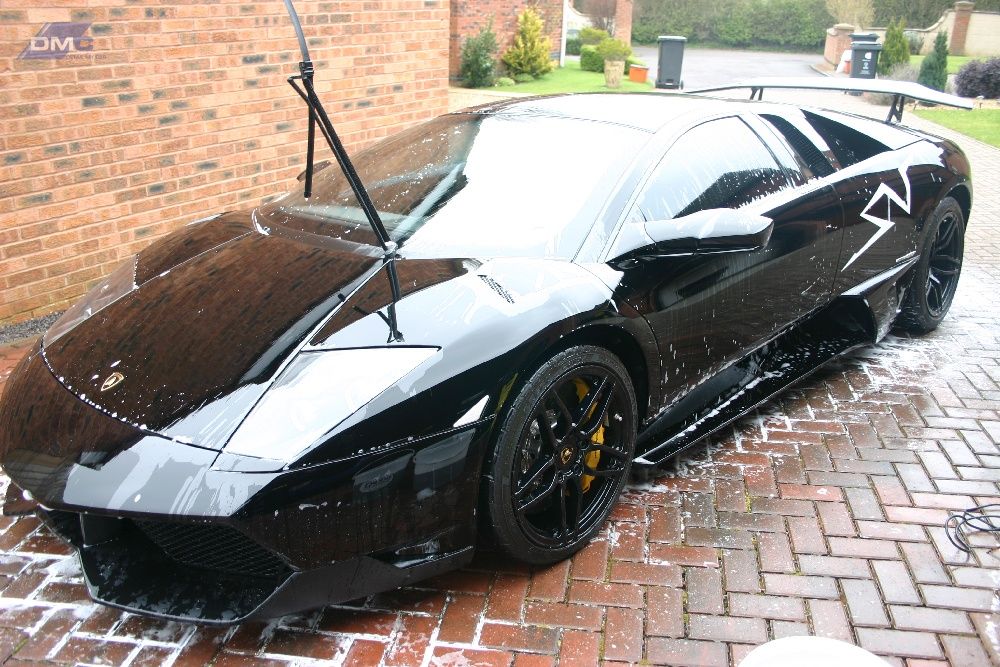
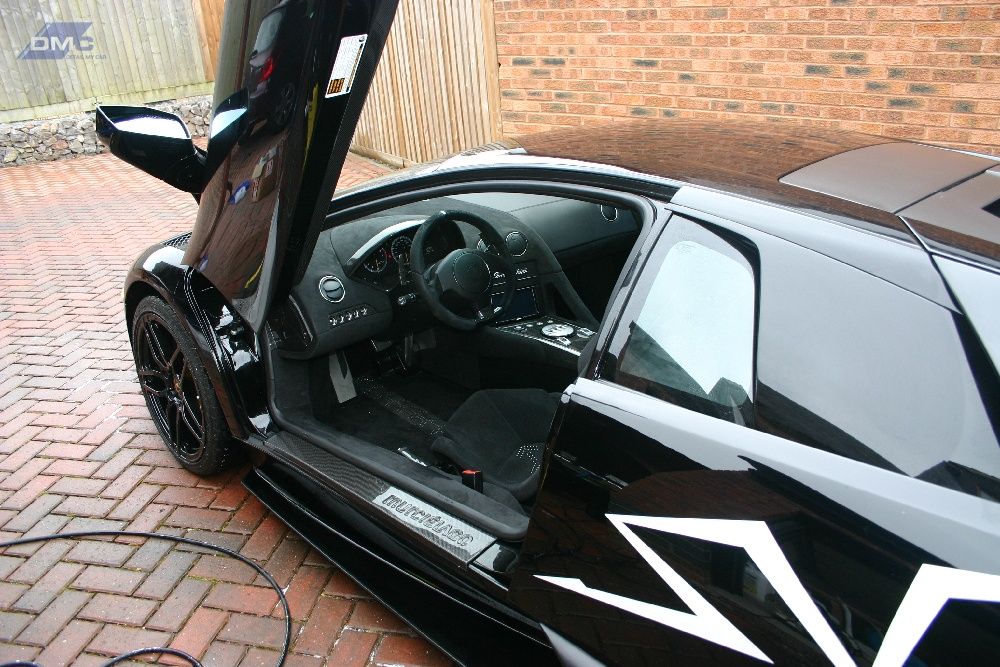
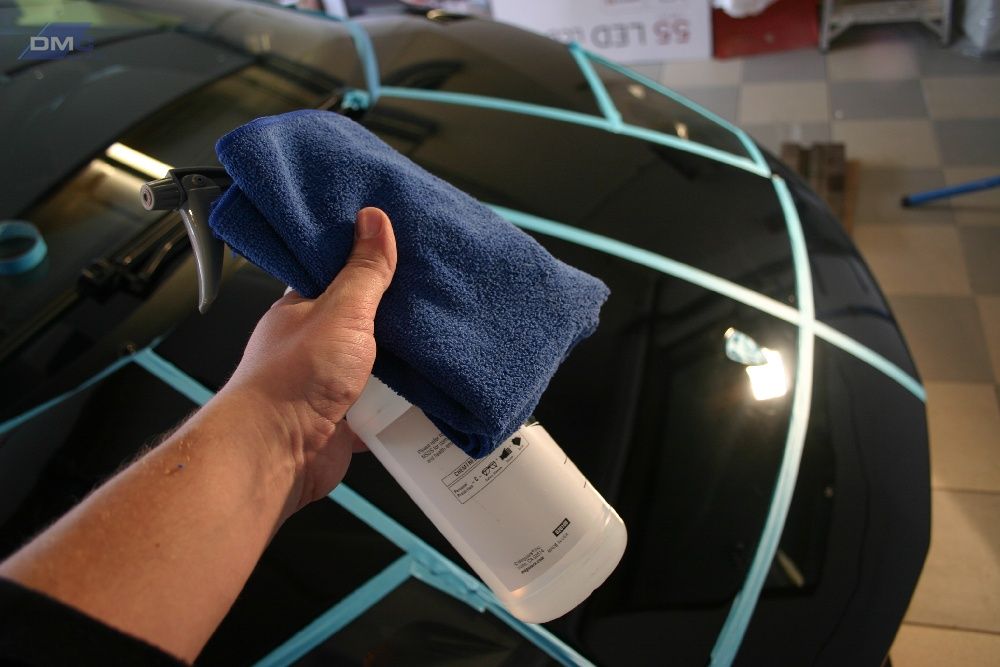
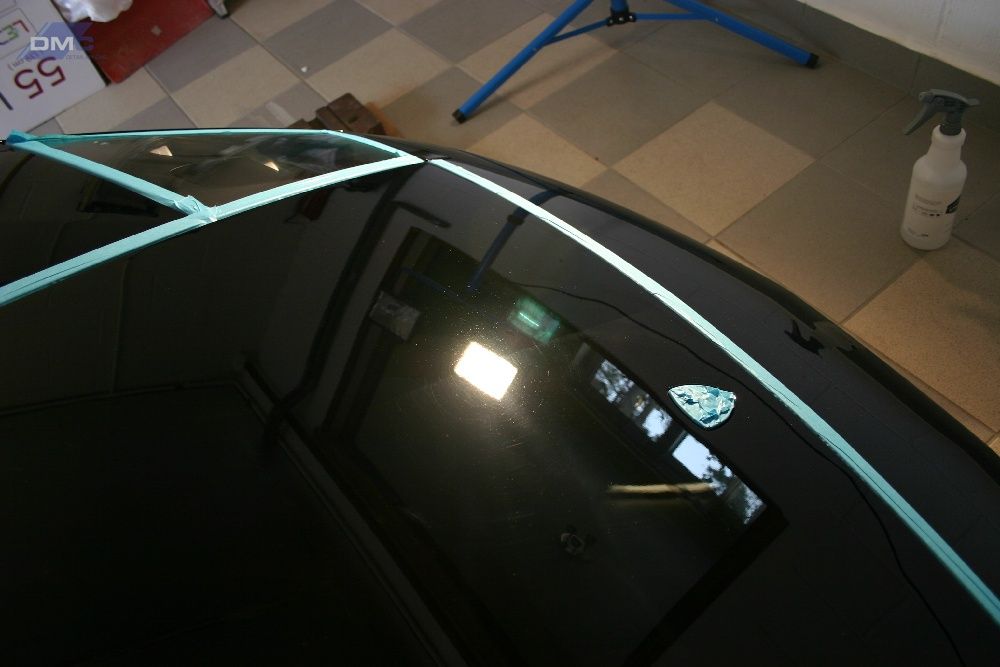
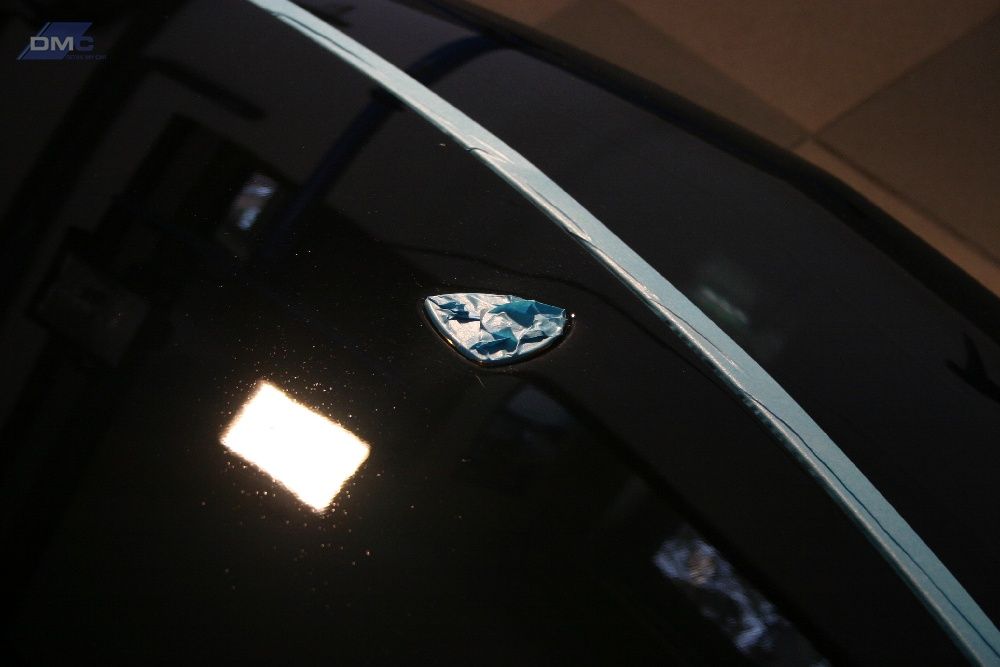
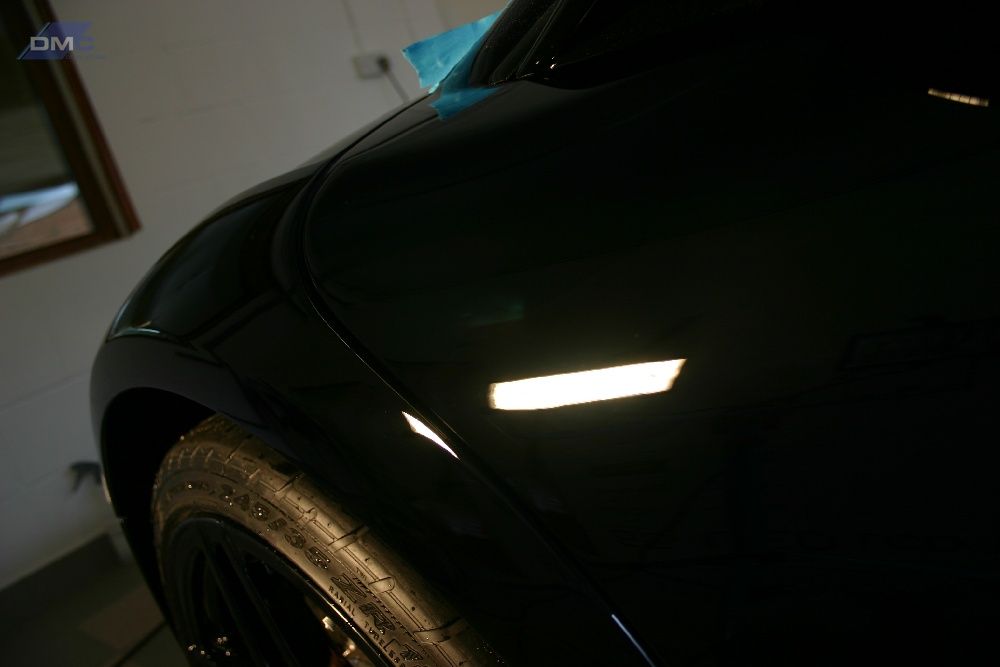
Once all clean the car was dried off with Uber soft towels, an air dryer and taken inside the garage to be taped up and inspected.
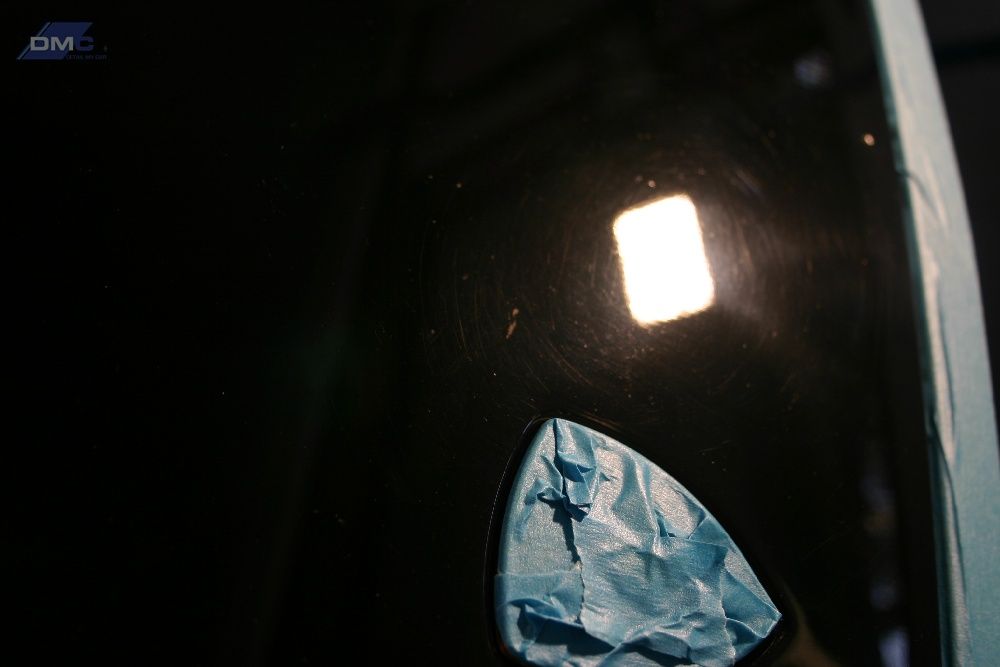
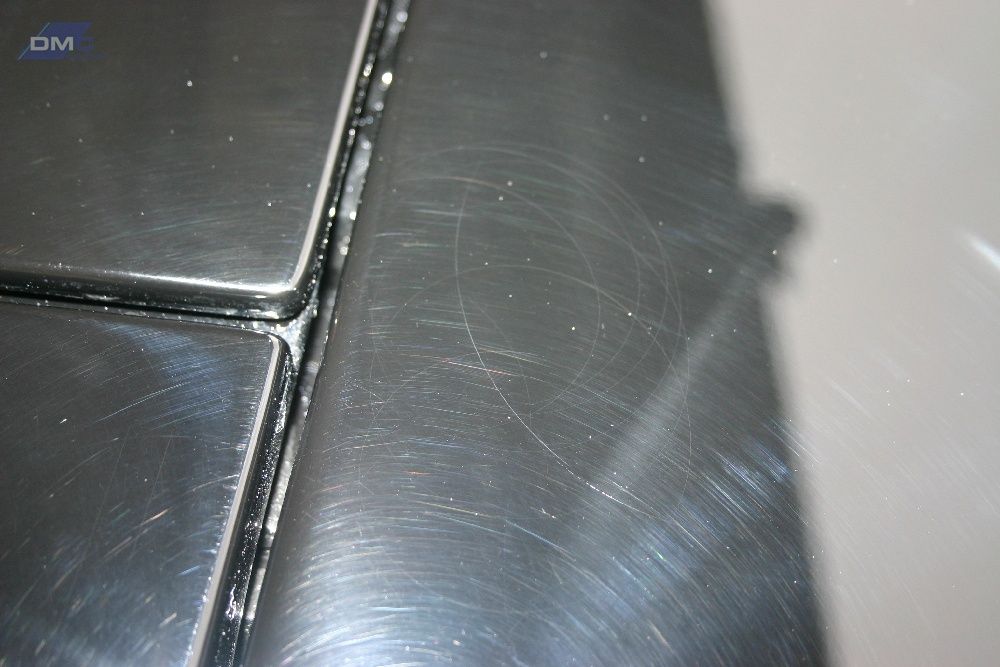
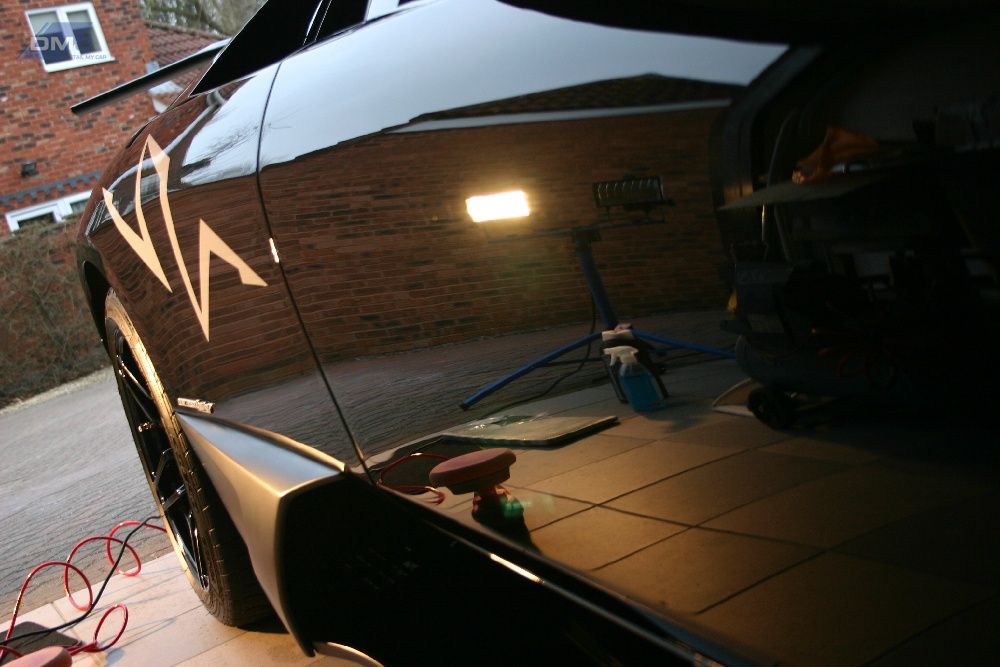
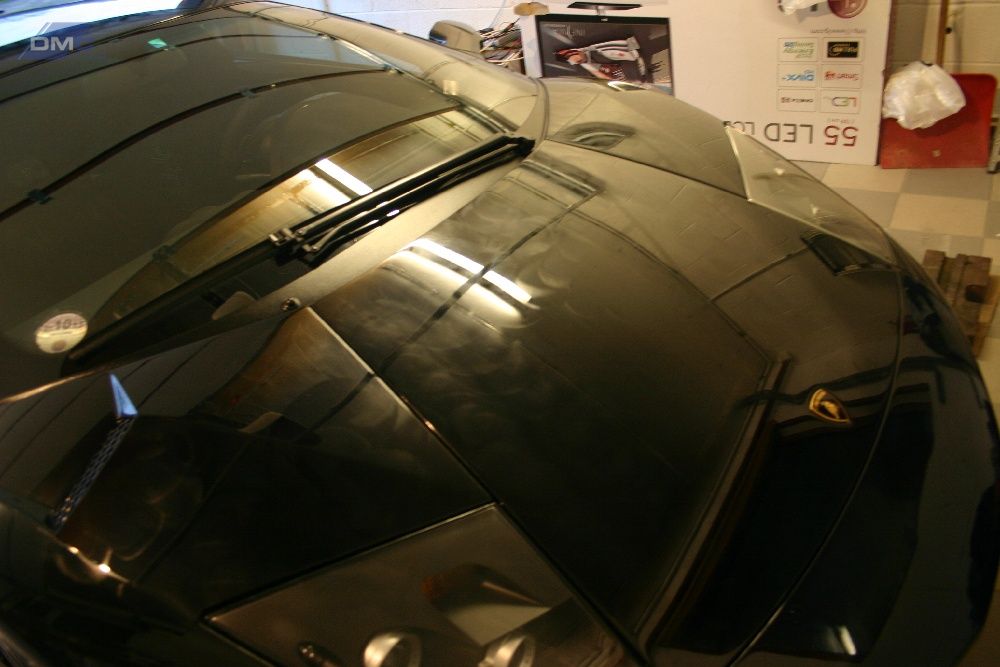
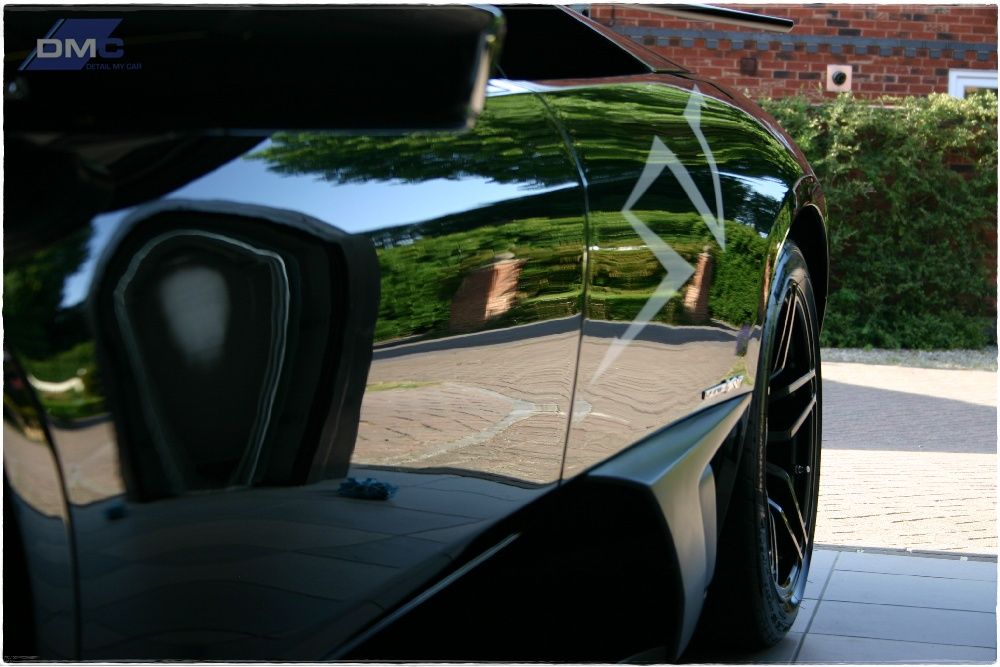
Here’s the initial photo’s showing some of the areas needing attention
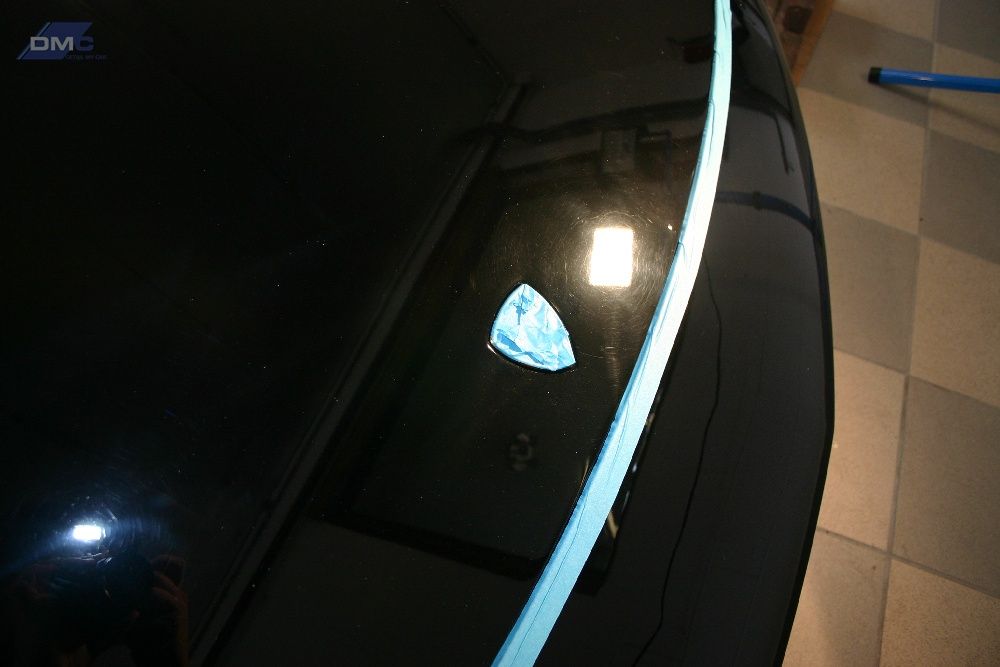
Polishing was taken at a very gentle steady pace as to make sure and not compromise the clear coat for future work or protection, and after each set a thorough IPA wipedown was carried out to check the progress
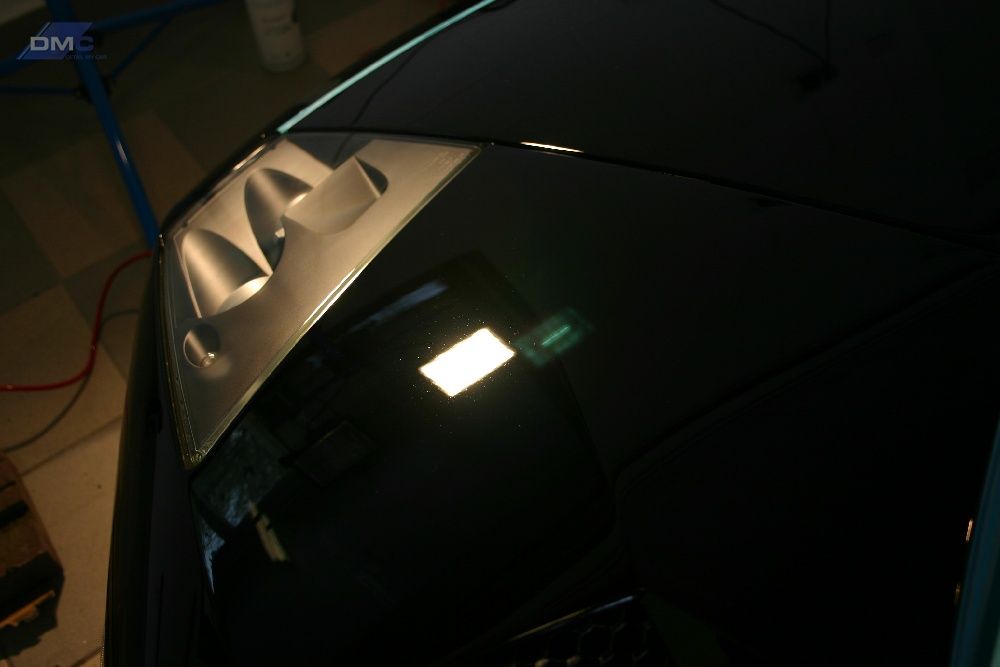
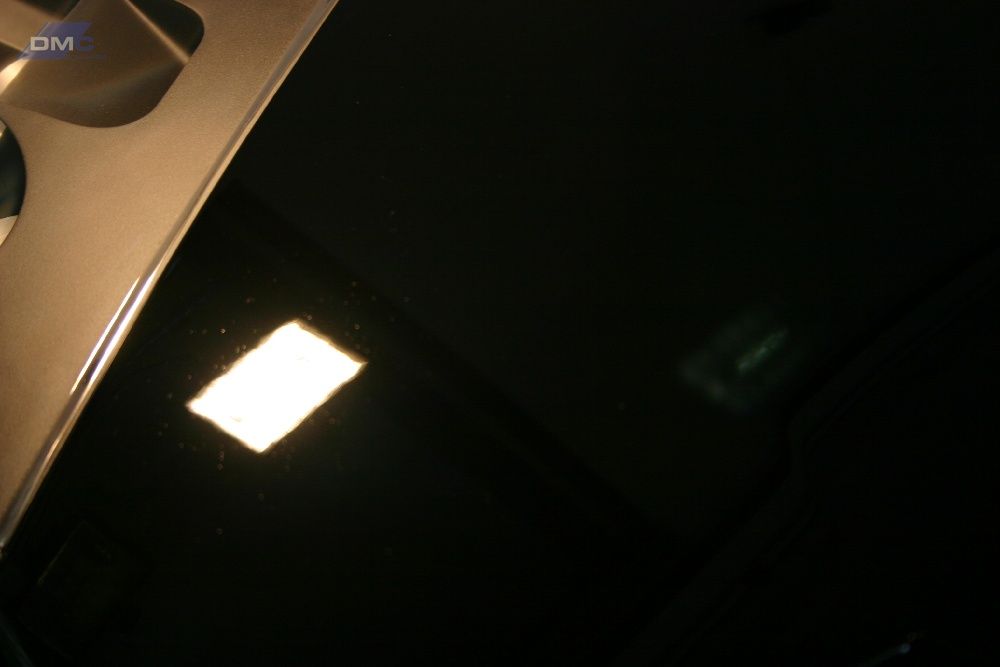
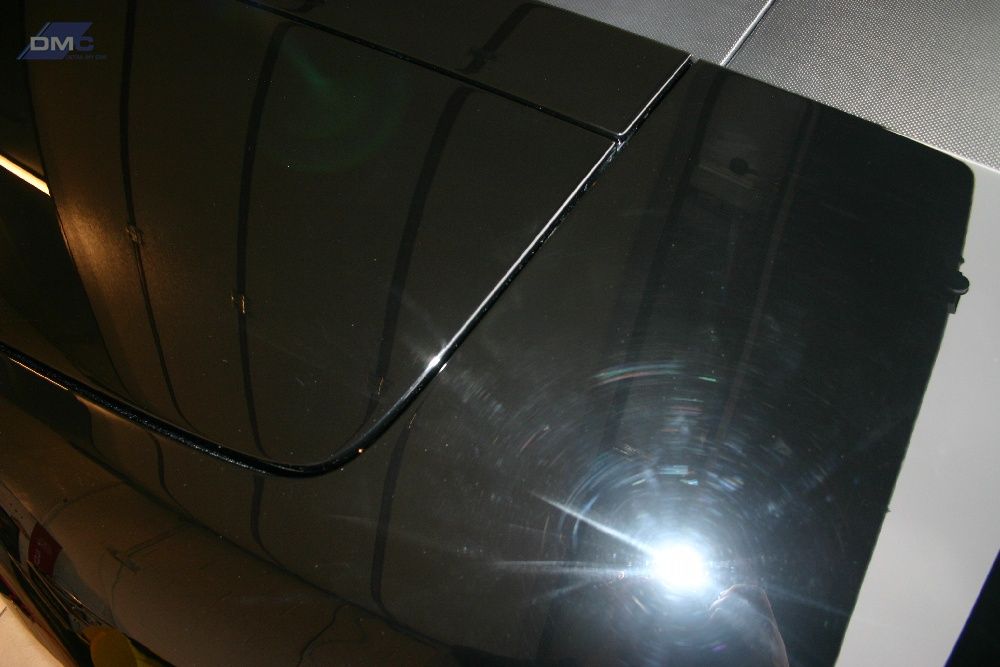
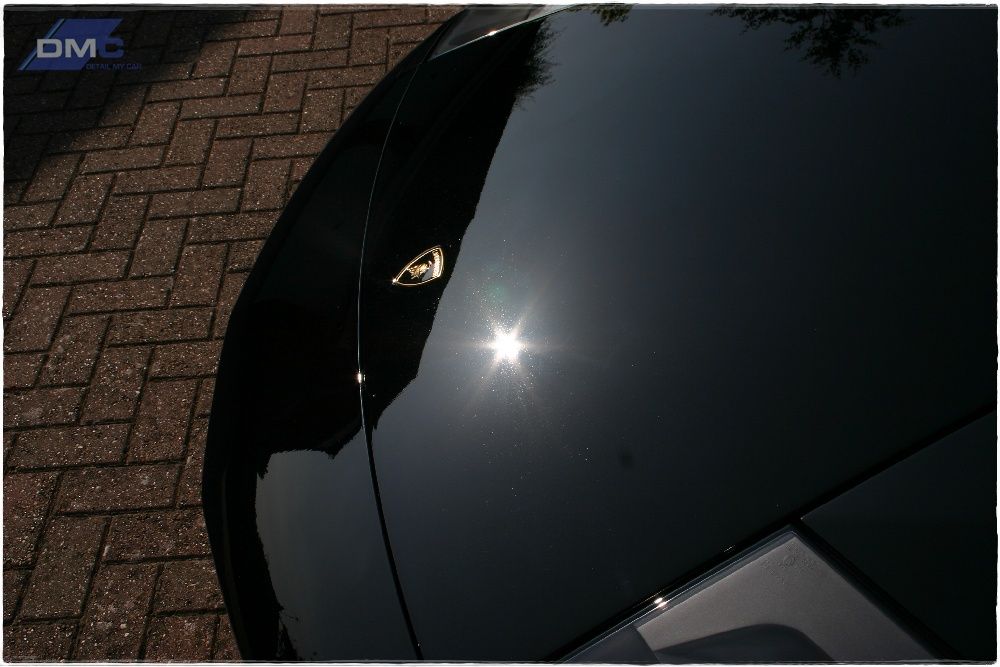
First 50/50’s on the bonnet just to show the improvement from multiple angles
[
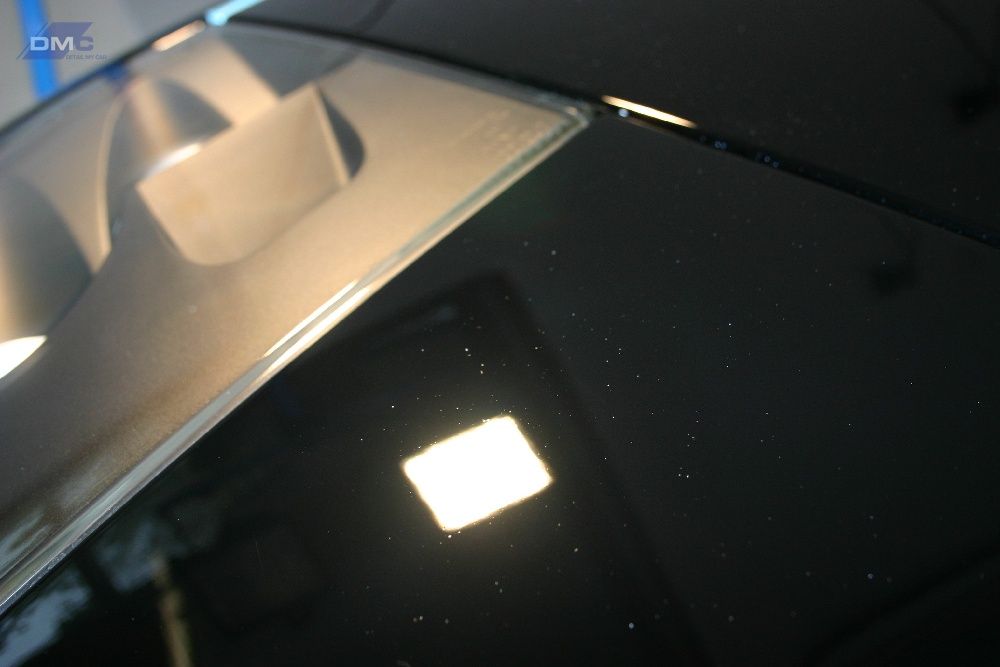
Bonnet complete
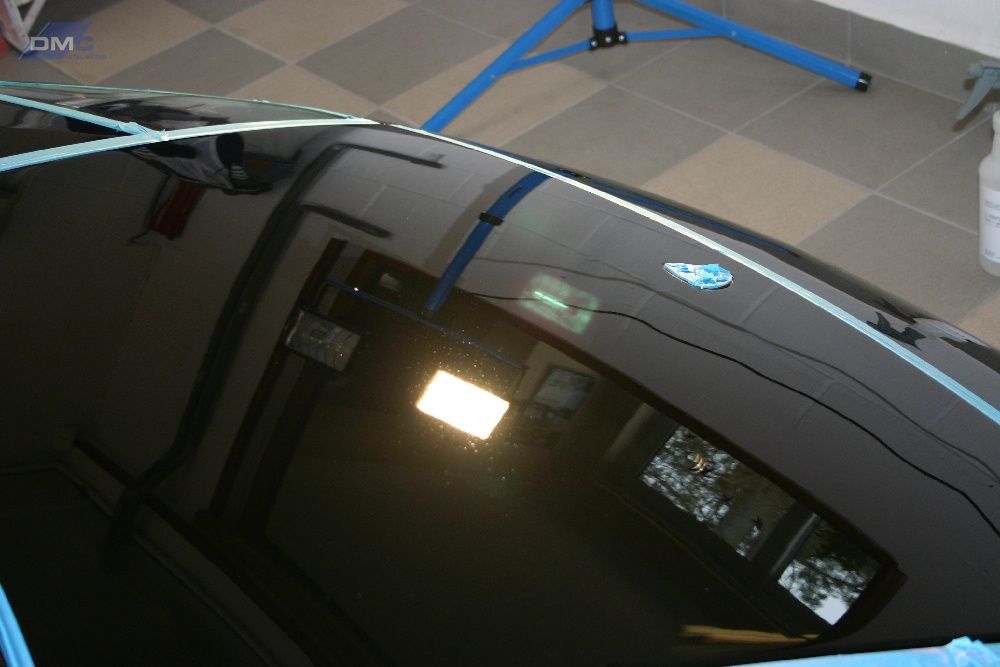
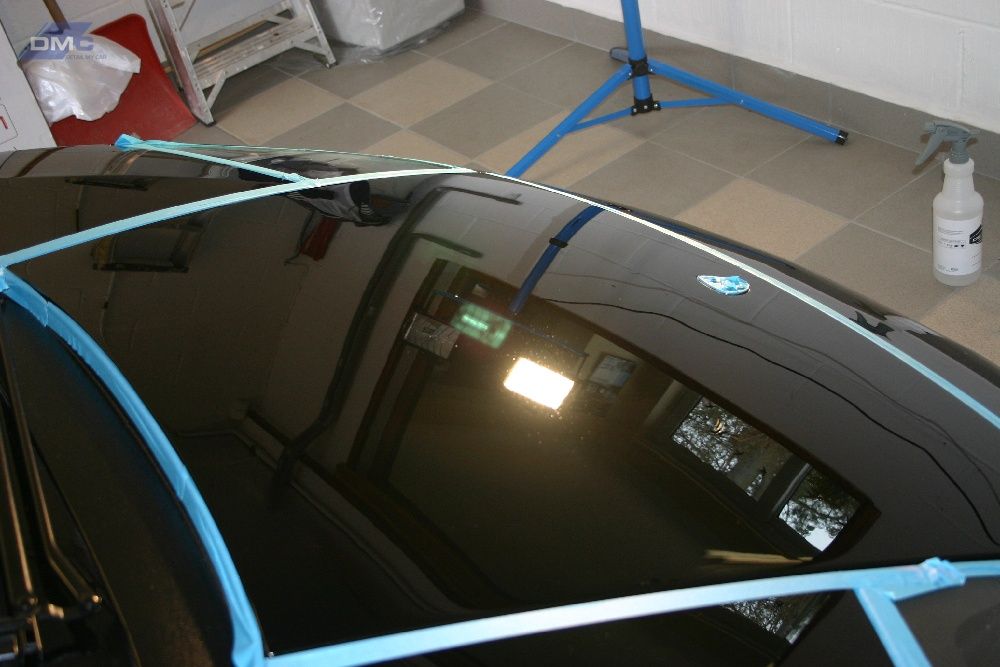
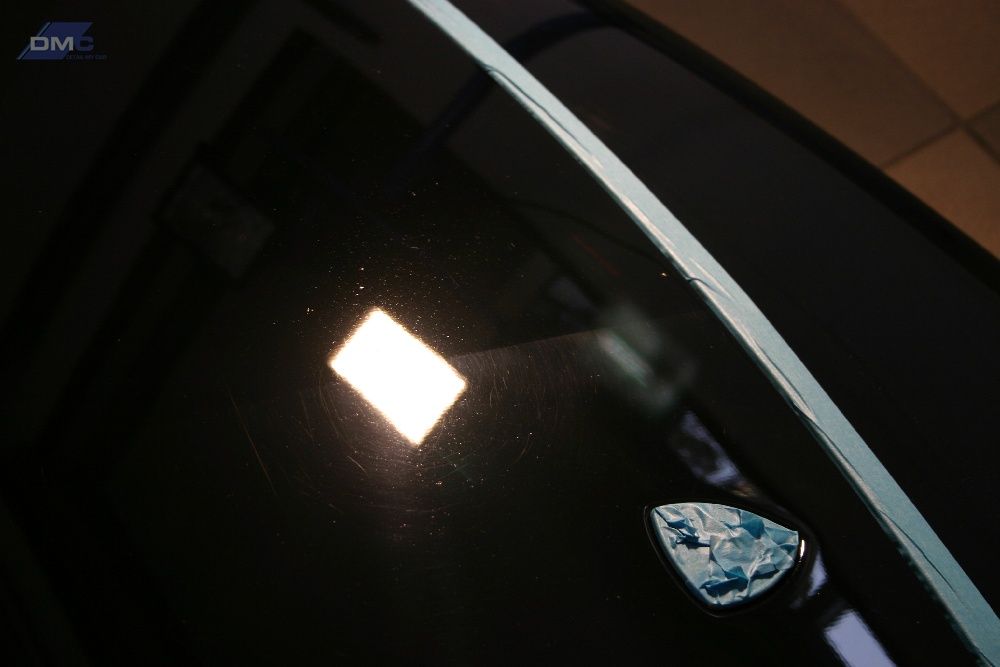
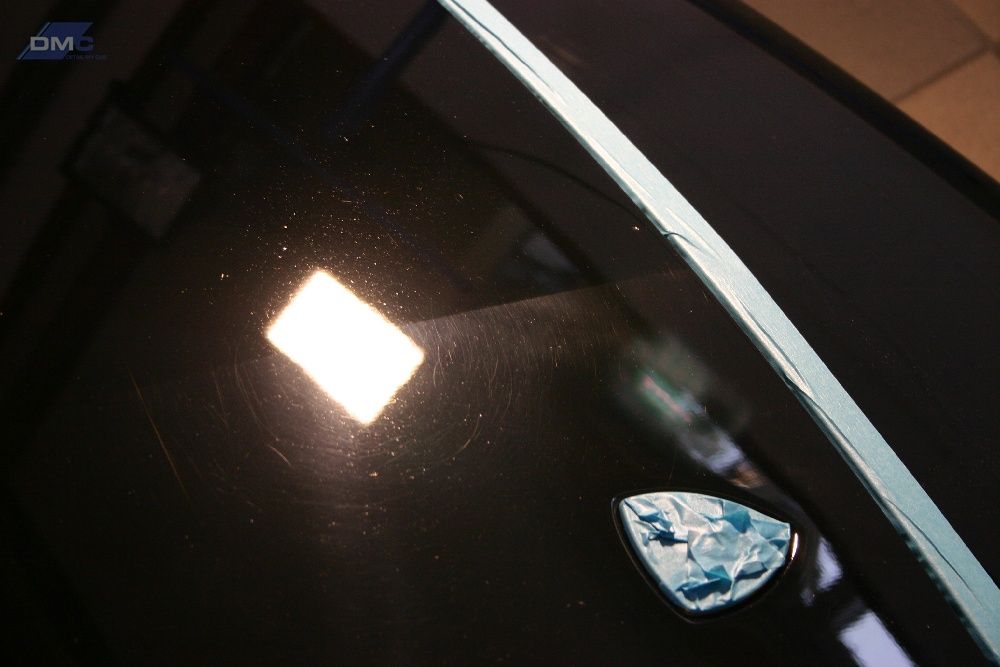
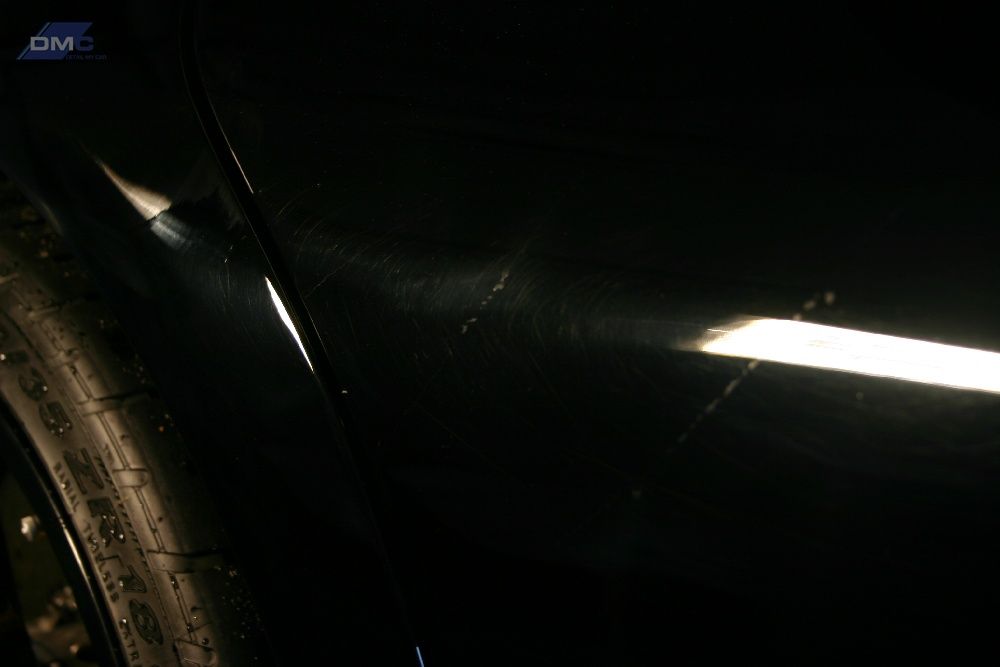
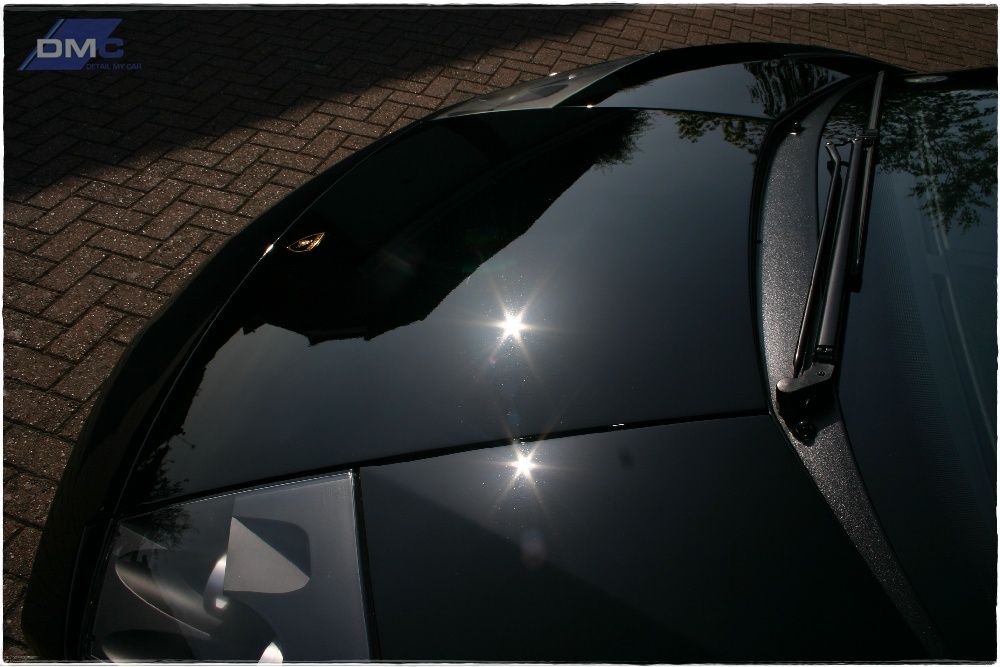
Wing/Bonnet area
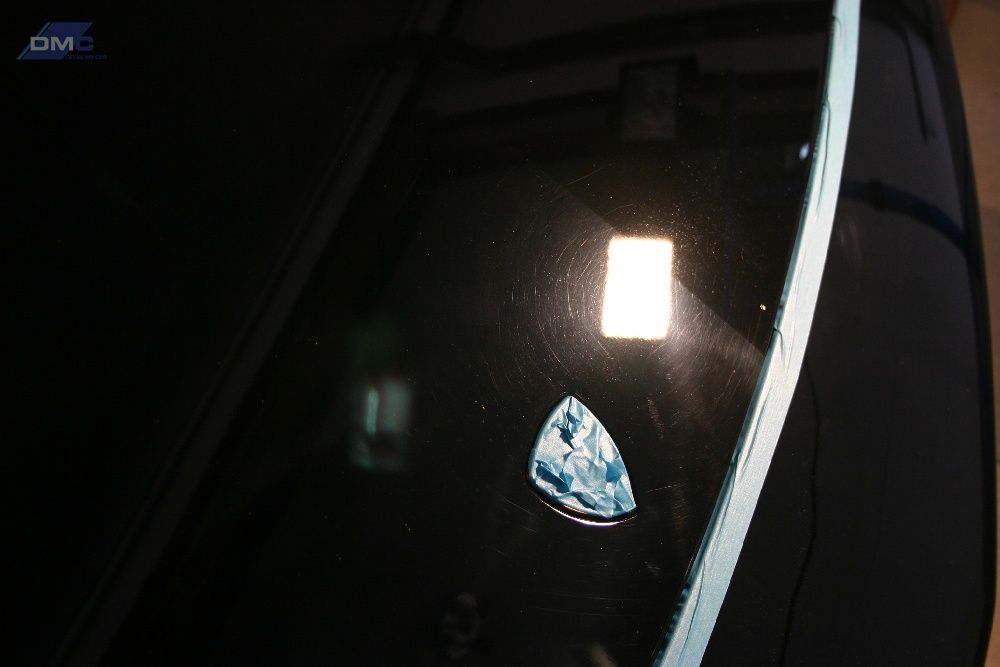
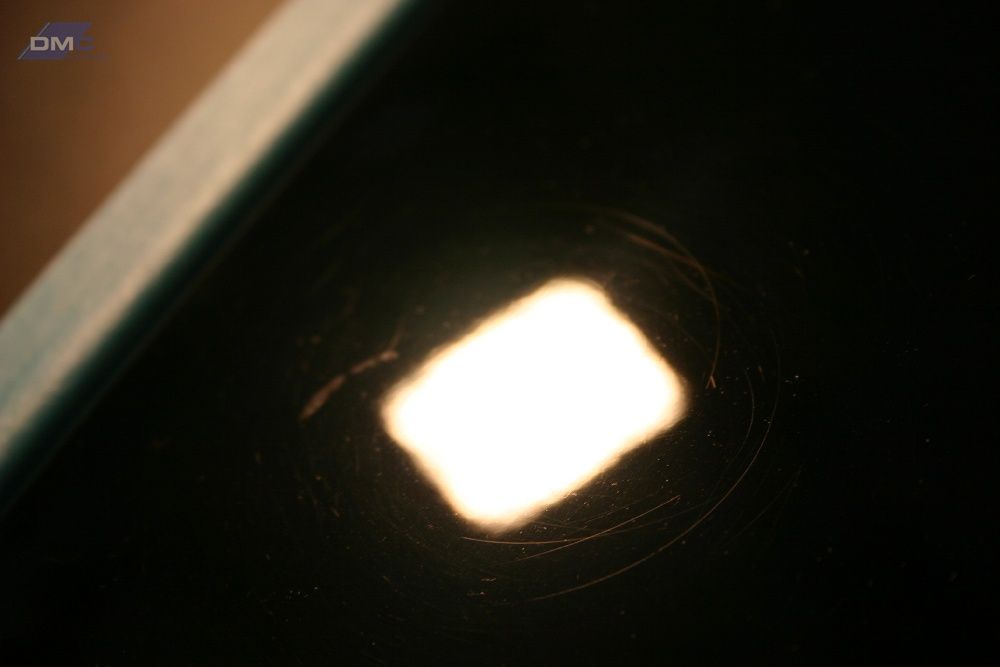
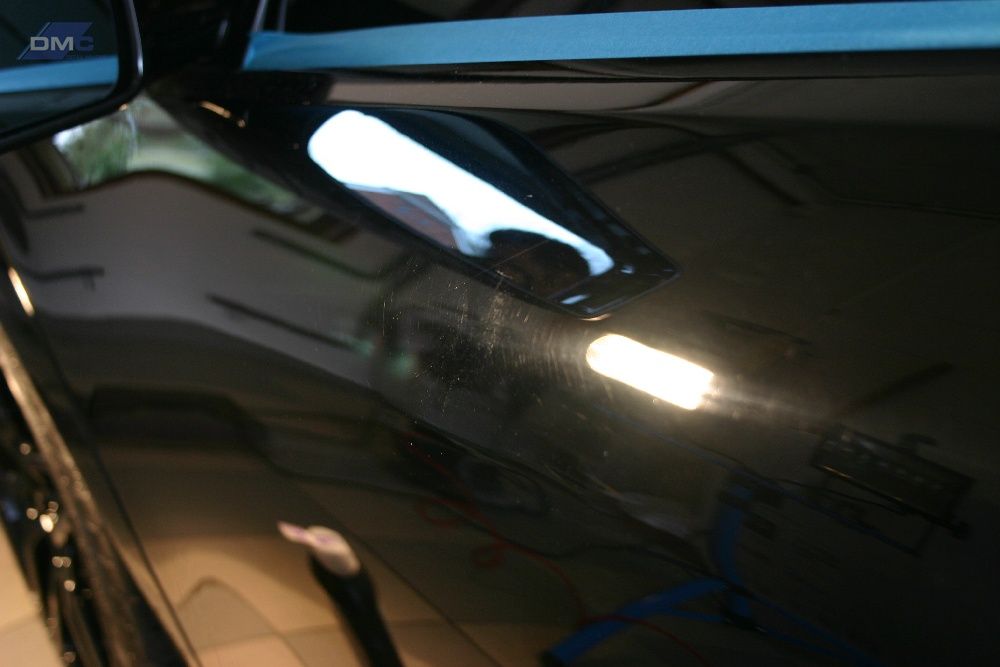
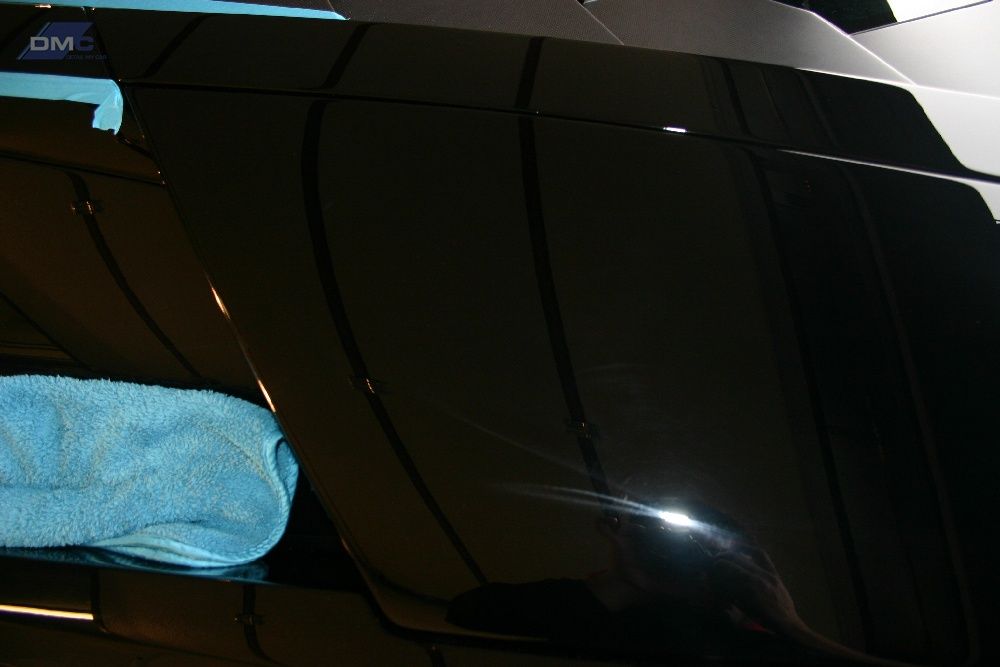
Before:
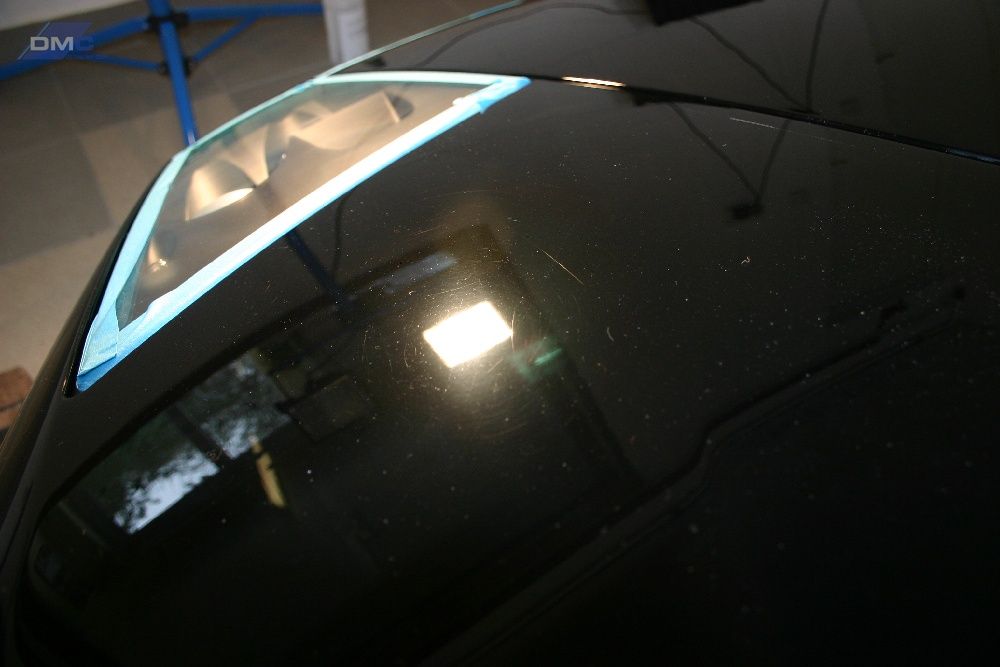
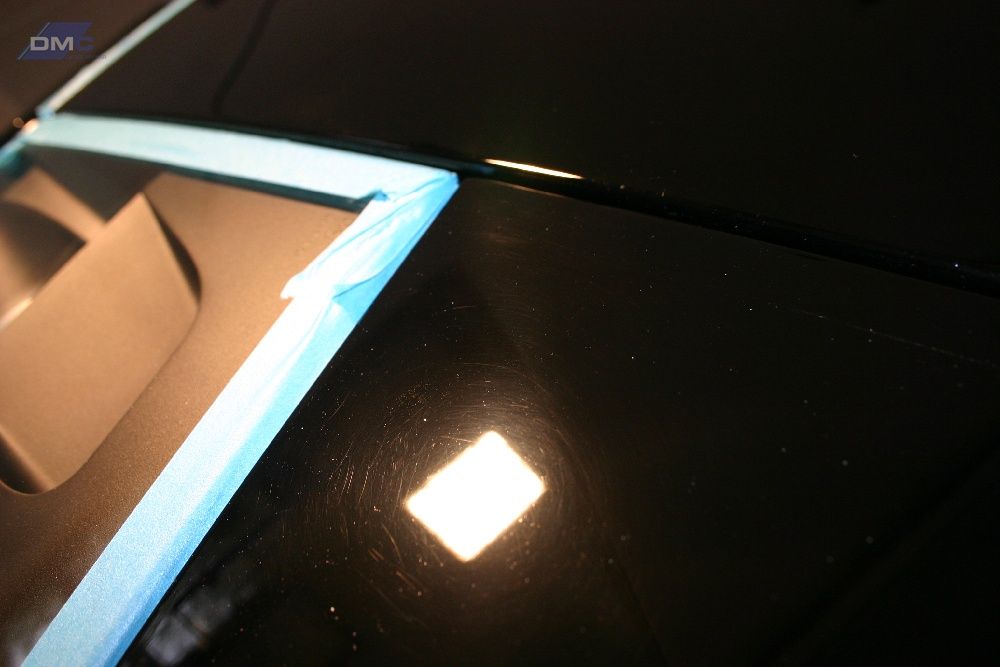
Some deeper swirls present
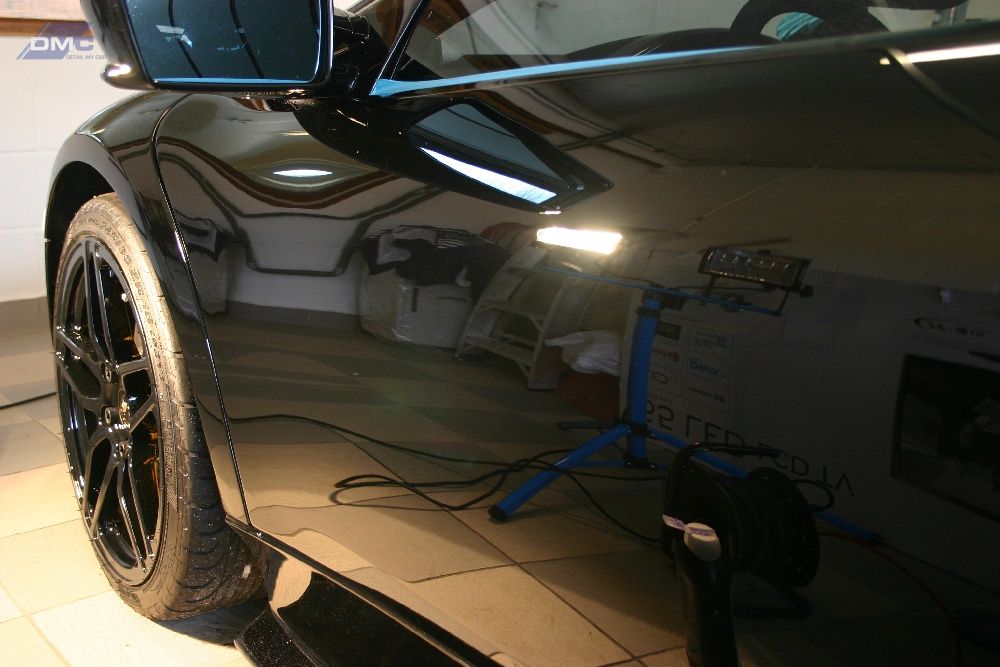
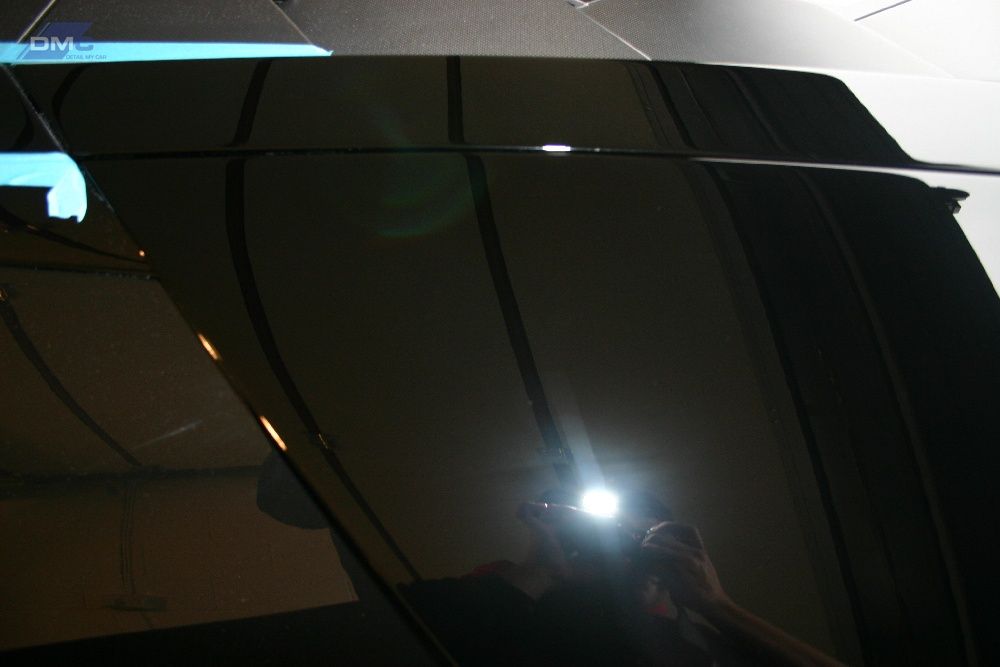
After:
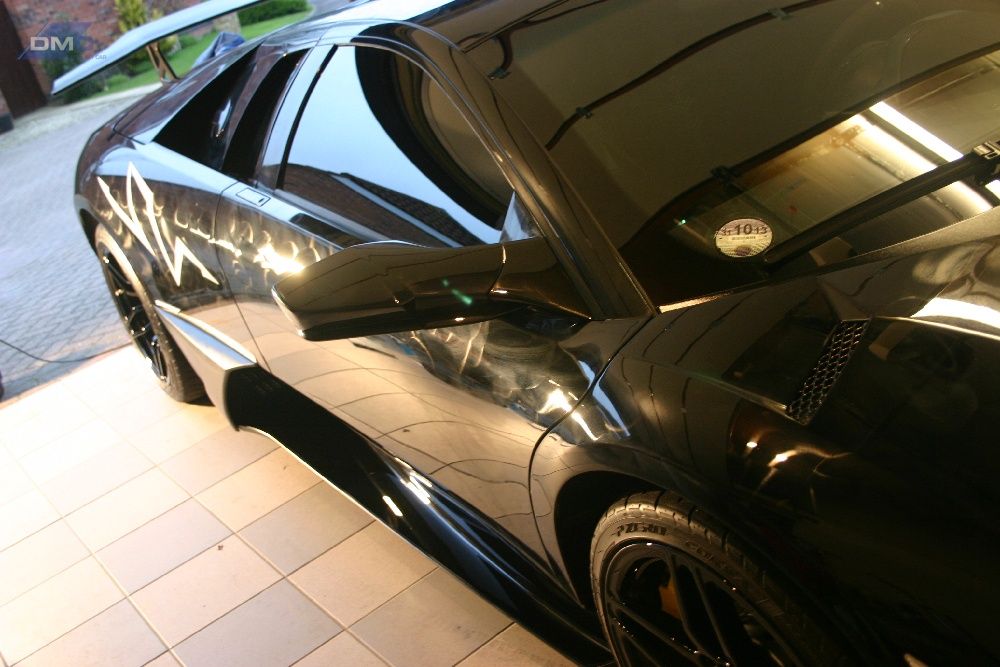
Moving on to the door
Before:

After
More Befores:

After
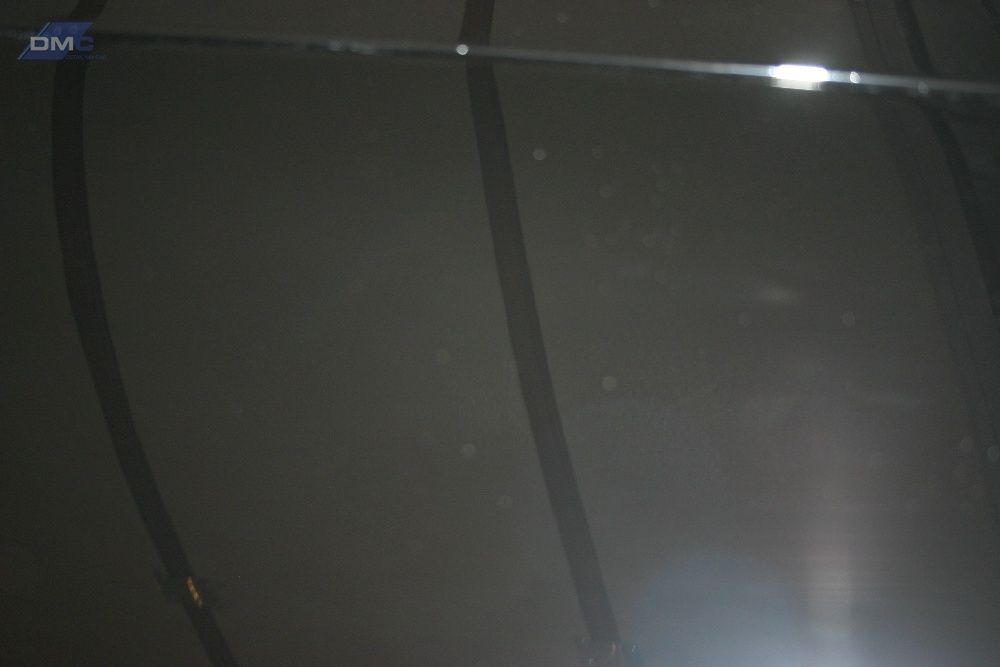
Moving to the back rear quarter of the car it started to get bad from some previous work the customer had done on the car by a Detailer (luckily I don’t know who though)!
Usually caused by a dirty pad:
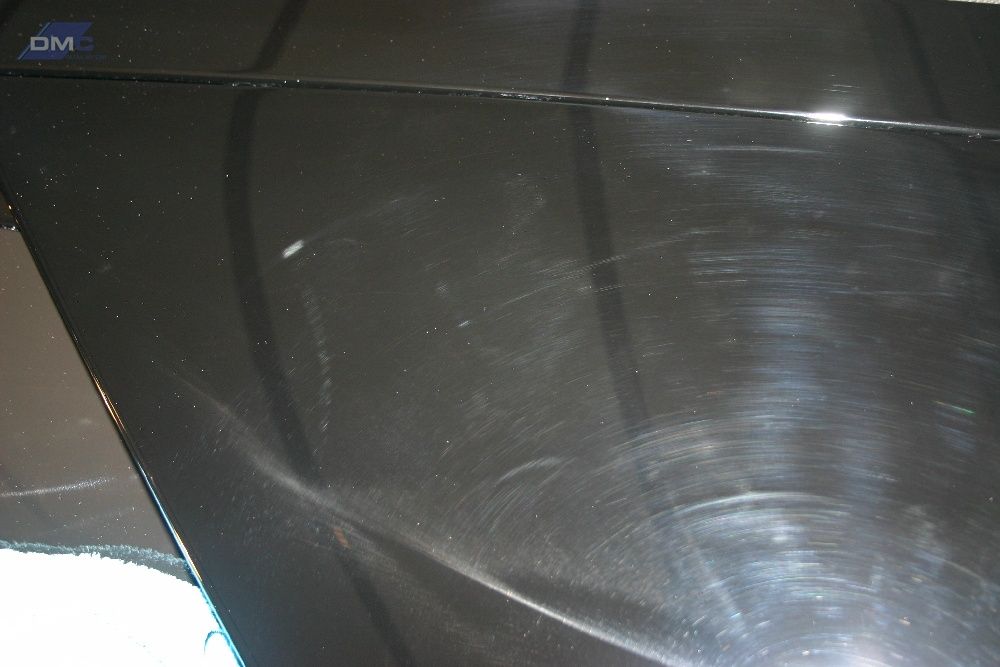
Holograms
After
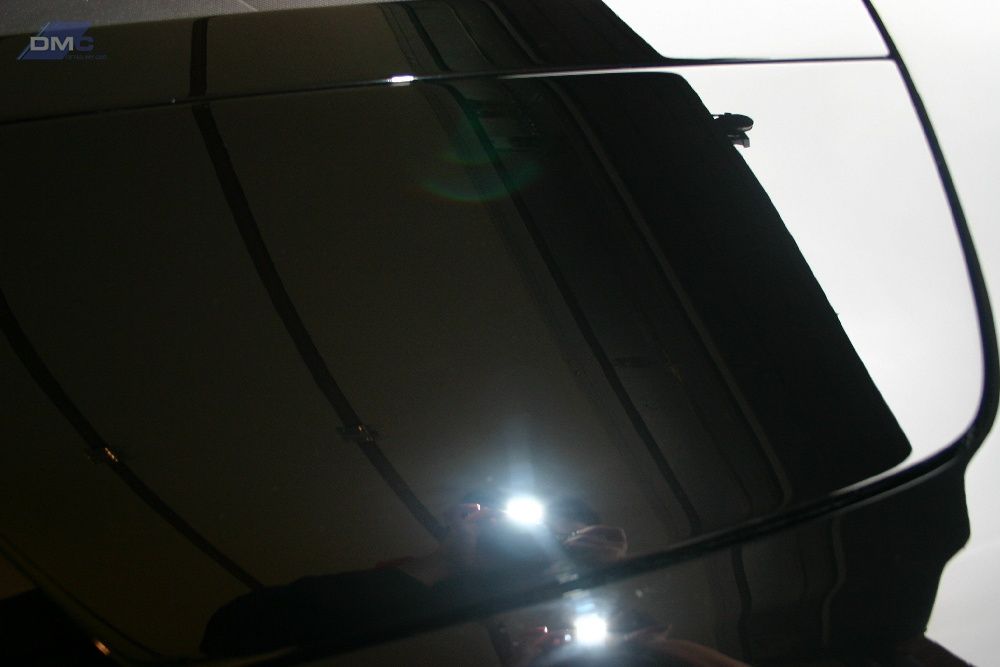
Back for day 2
Looking better

After the whole polishing process was complete the car was rinsed off once more to remove all dust before being towel dried once more.
Wax chosen was my personal favourite Swissvax Crystal Rock
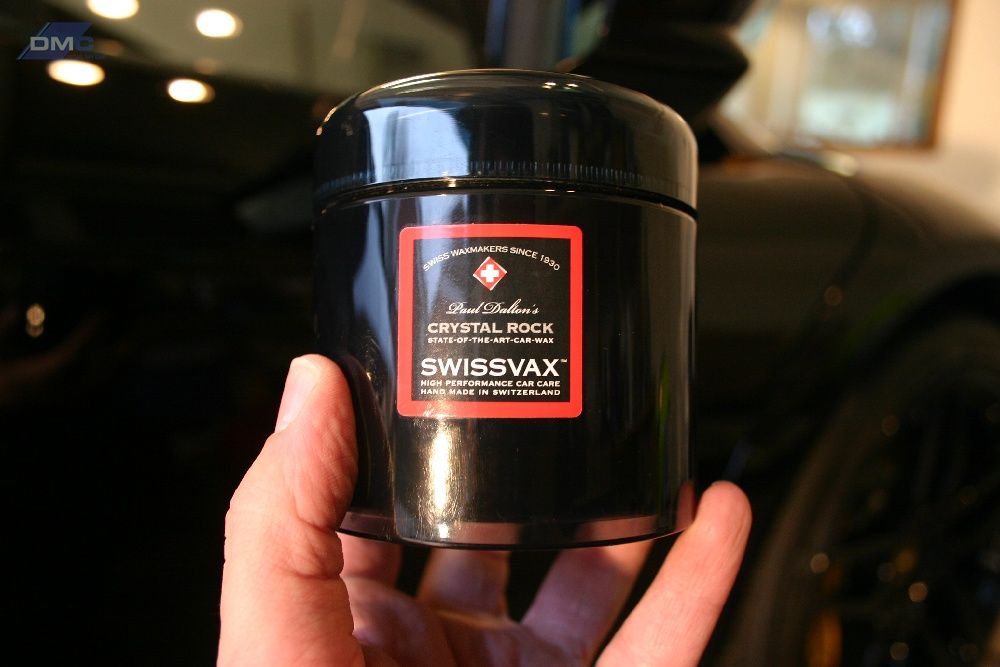
1 coat applied
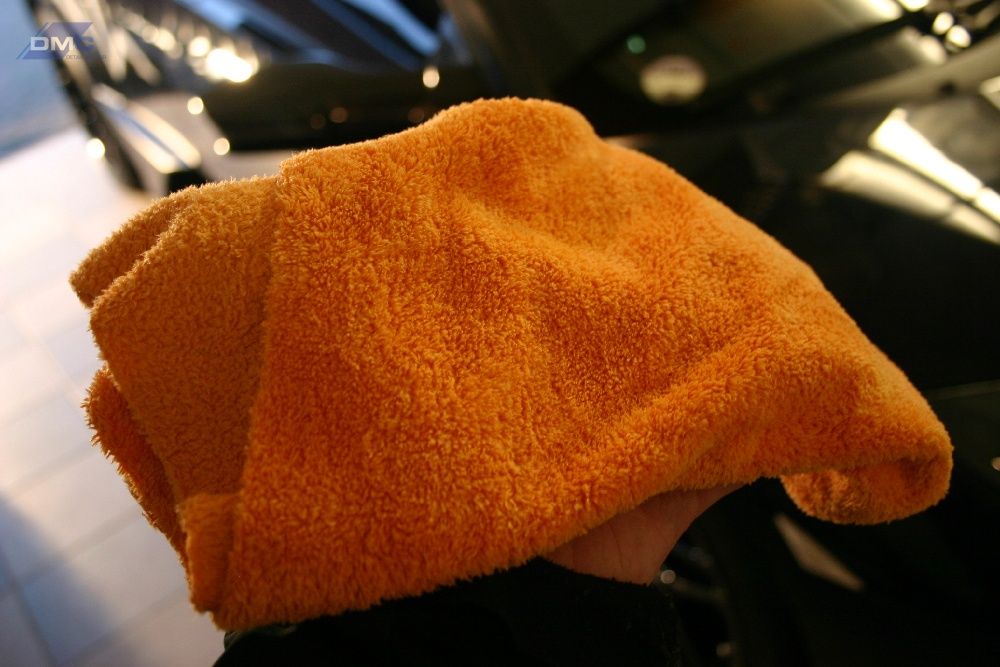
Buffed off with nice soft CarPro towels
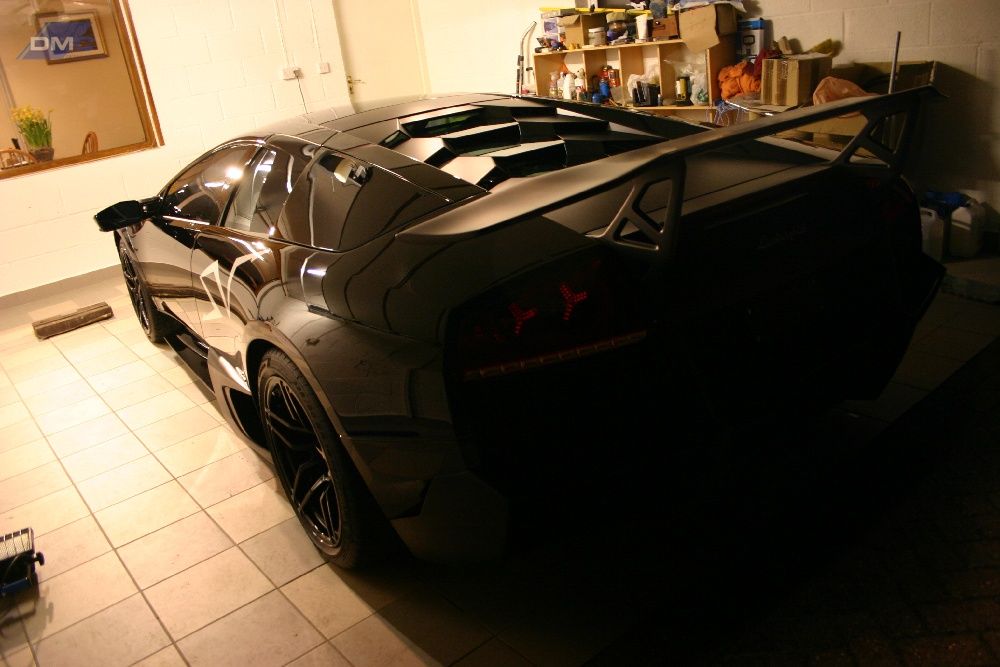
All just about done!
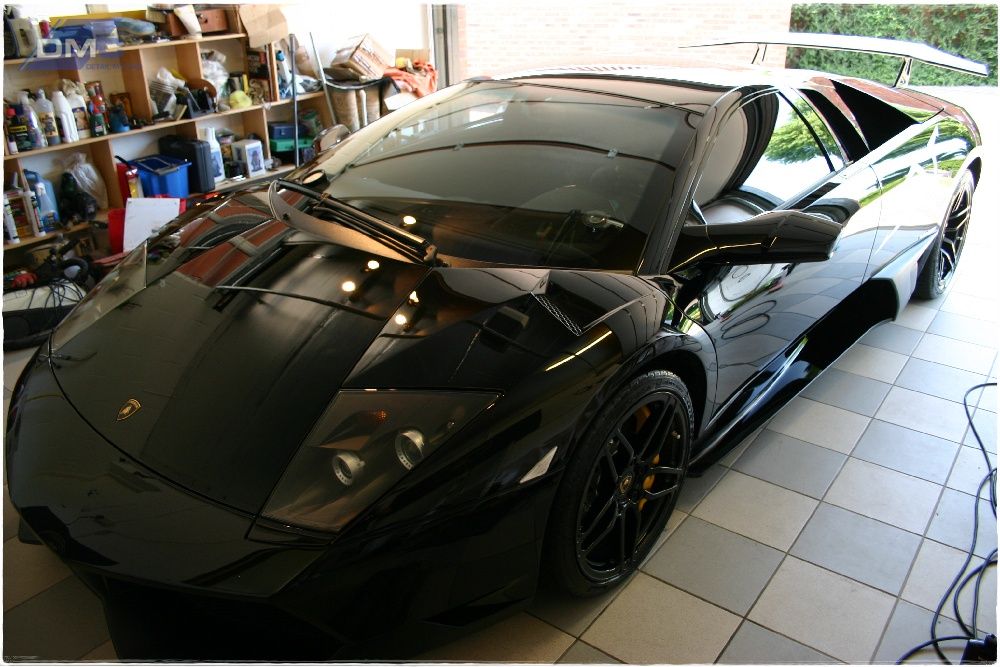

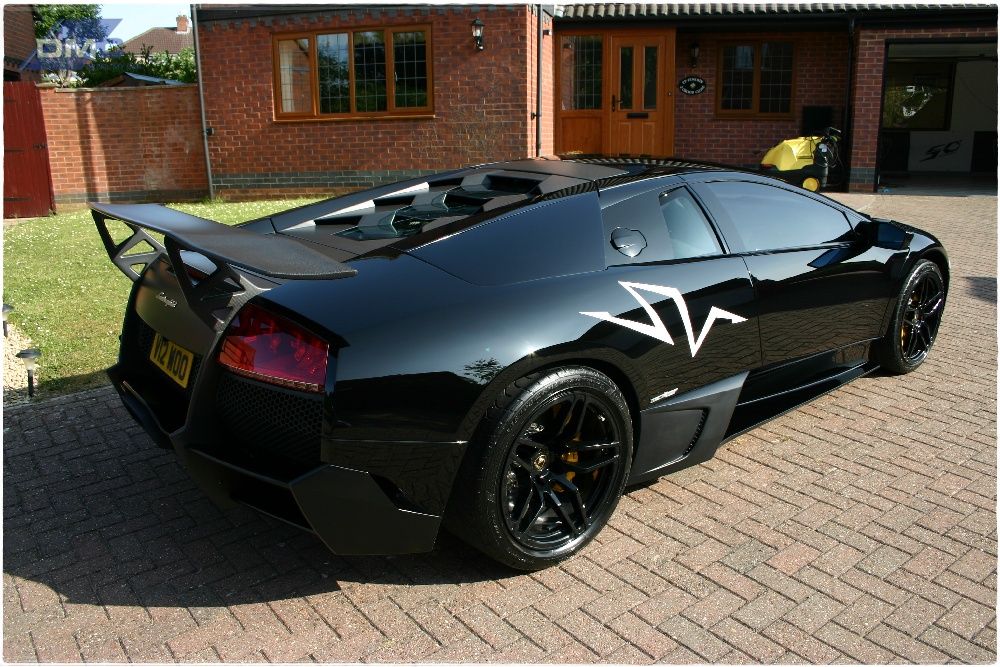
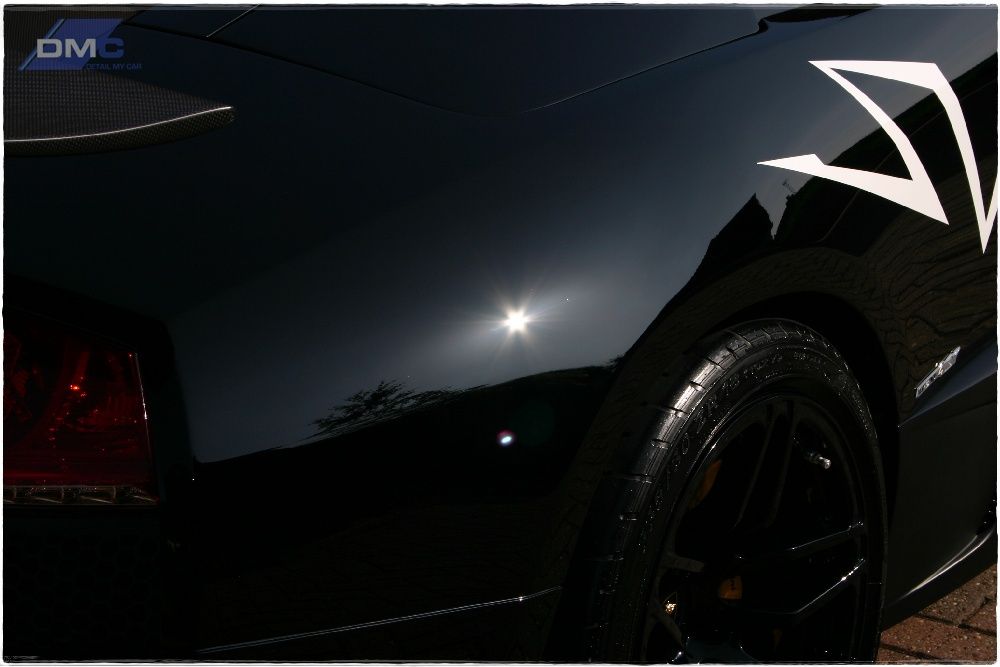
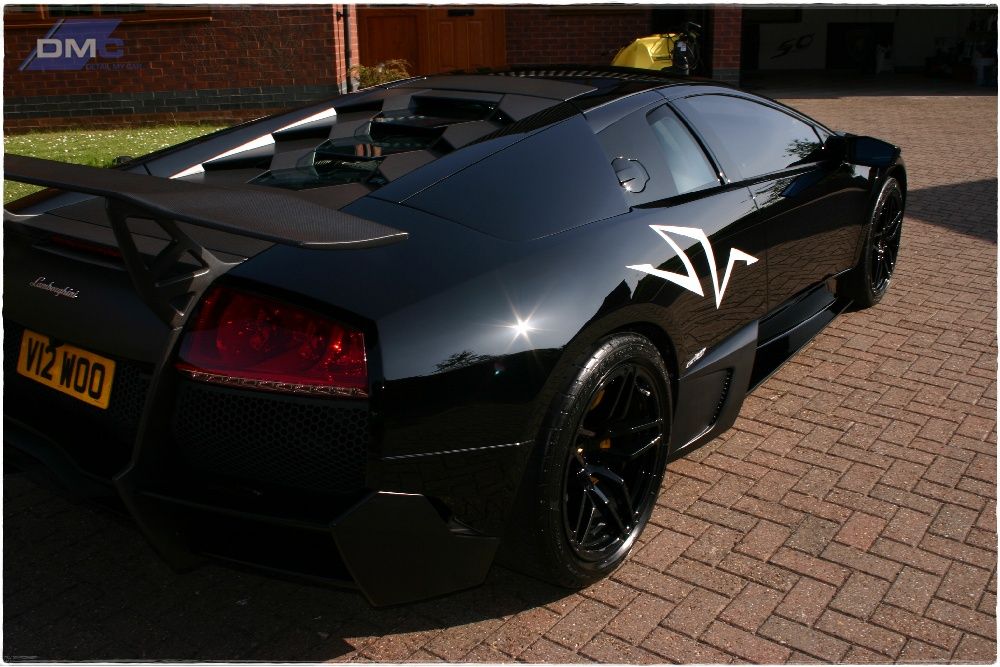
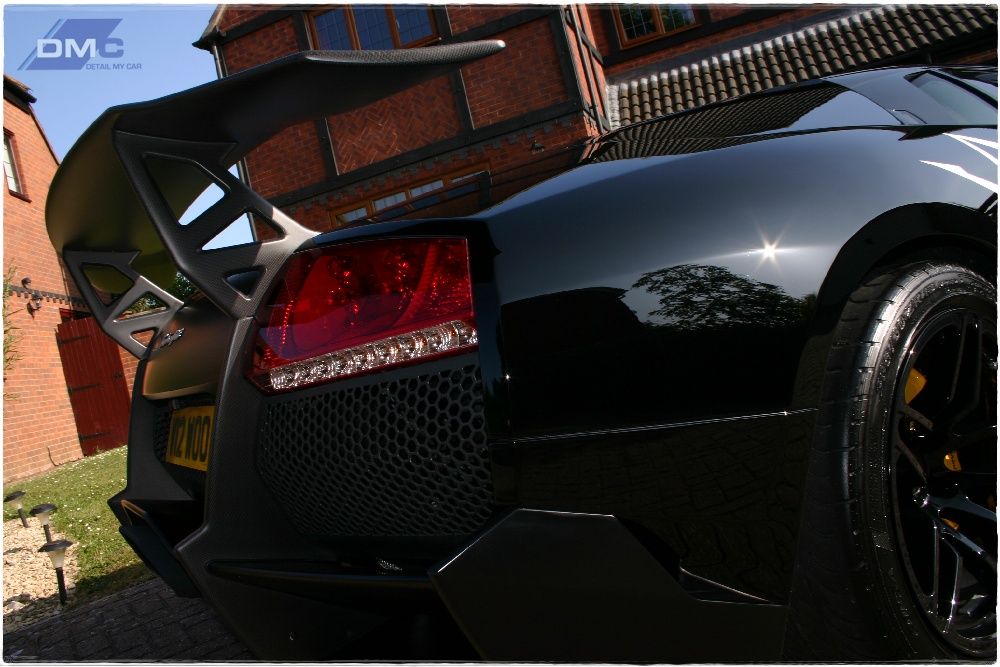
What a rear end!
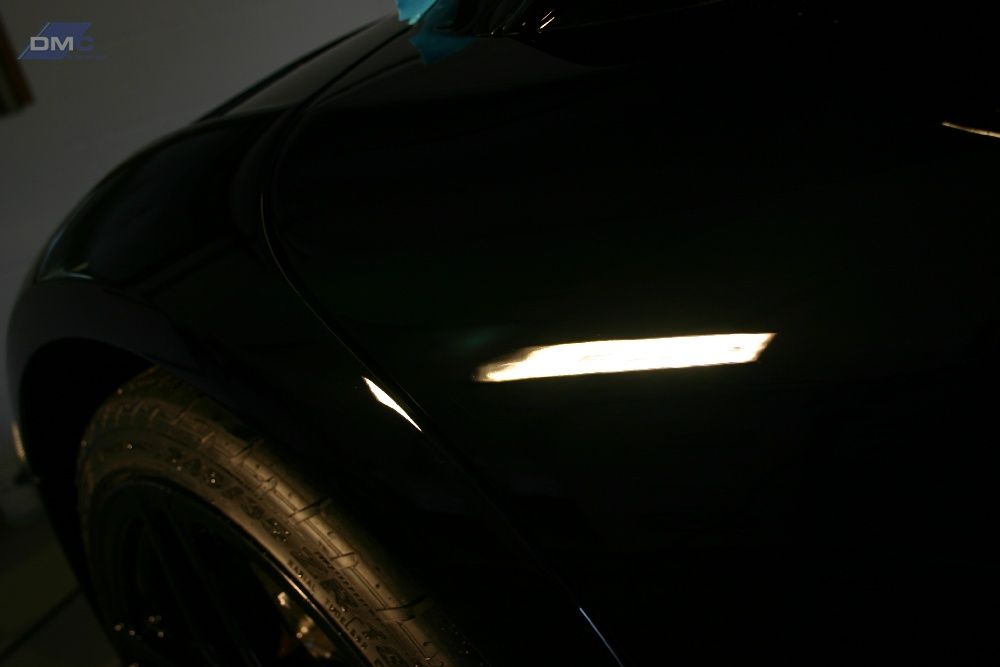
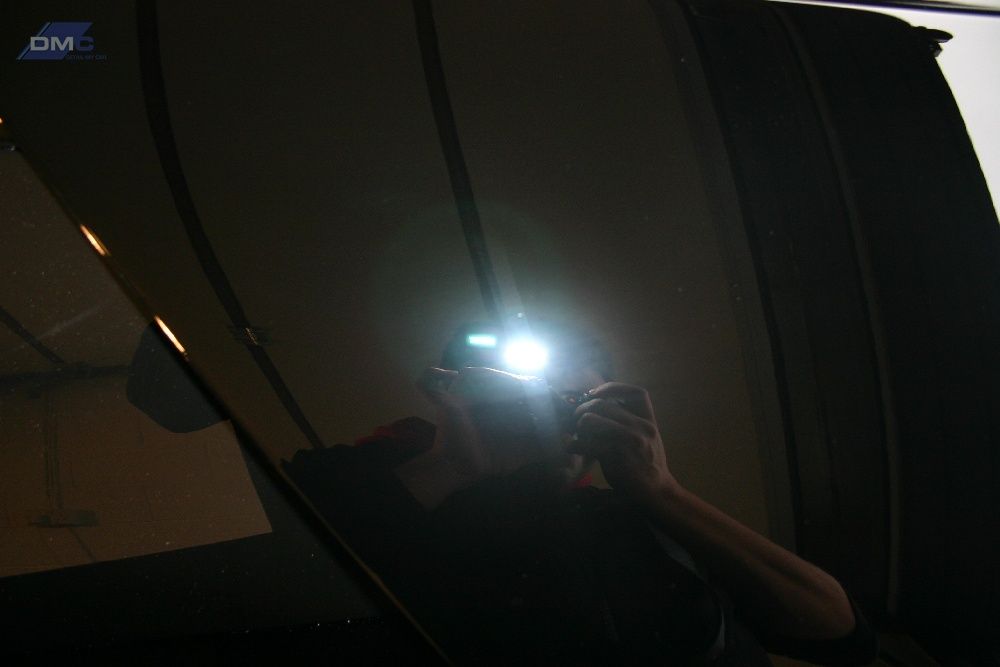
Taken at night
Thanks again for reading, this was the last job I did before getting my unit all set-up so next time the chances are the car will be with me for a few days and it’ll be nicer to work from my own space, such a lovely car!
Nick.

Add a comment: